Right I've had a good couple of nudges to pull my socks up with the bike - keep my eye on the prize and all that - the hayride is just 6 months away, and I NEED to have it running, and reliable by then!
Had a great day in the shed today, and got a stack done (prepare yourself for a mammoth post!!!)
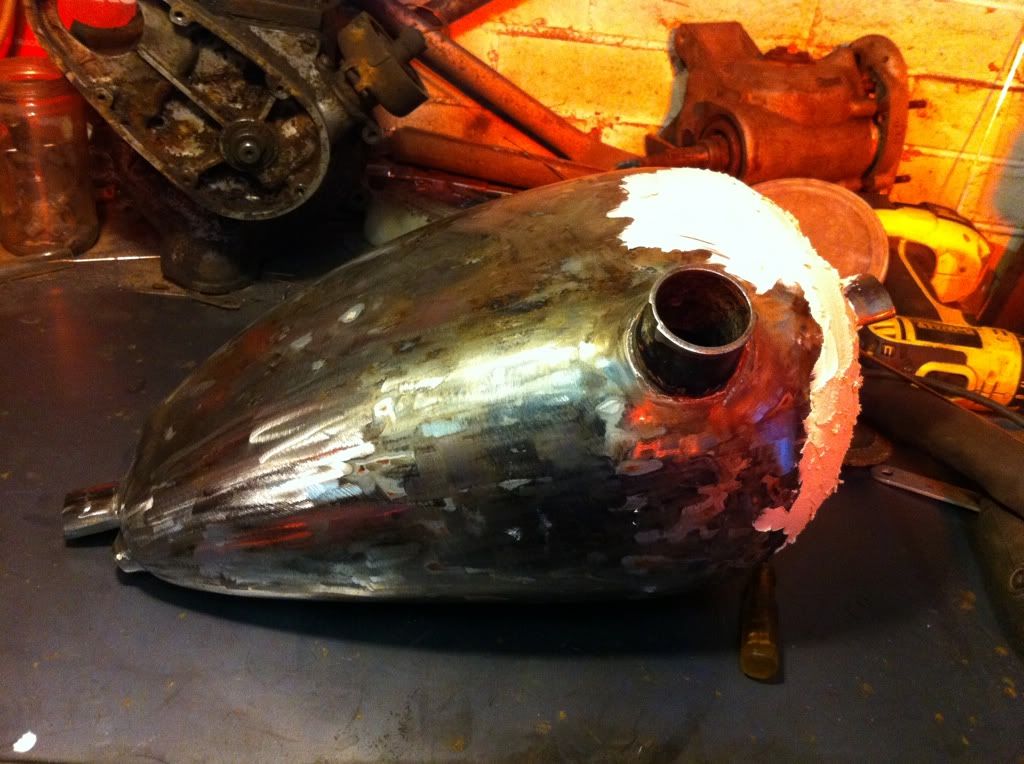
First Job - petrol tank.
I'd already blanked the end off, and was on the hunt for some tube to use to make a fake tunnel. I managed to nick some from dad when I was back down there last weekend.
Cut the tube to the right length and width - it had to be tapered to the back to allow it to fit well:-


Welded it up good and proper each end and neatened the edges up with the grinder.
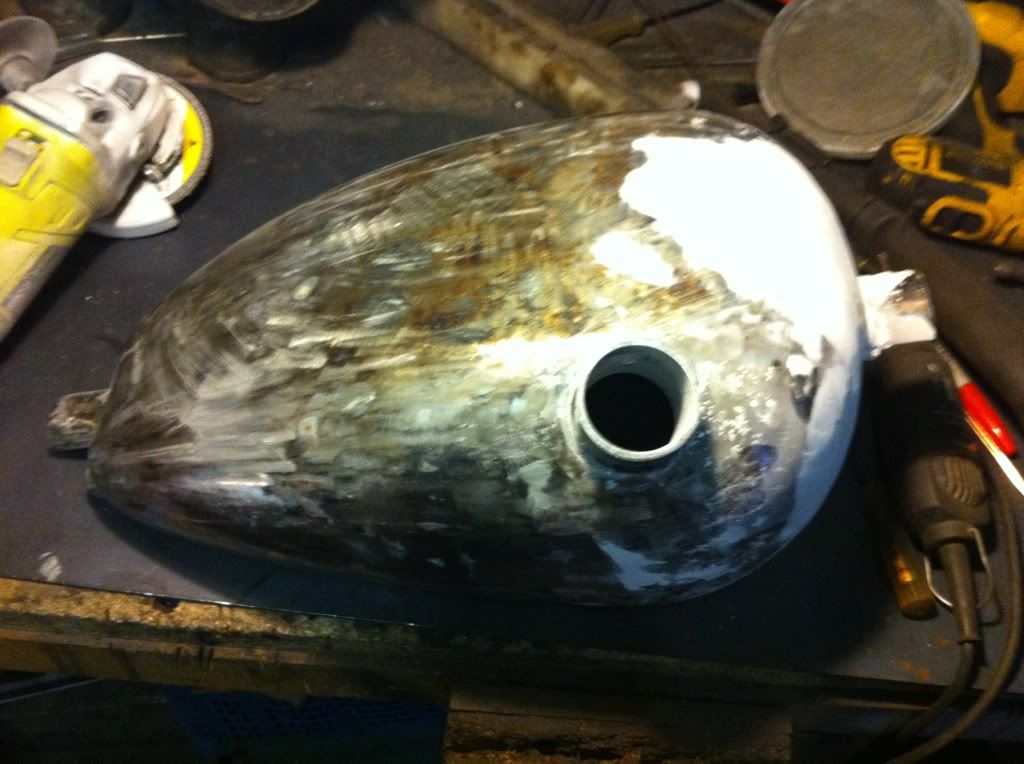
There was some filling needed on the tank, so I mixed up a golf ball size lump of filler and coated the areas that needed it…
a bit of drying time and then attacked it with the flapper disc to neaten it all off…..
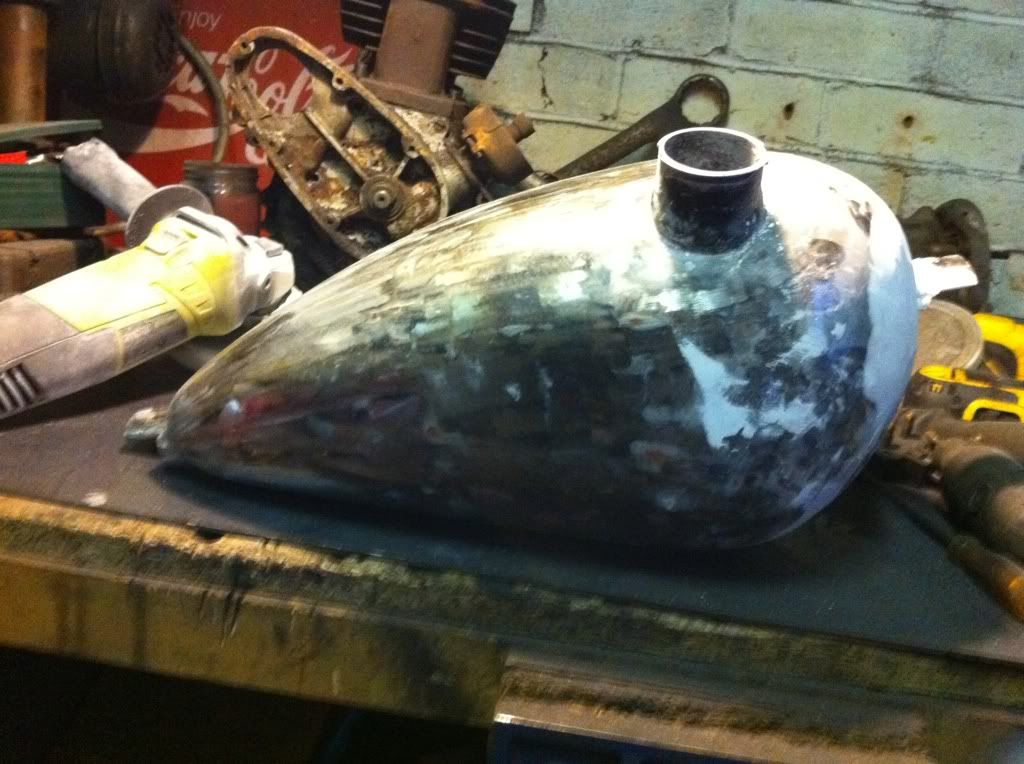
had to leave that for the day - the frame needs a slight modification for it to fit on properly Ithe old tank mounted on to raised sections that need to be ground back). the engine will be coming out (probably tomorrow) so I'll do it when the engine is out…
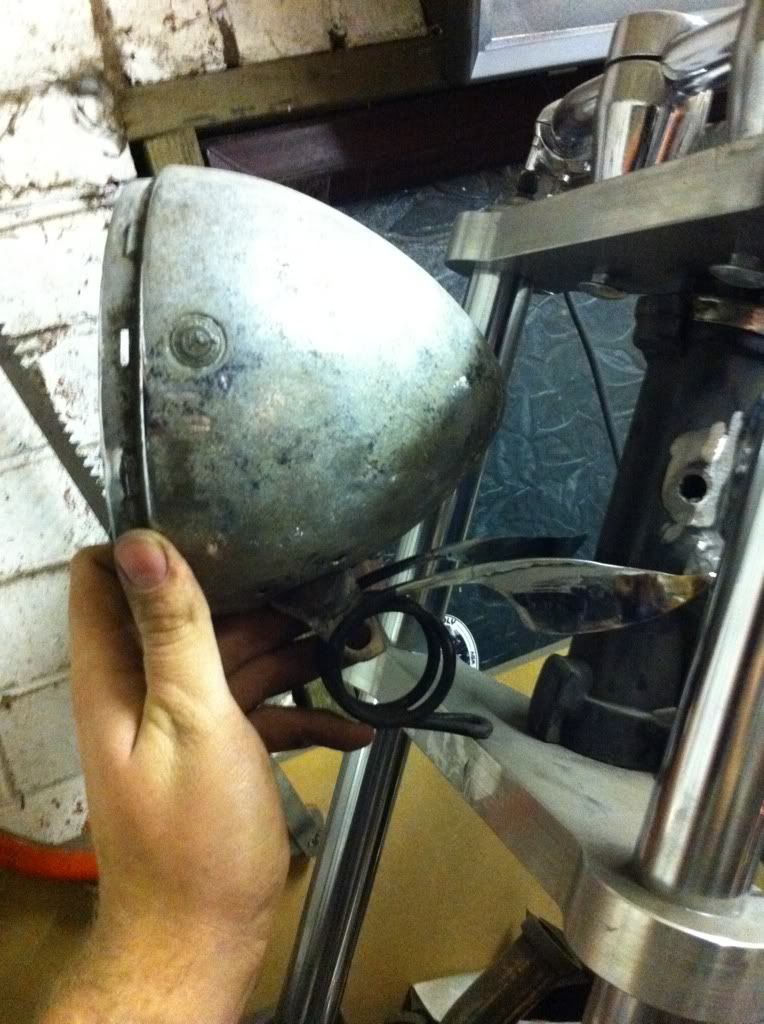
That lead me back to the list - next job - sort the bloody headlamp light out. I have made about 4-5 different mounts for this so far, and have been dissatisfied with each one.
I had a chat with toddy yesterday - and we were saying where the best ideas come from - well for me while I'm sleeping! remembered I had the front off the old saddle kicking about -
Perfect - just what I needed!
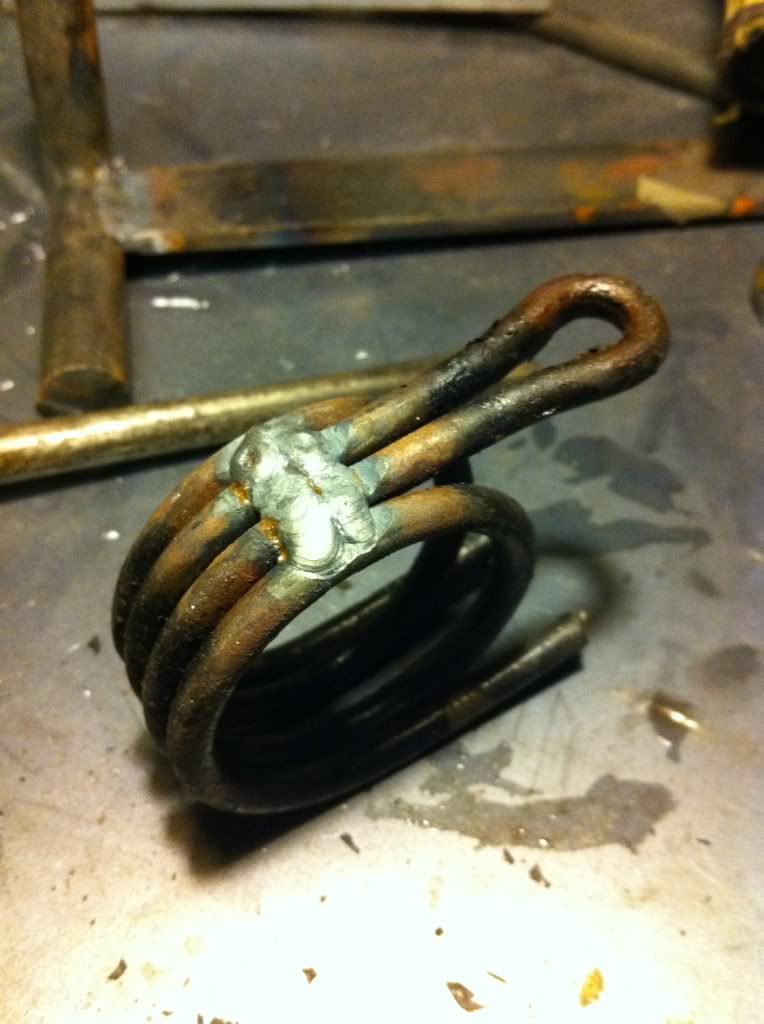
There was already a bolt on mount that could be adapted, and the circles were just what I wanted! Now you may be thinking - why a sprung headlight - that’s never gonna work….
well I ground back the bottom and welded the coils together to make it much stronger
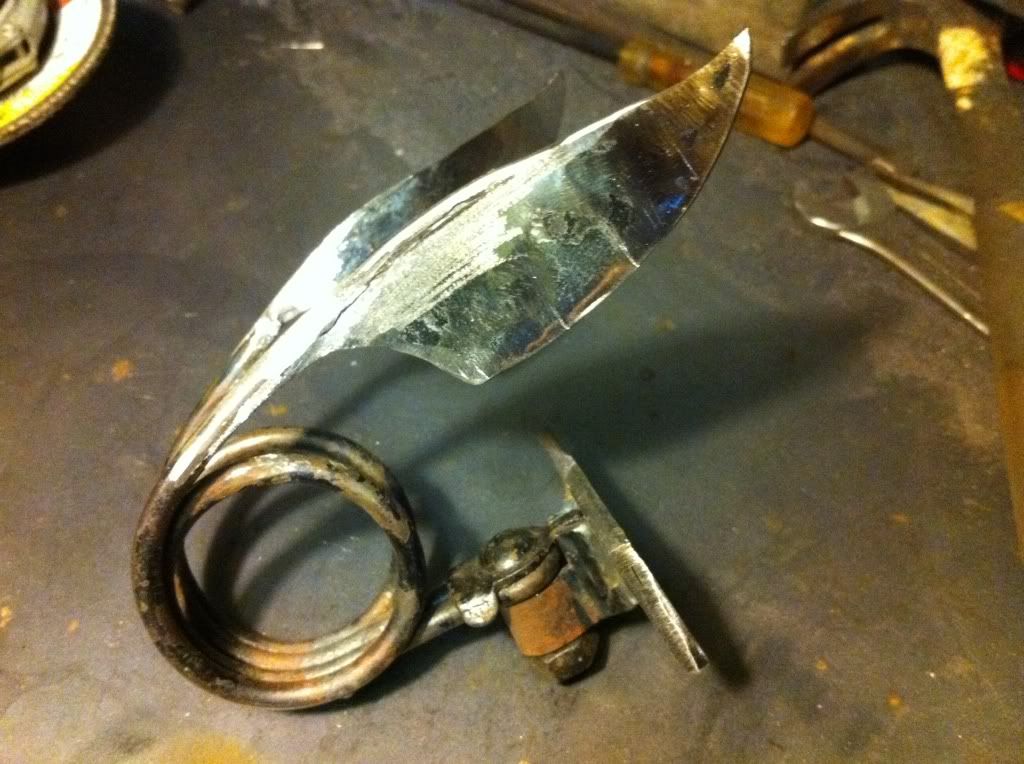
In my vision I wanted something a bit art deco inspired. I loved what toddy has done with his mount - so this is kinda homage to you sir - just with a TC twist!
Sharpied up some cool wing like shapes onto some steel:-
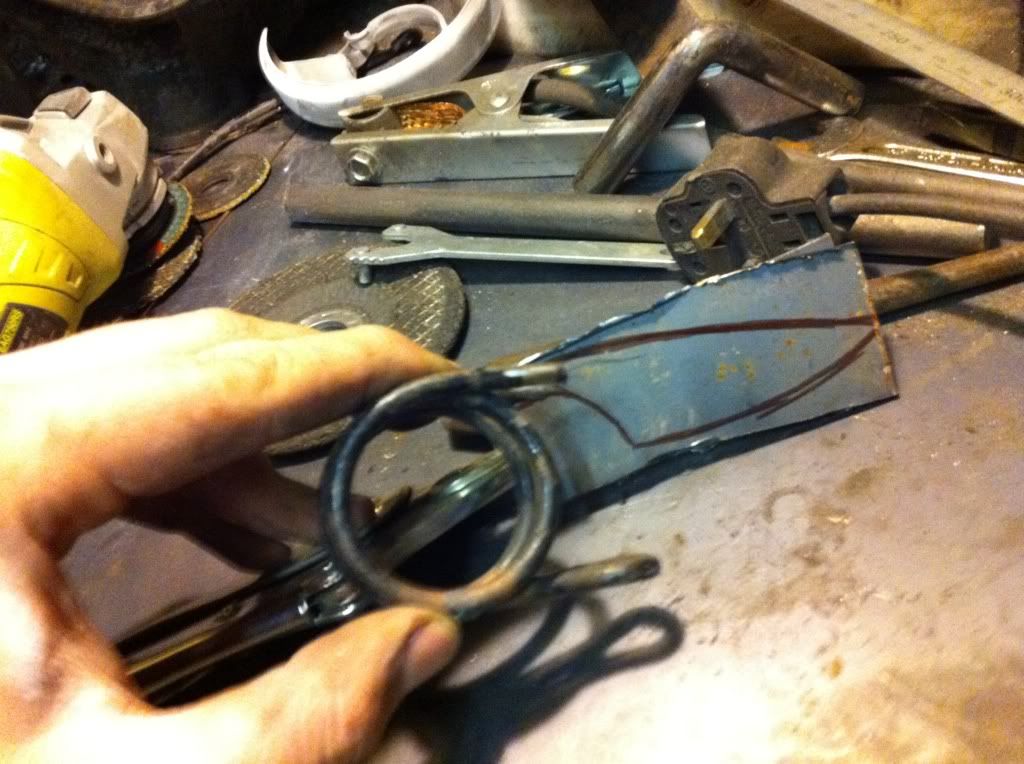
Ground them out (2 pieces back to back held with mole grips when ground so I had a matching pair), and then welded them in place with some extra filler:-
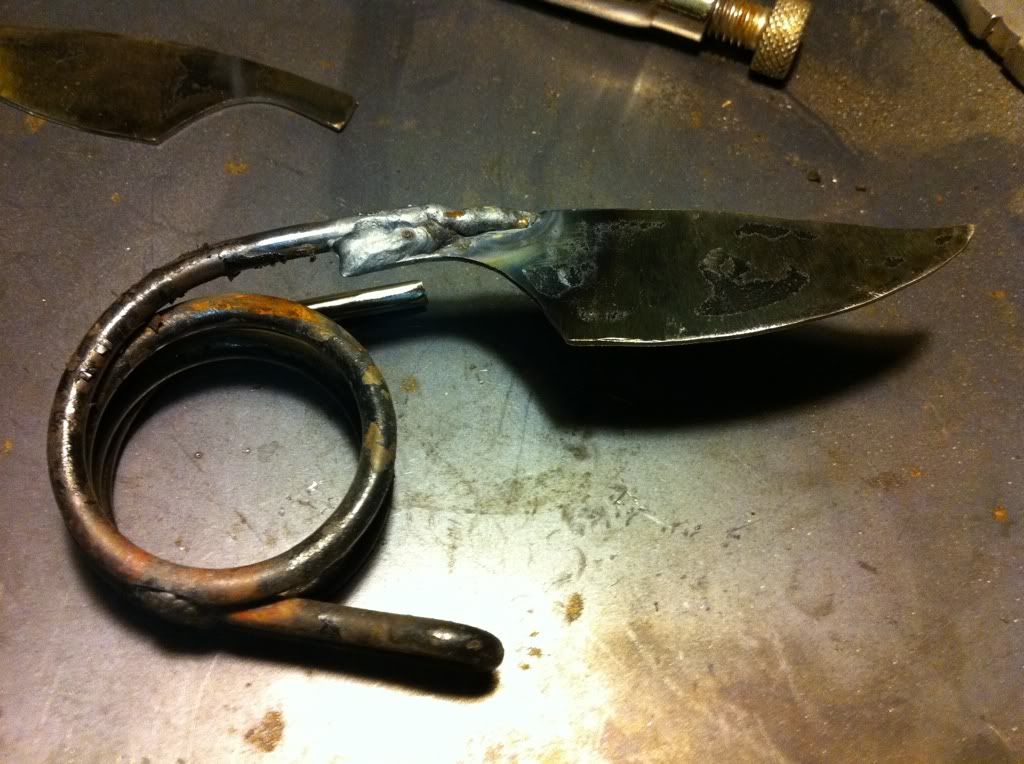
Plenty of grinding and filing later and check these bad boys out!!!!!
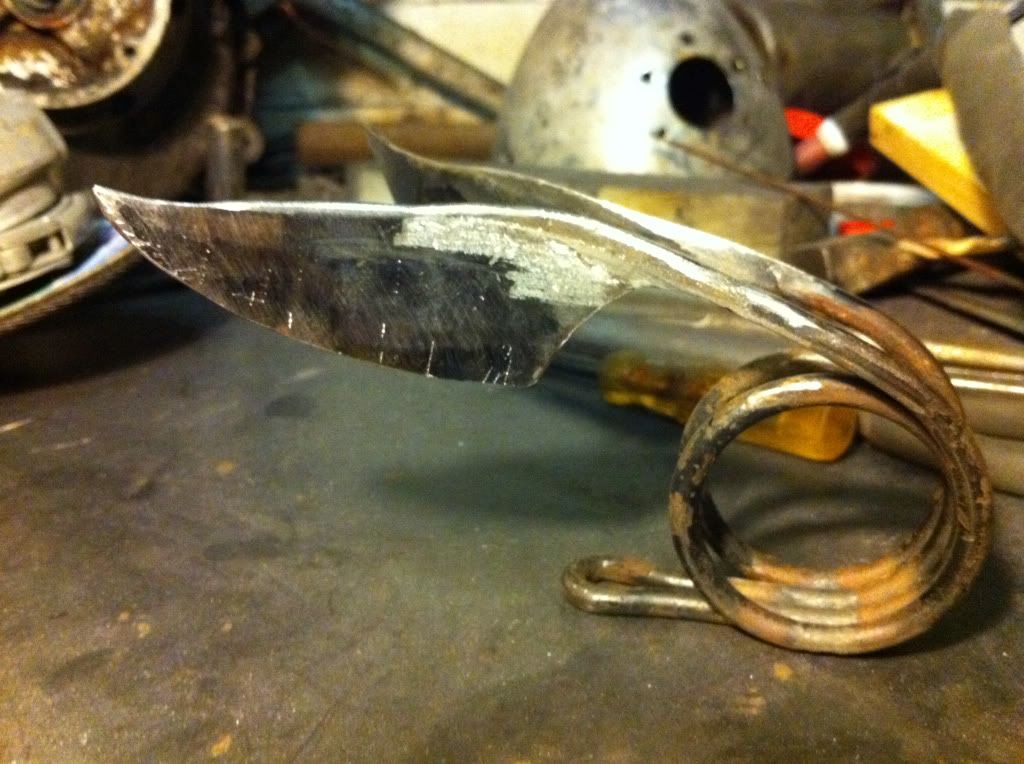
Attempted a bit of a mock up of the lamp and the new mount, and it's looking bloody lovely!
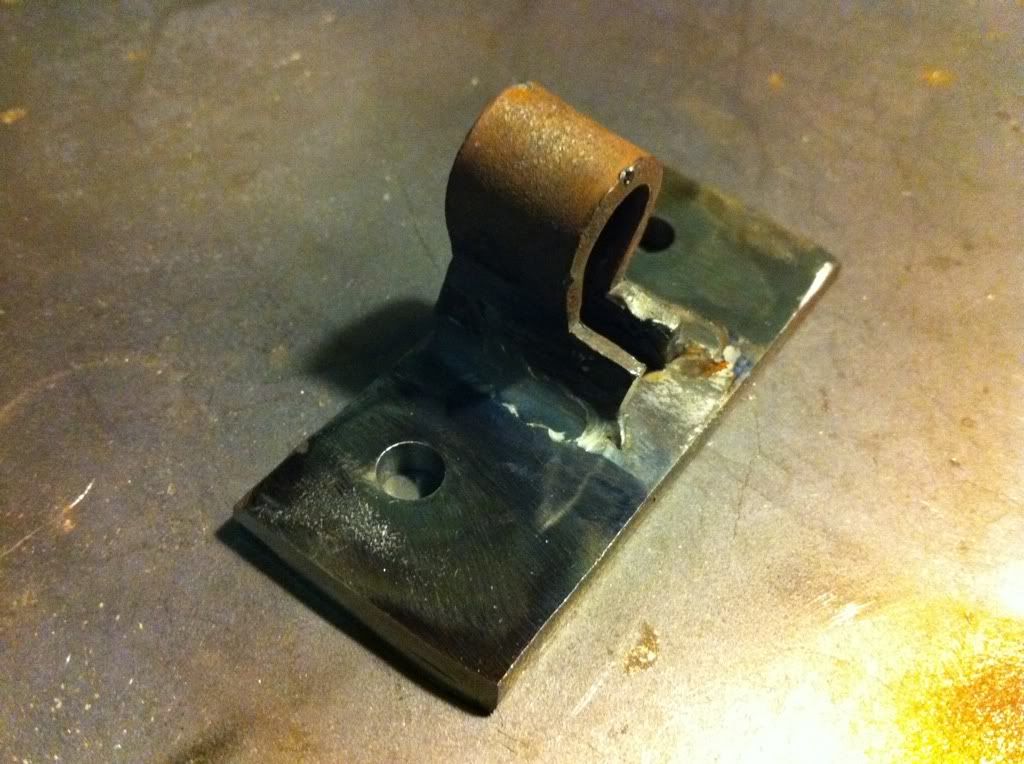
As for mounting it to the yokes, I cut back the old mount, and welded it onto a plate that can be bolted into the yokes. this needs a bit more time tidying up the shape, but it works well!
All bolted together:-
And with the headlamp in situ……
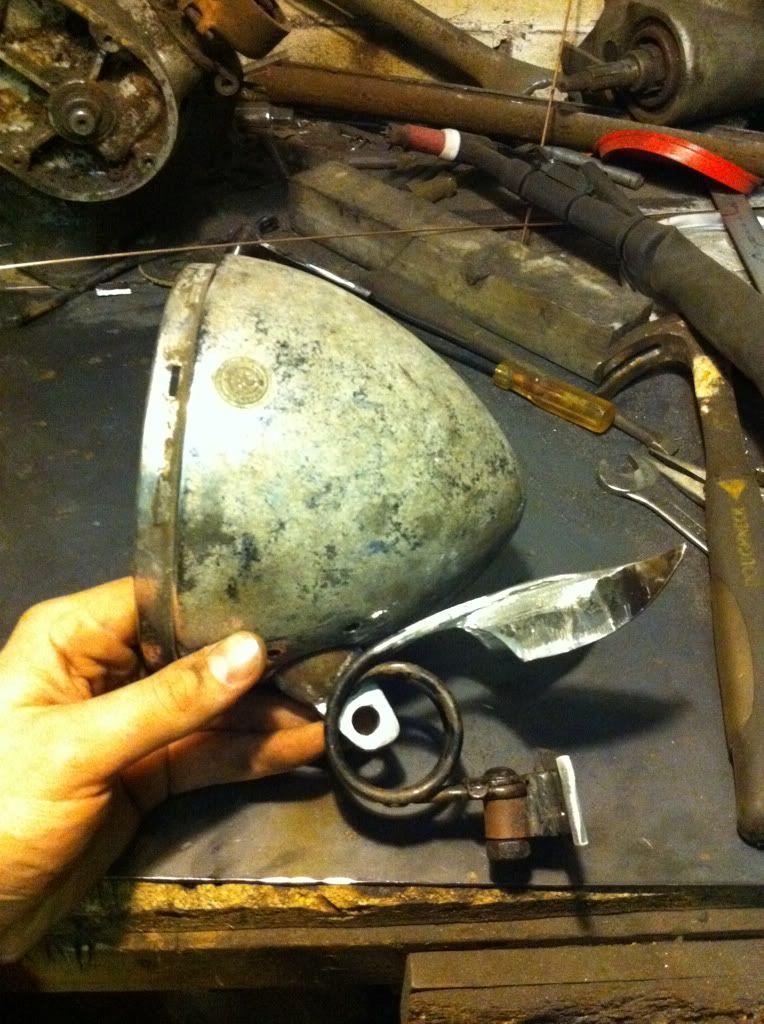
I will need to make some lugs to weld to the inside of the coil to attach the light to, but all good for the now!
Final job - the ignition switch for the fakey oil tank:-
I've decided to mount the ignition on the back of the tank, so it's out of sight and I'm not buggering about with the Jap cap….
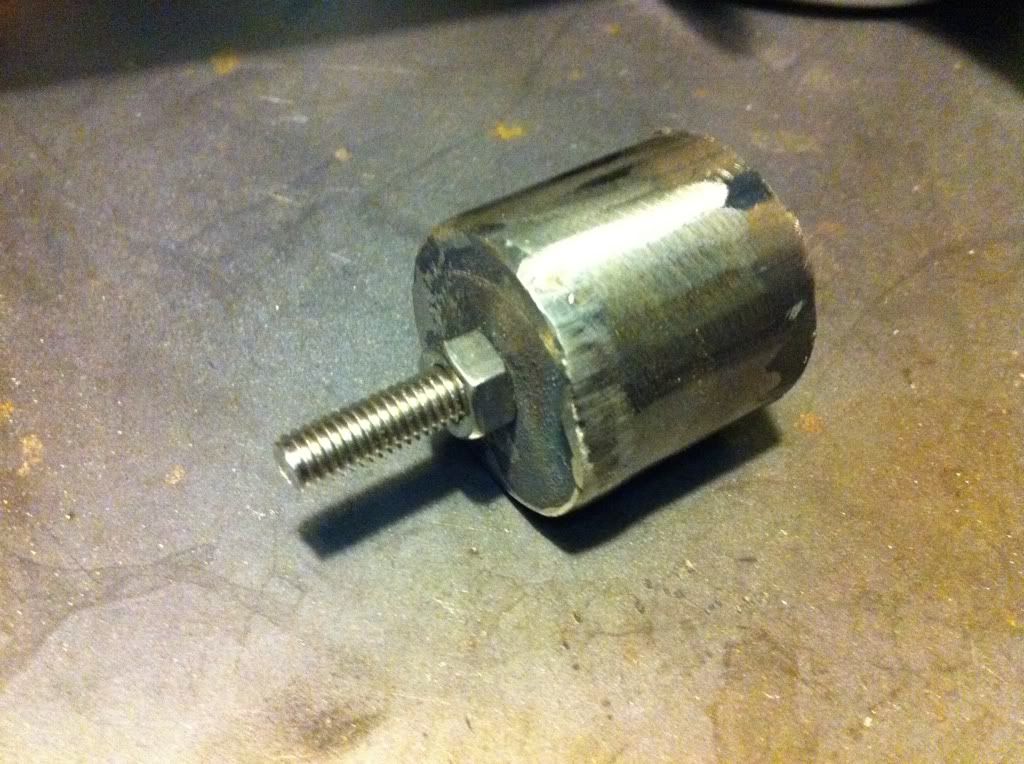
I welded some 5mm sheet to a piece of old tube

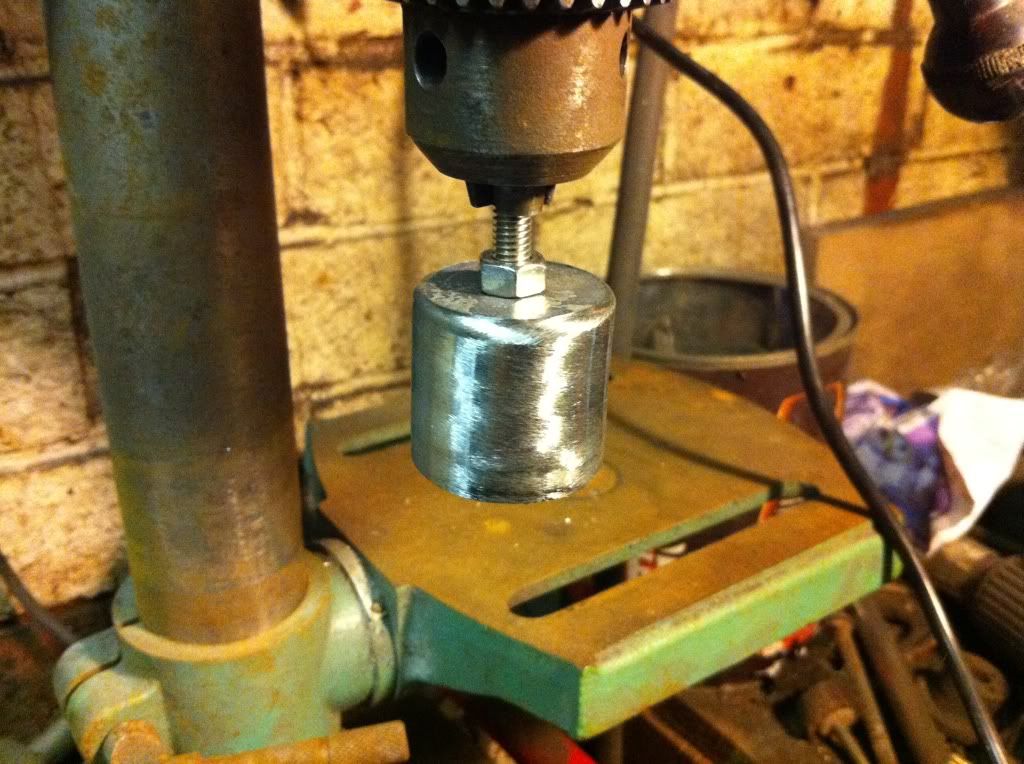
I roughly sorted the welds out with a flapper disc, but it was still a bit shaky, so I drilled a hole in the end, attached it to a nut and bolt and put it I the pillar drill:-
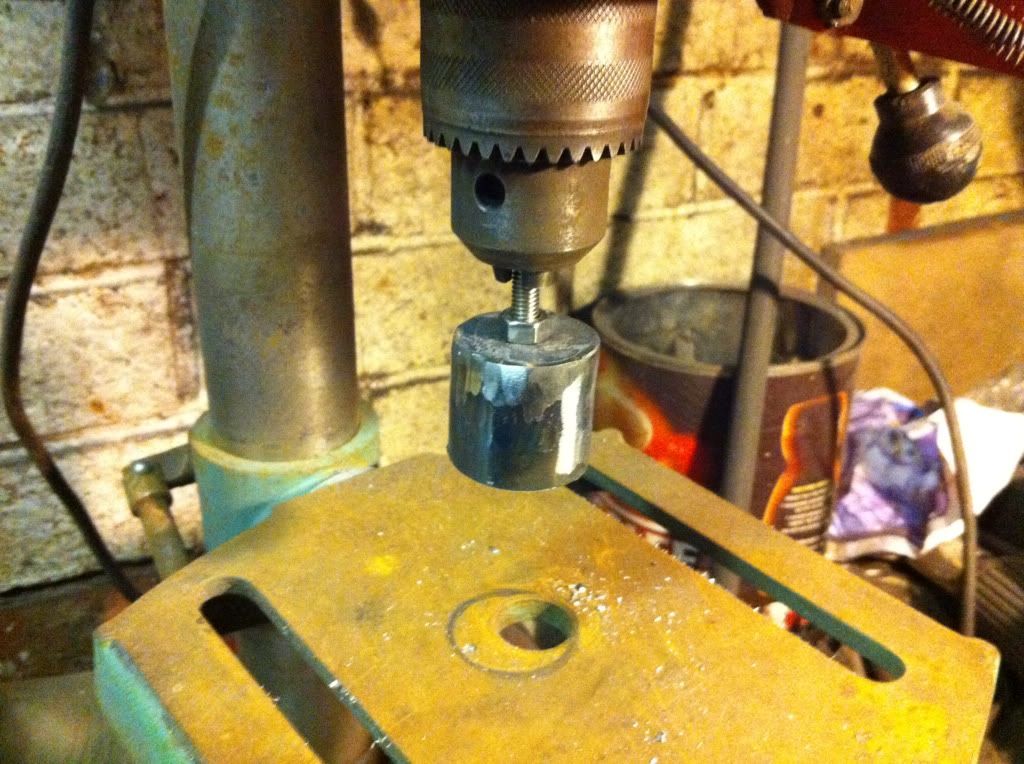
turned the pillar drill on and used a flapper disk to get it shaped nicely:-
Drilled a hole in the side of the tank and widened it (badly) with a die grinder bit in a hand drill:-

I consciously didn’t widen the hole for the ignition switch, as I didn’t want it all to warp with the heat of welding it. It was a right twat to weld as the steel wasn’t so thick in places, but it’s a half decent job….
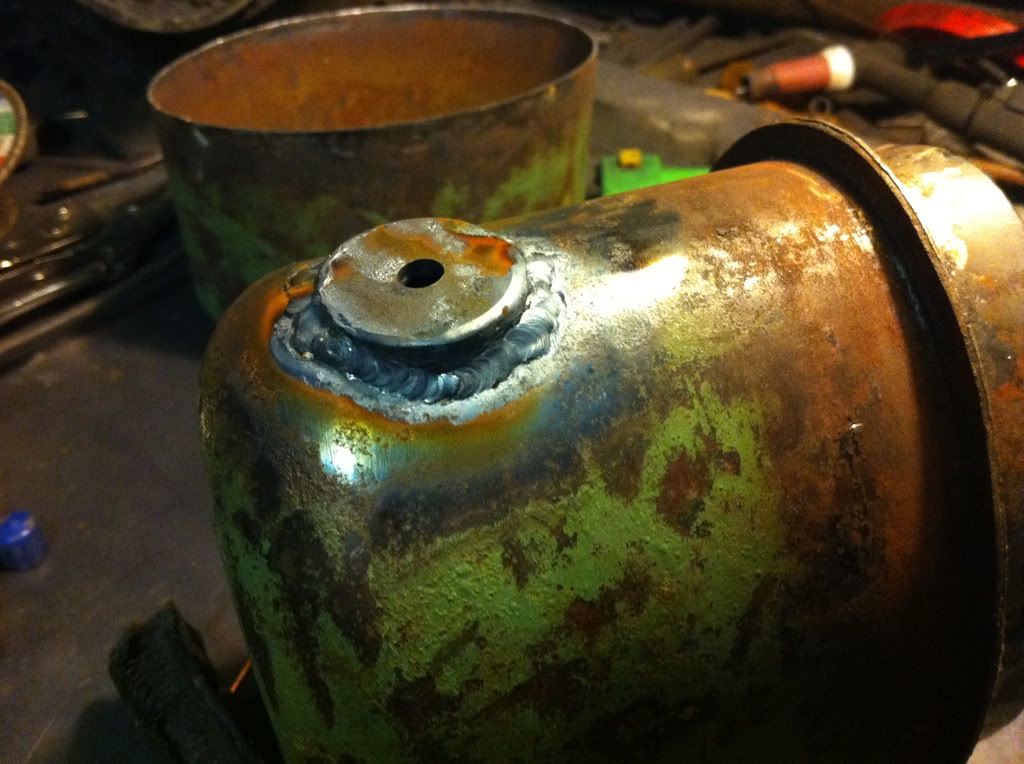
and there it was left for the day. not a bad effort in my eyes!
still got a load to do, but I'm going to be hitting that to do list in a serious way the next couple of weeks!
No comments:
Post a Comment