Wednesday 20 April 2011

Mockup without wheels......

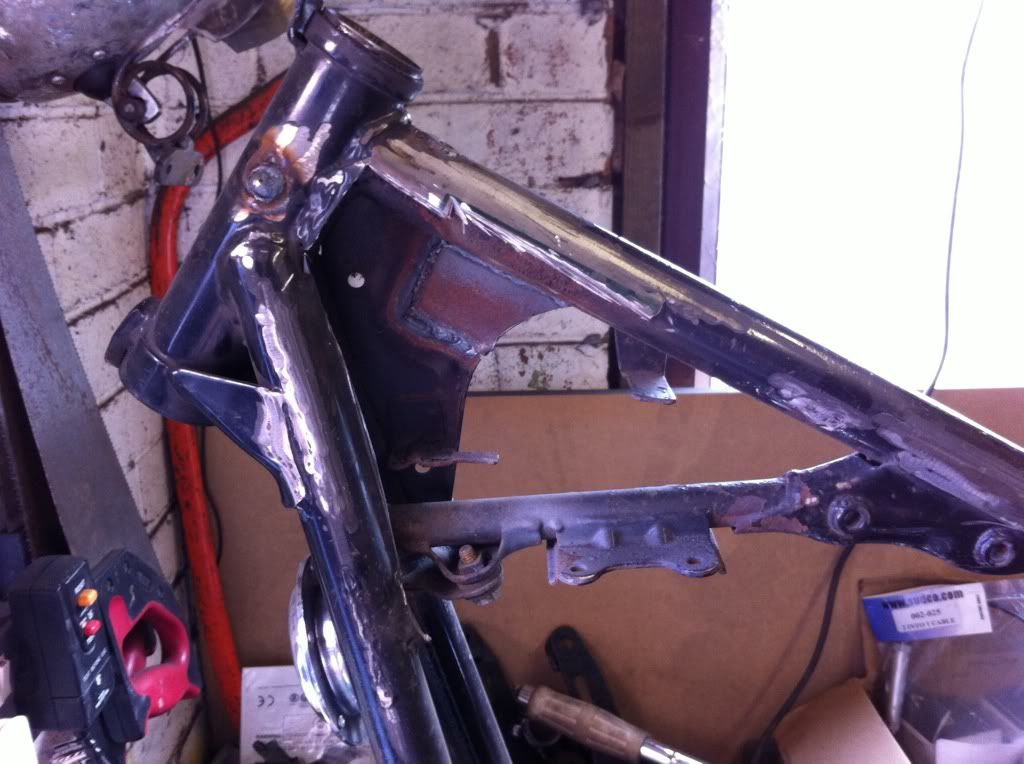
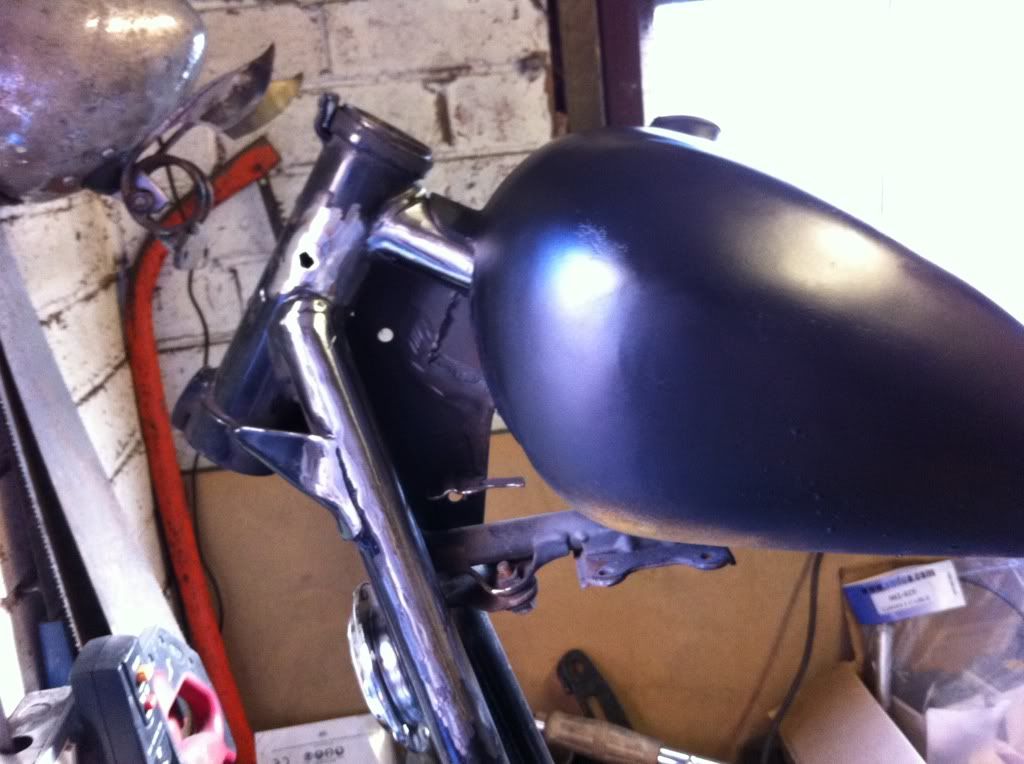
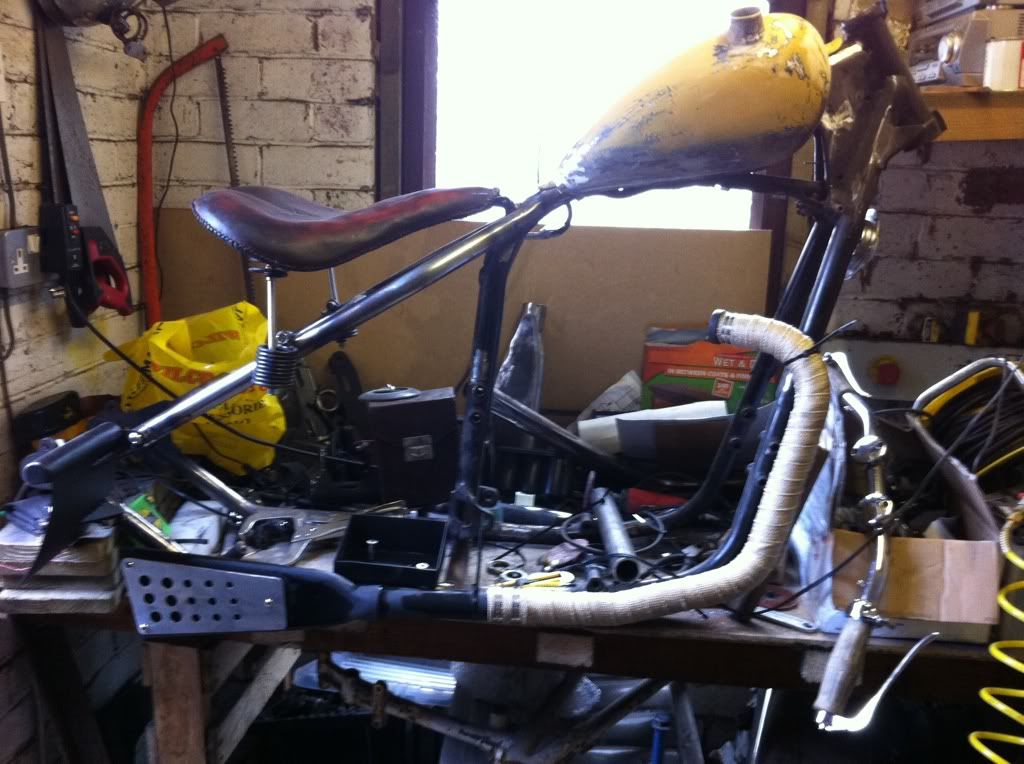
Was hoping to have the bike as a roller today, but it seems that Yamaha made different size fork legs on different models - which had left me with 35mm fork legs and top yoke, and 34 mm bottom yoke.

I tried a little gentle persuasion, but it just didn't want to play ball. I'm now on the hunt for a new bottom yoke...

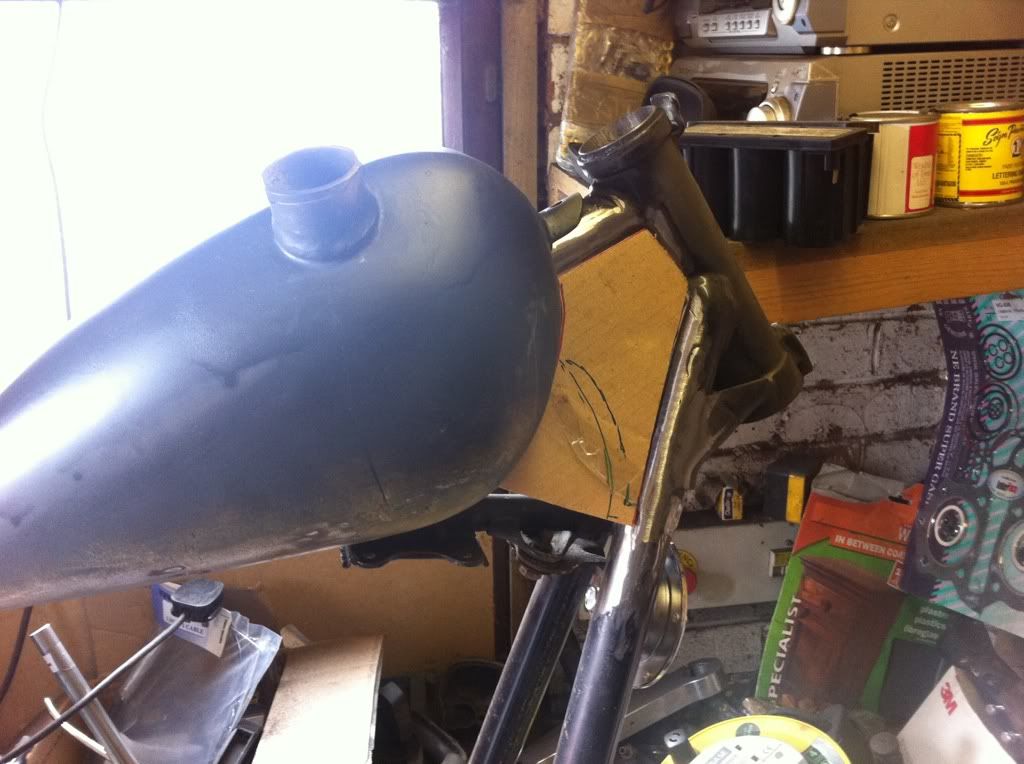
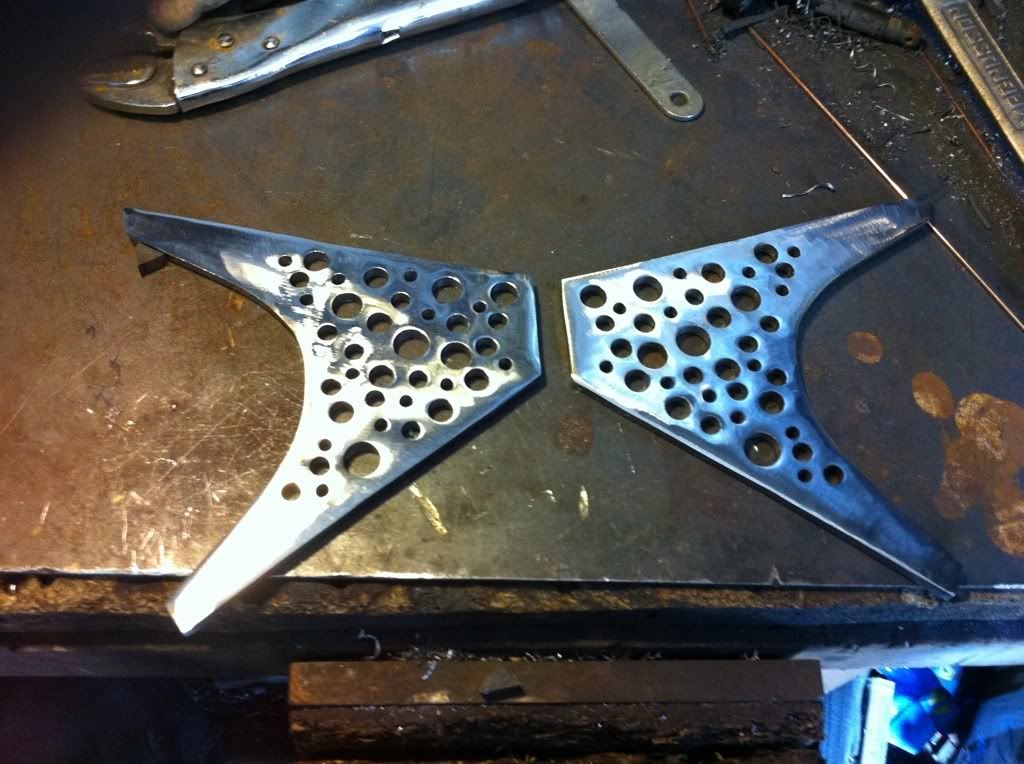
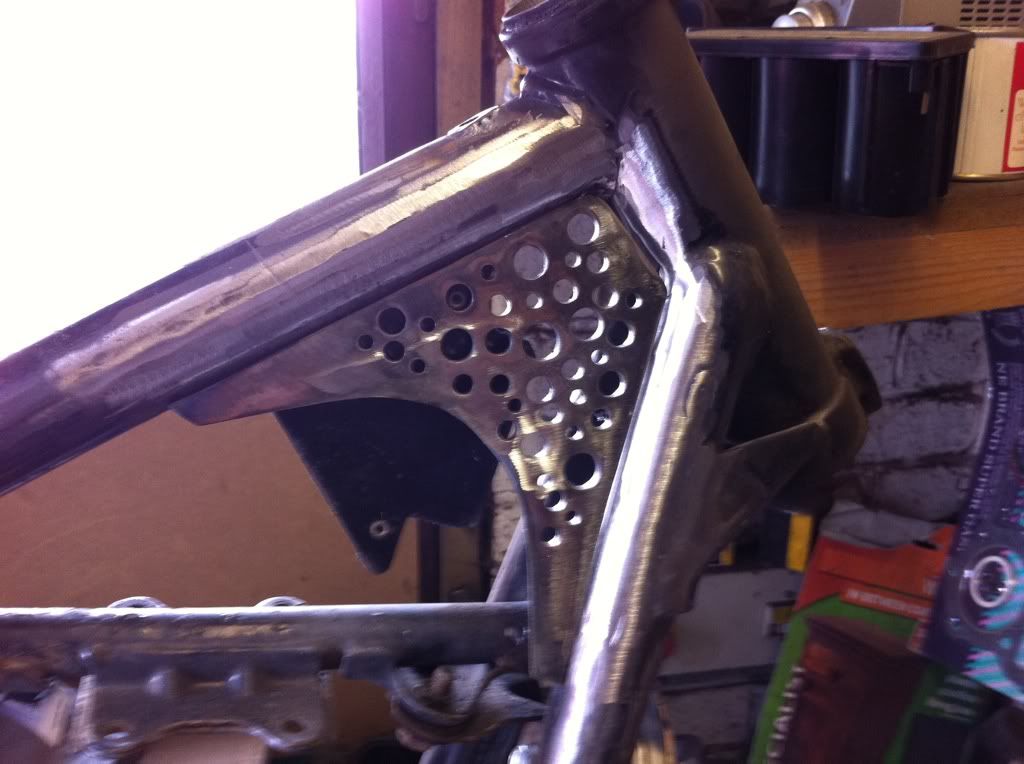
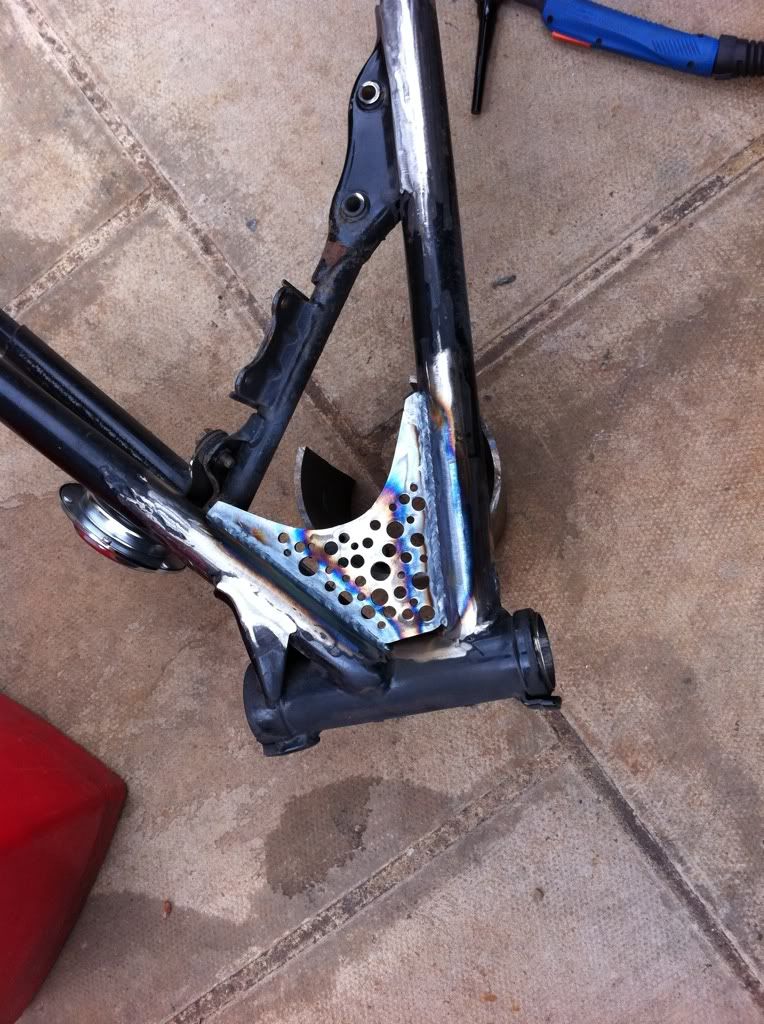
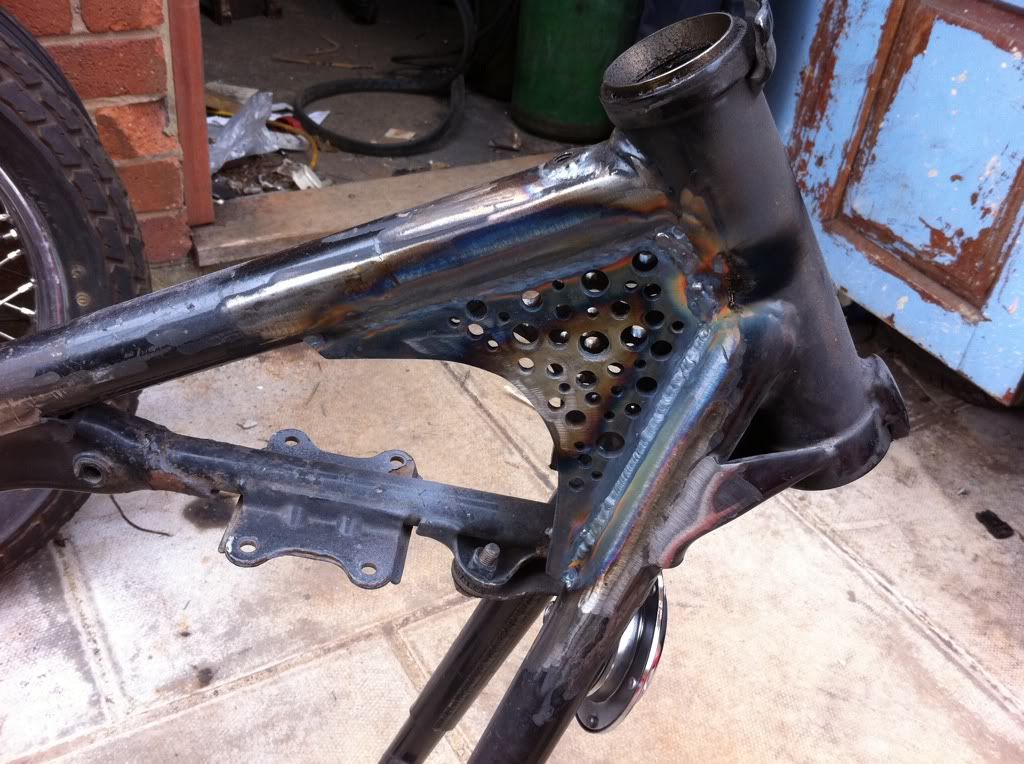
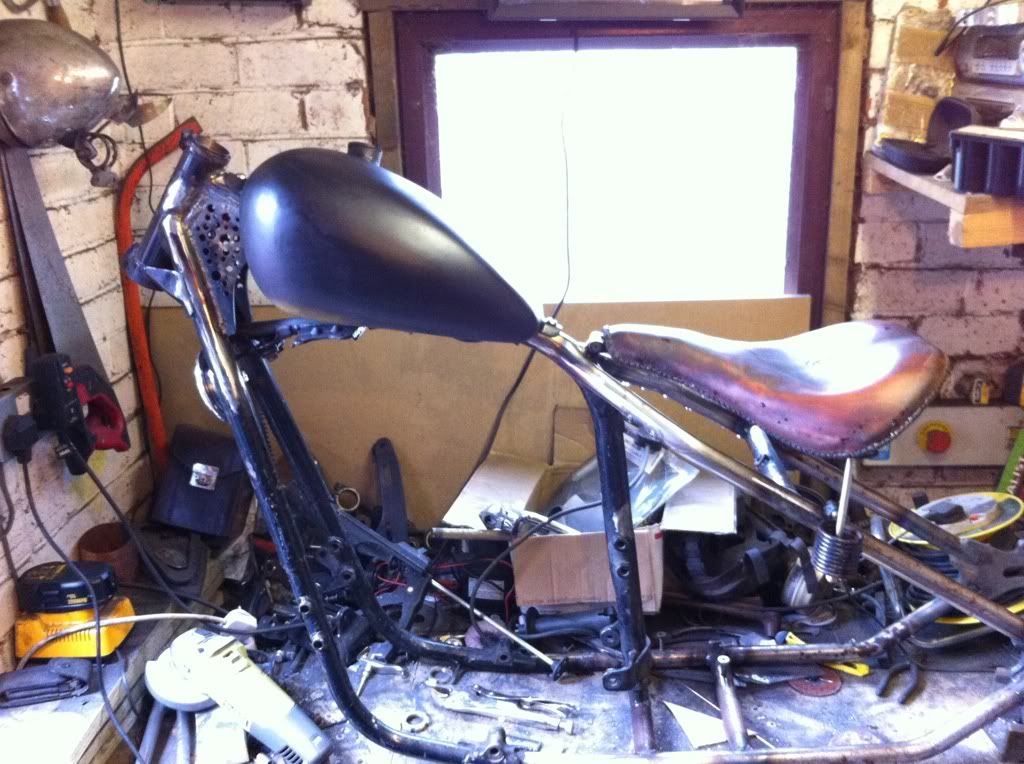
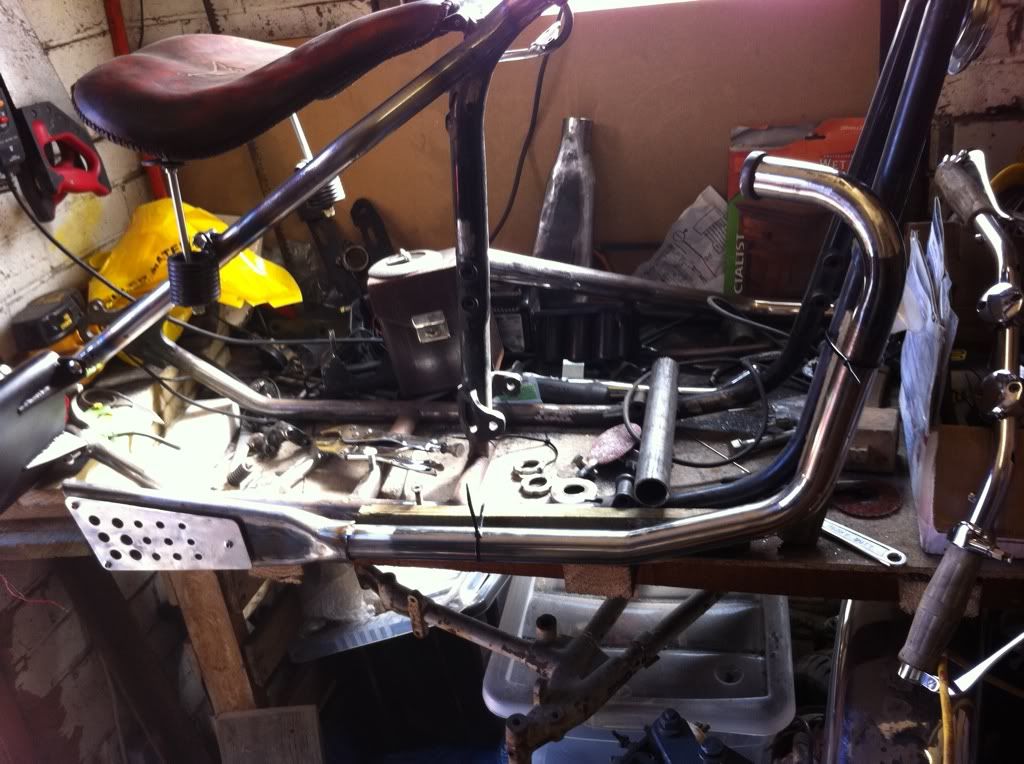
anyways - as I got the afternoon to fettle i got the bike out in the sun, and started to put some bits together....
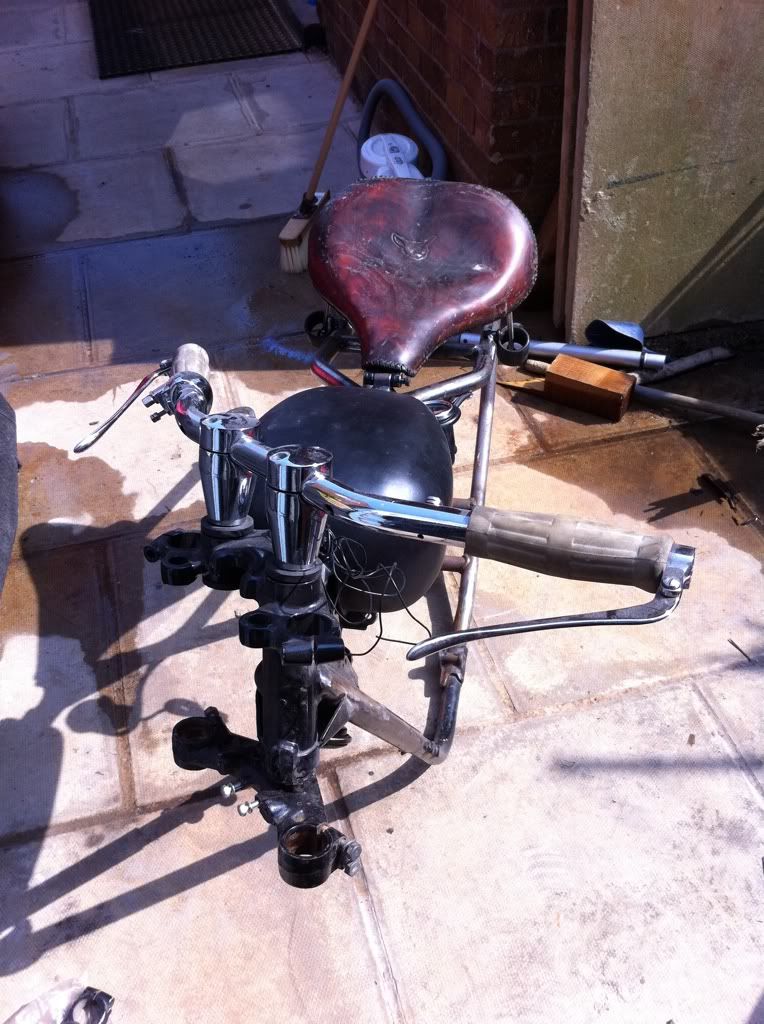
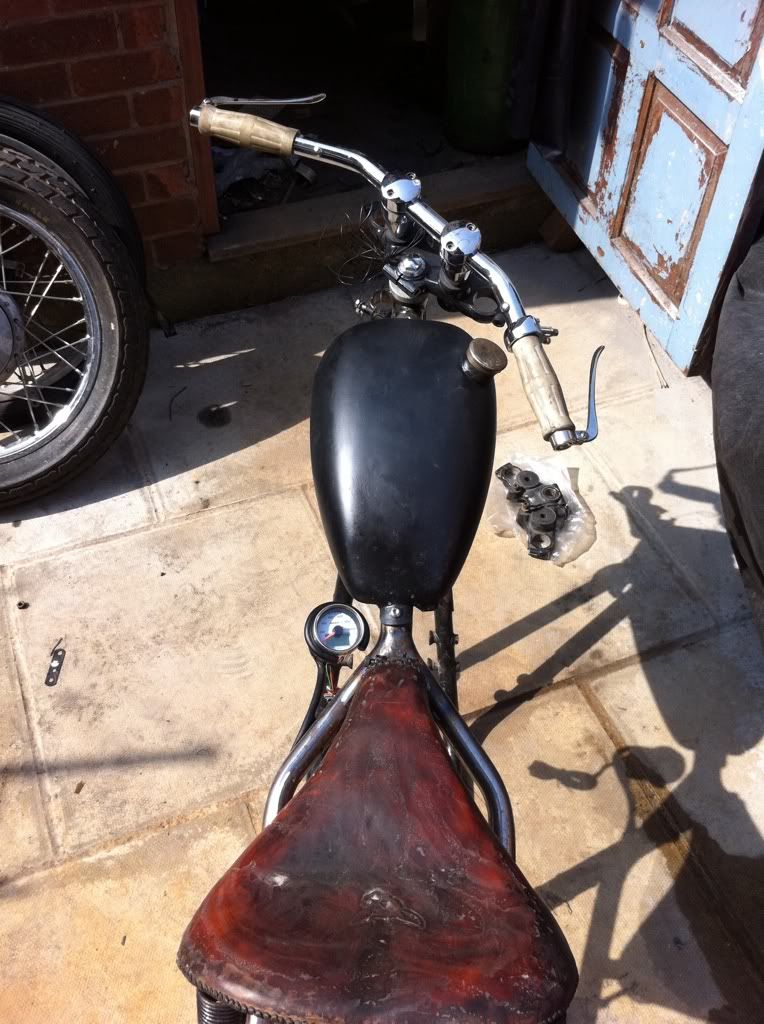
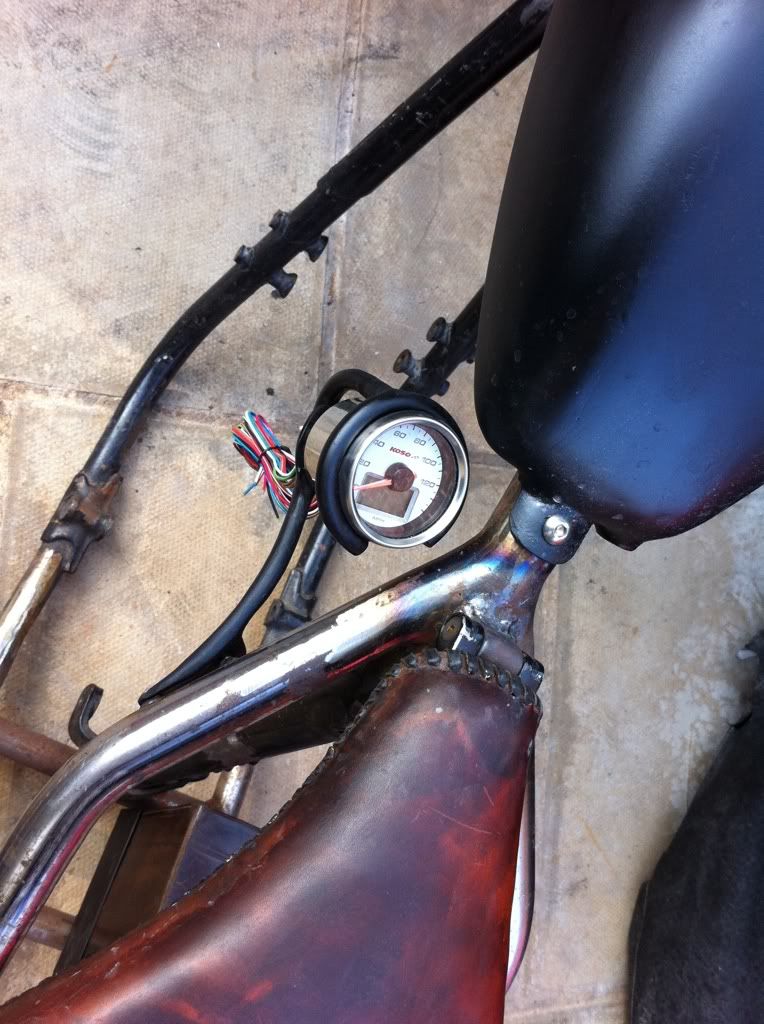


Speedo in its mount


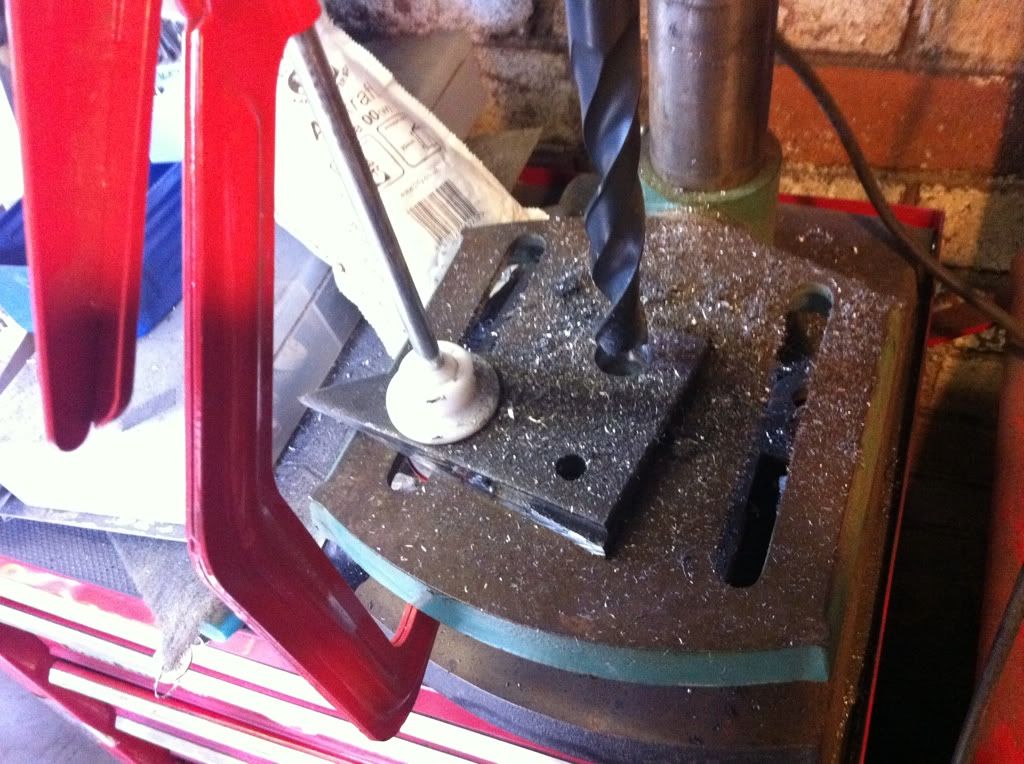
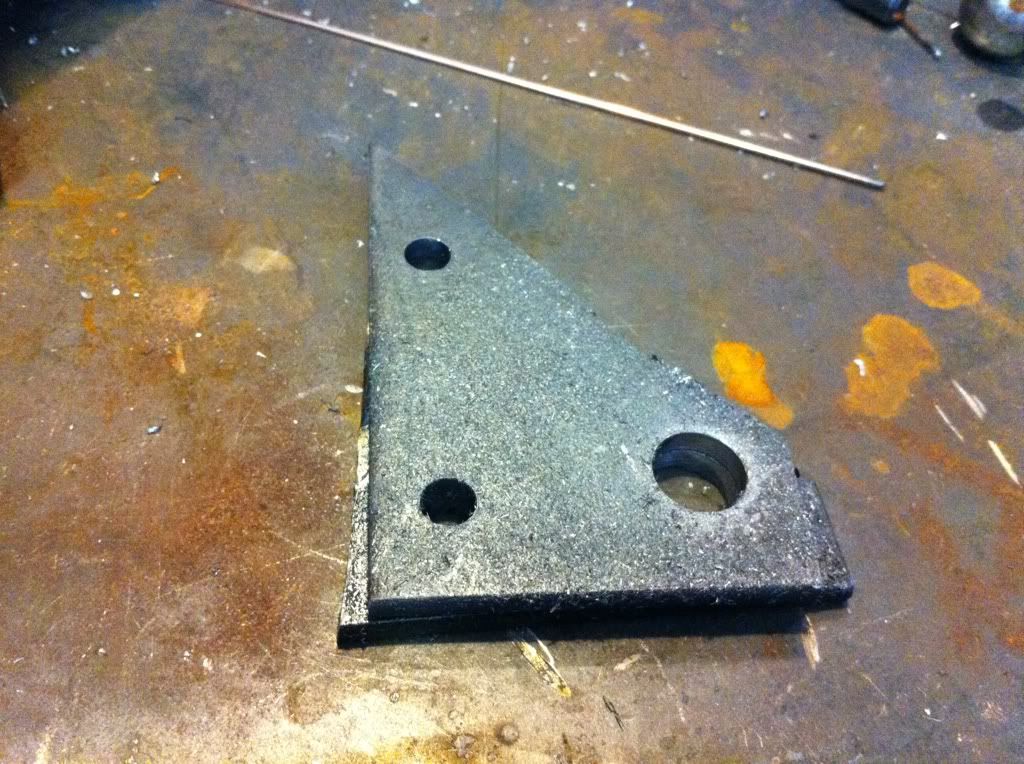
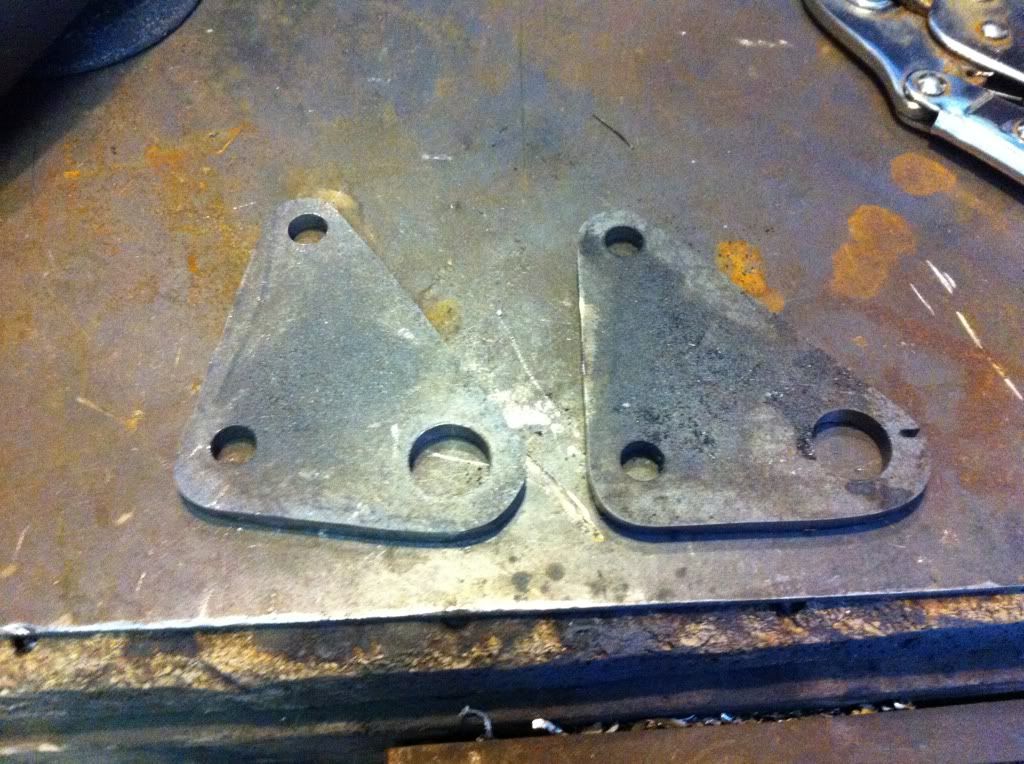
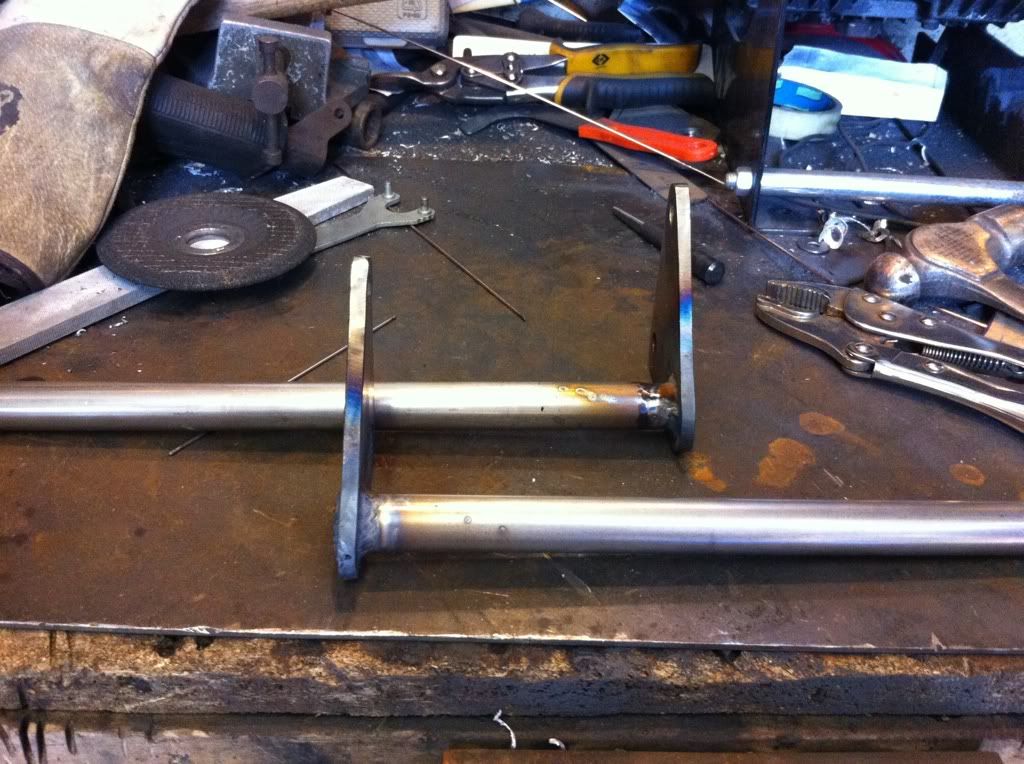
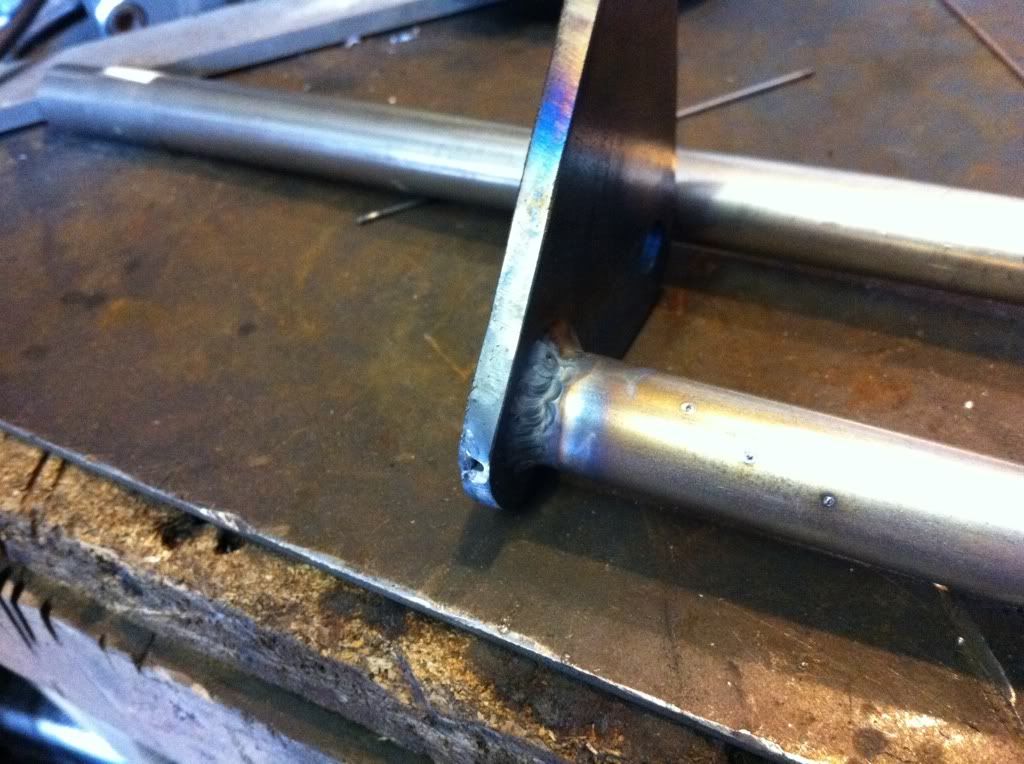
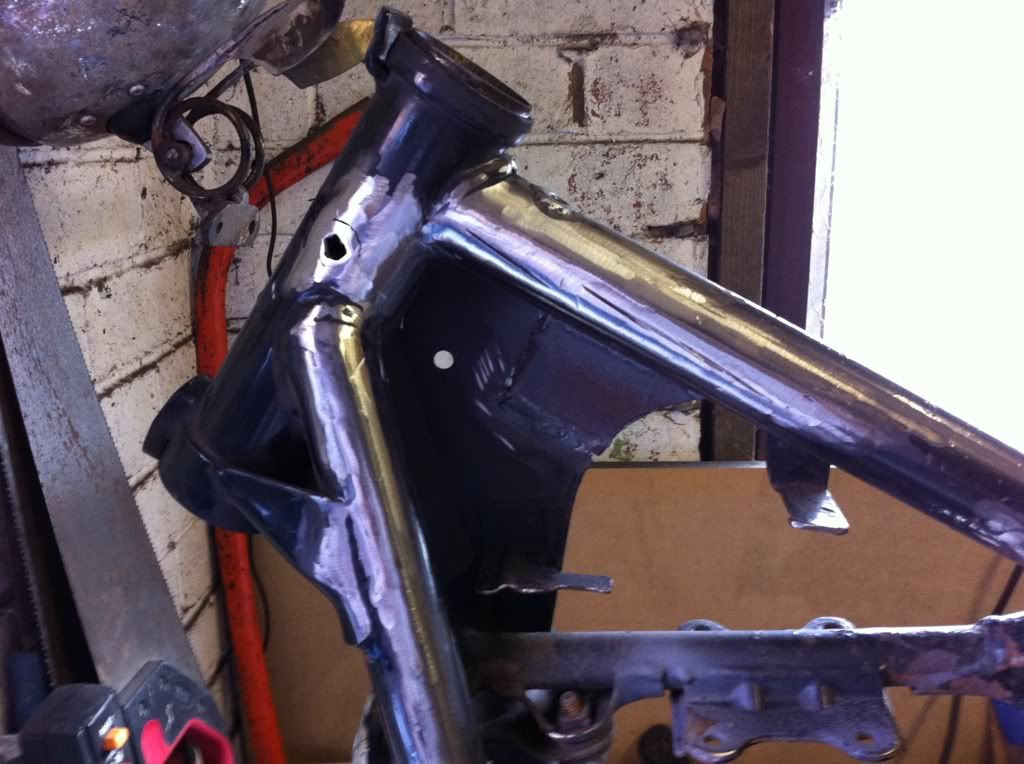
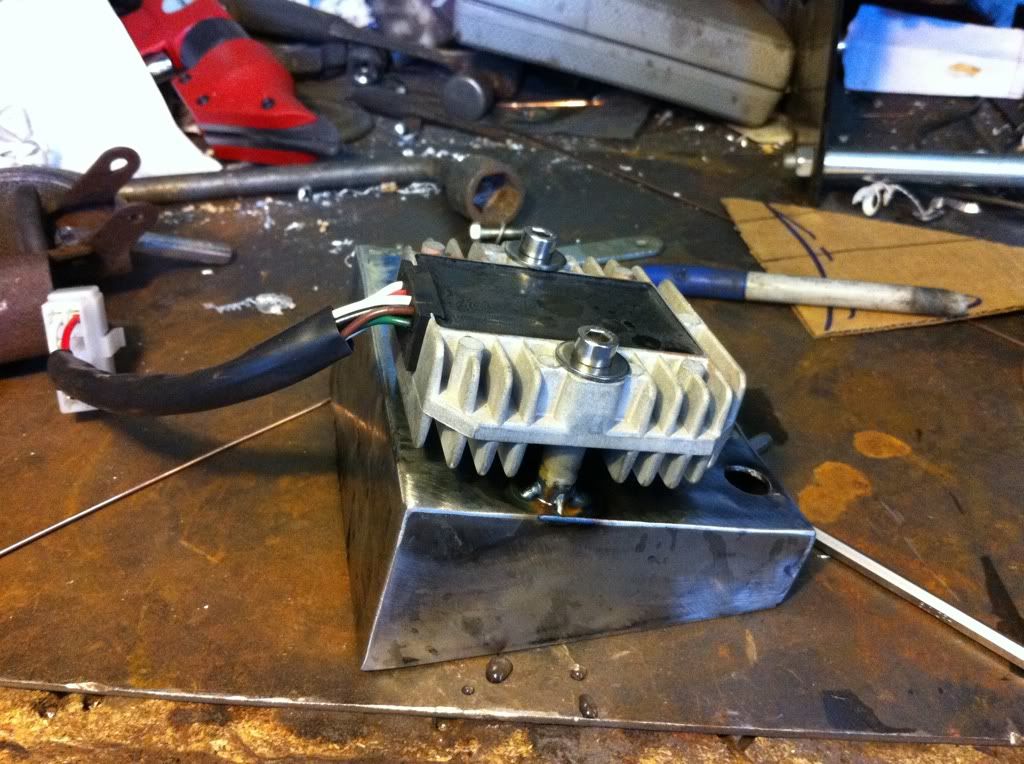
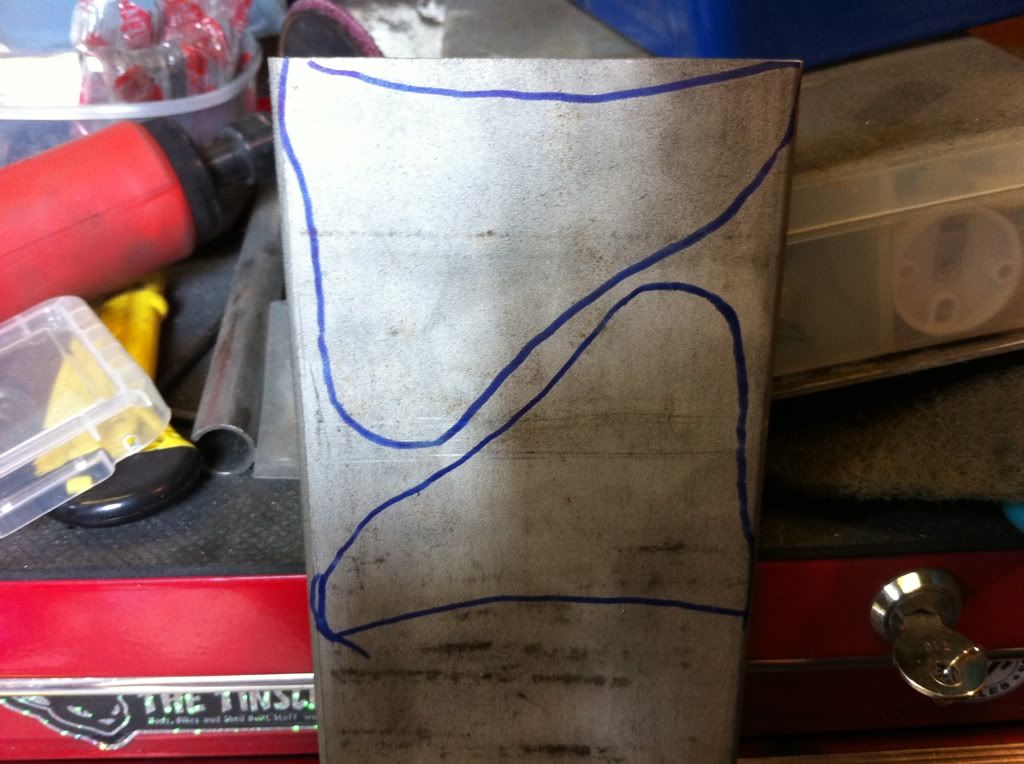
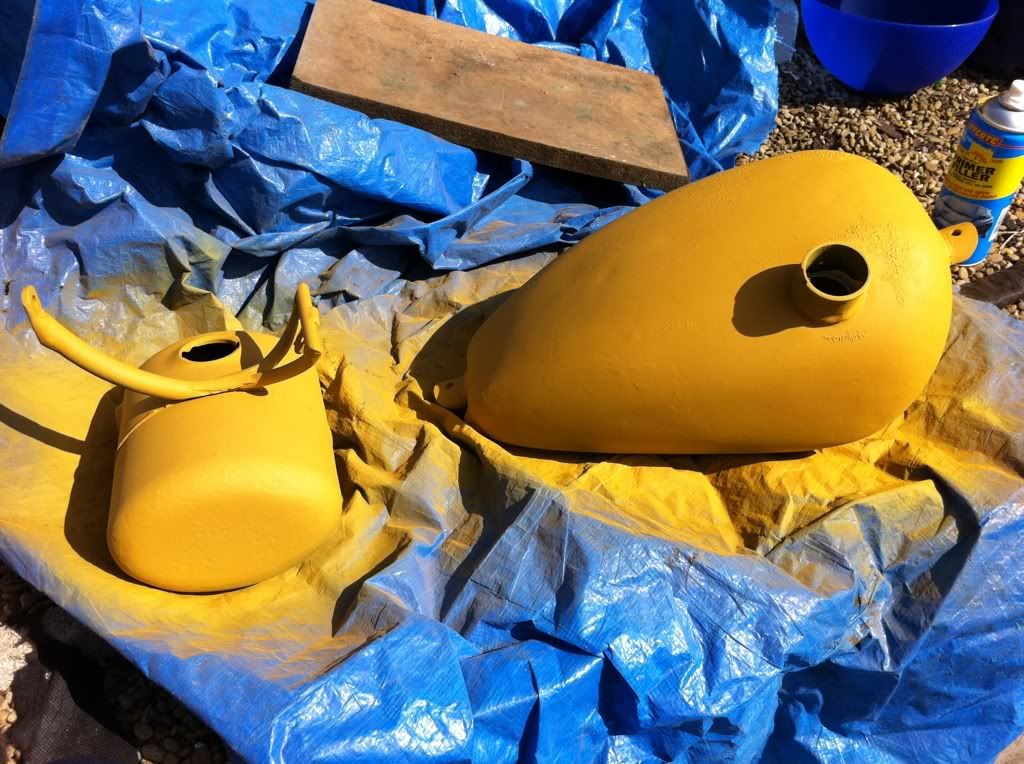
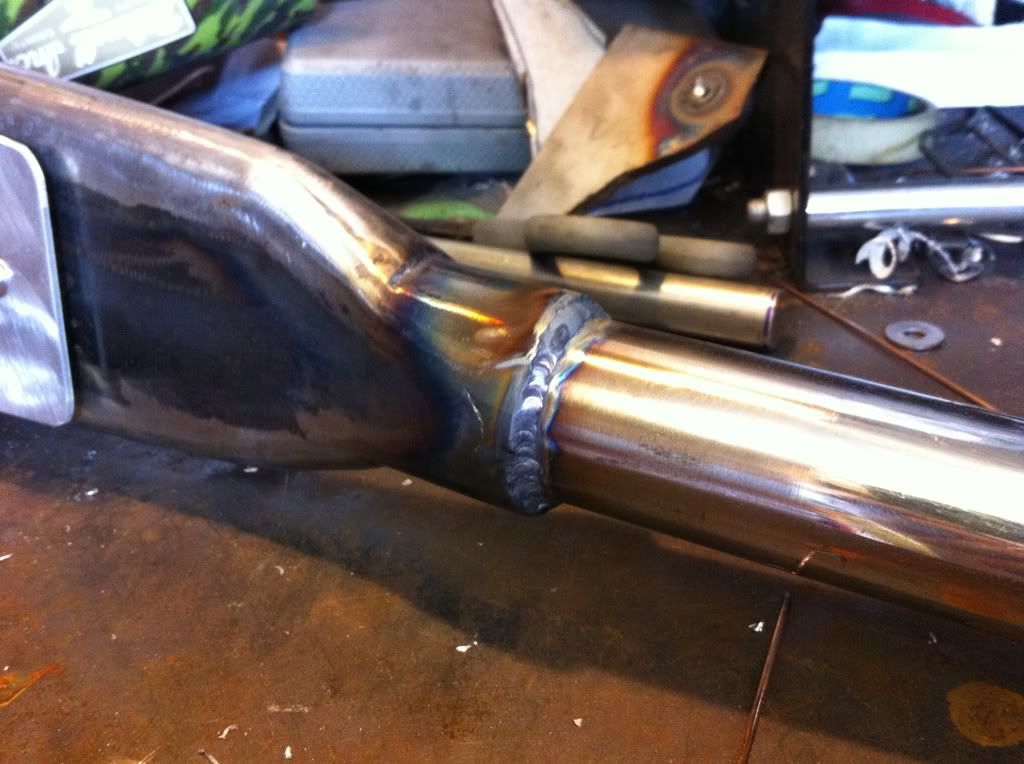
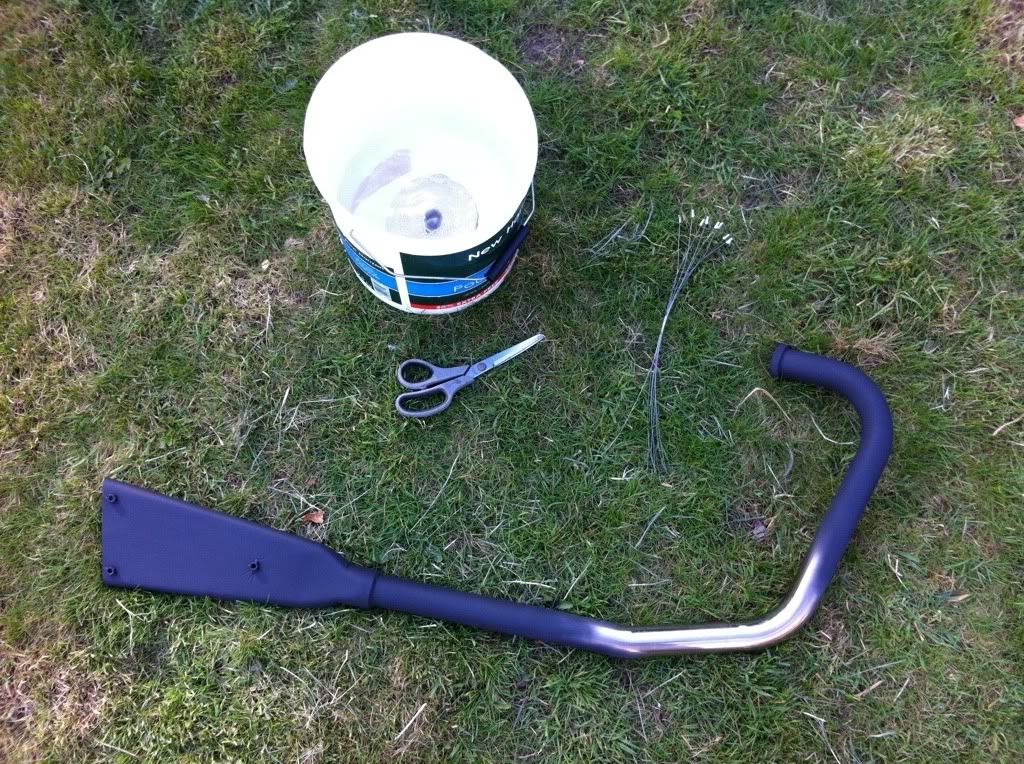
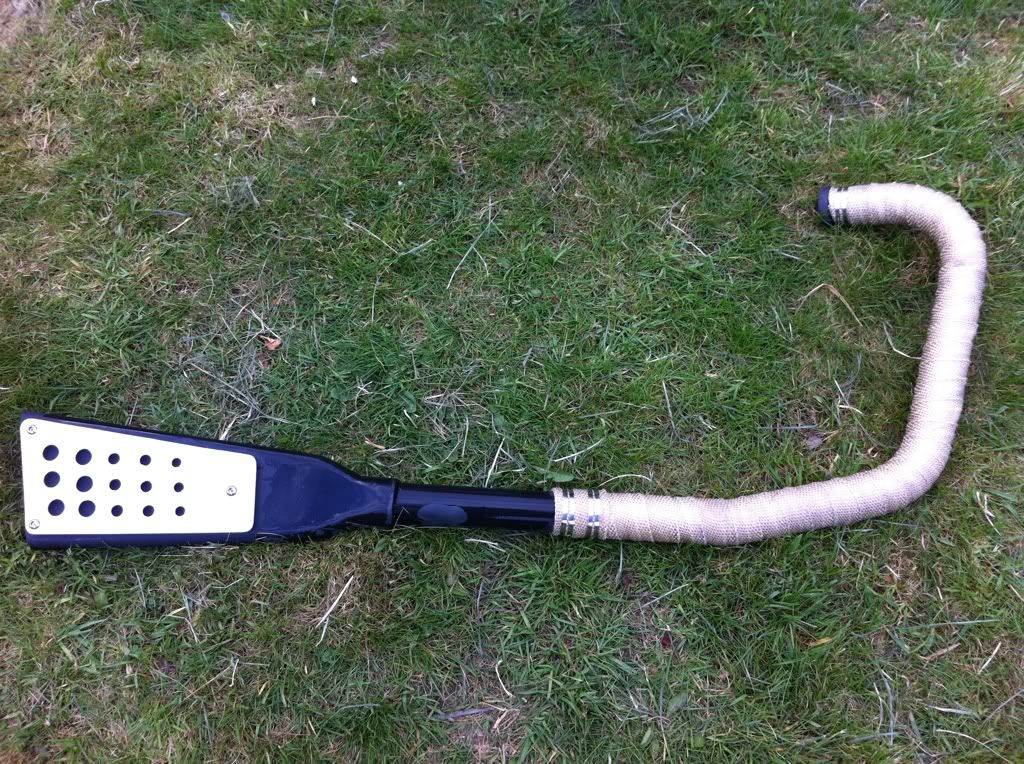
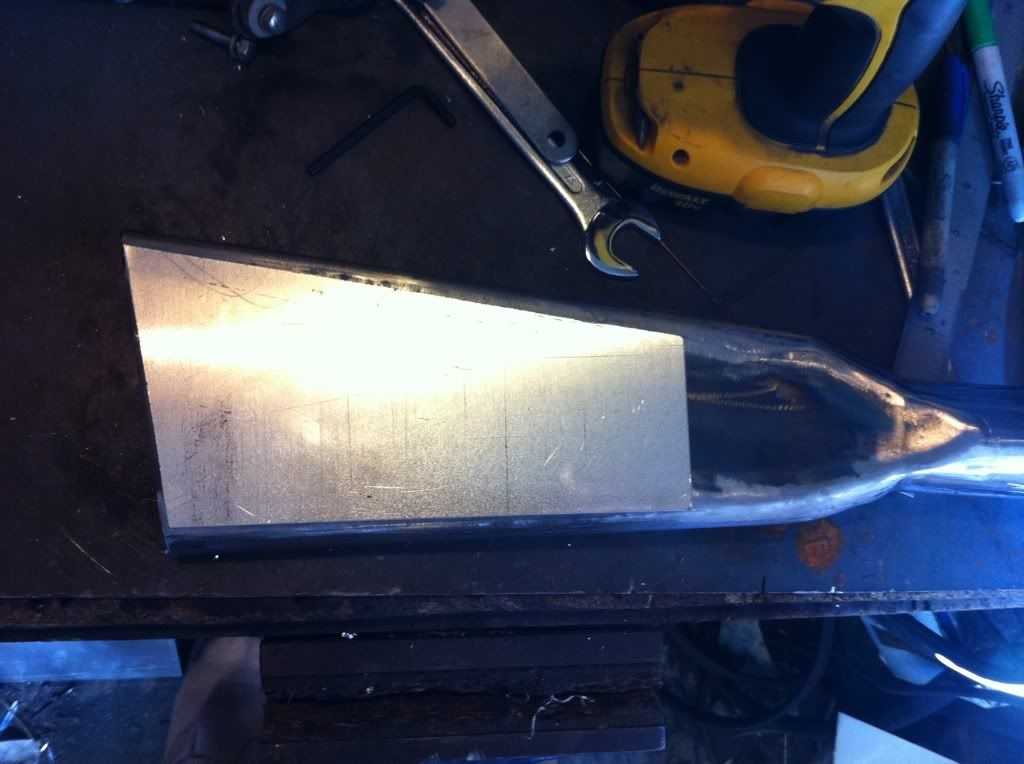
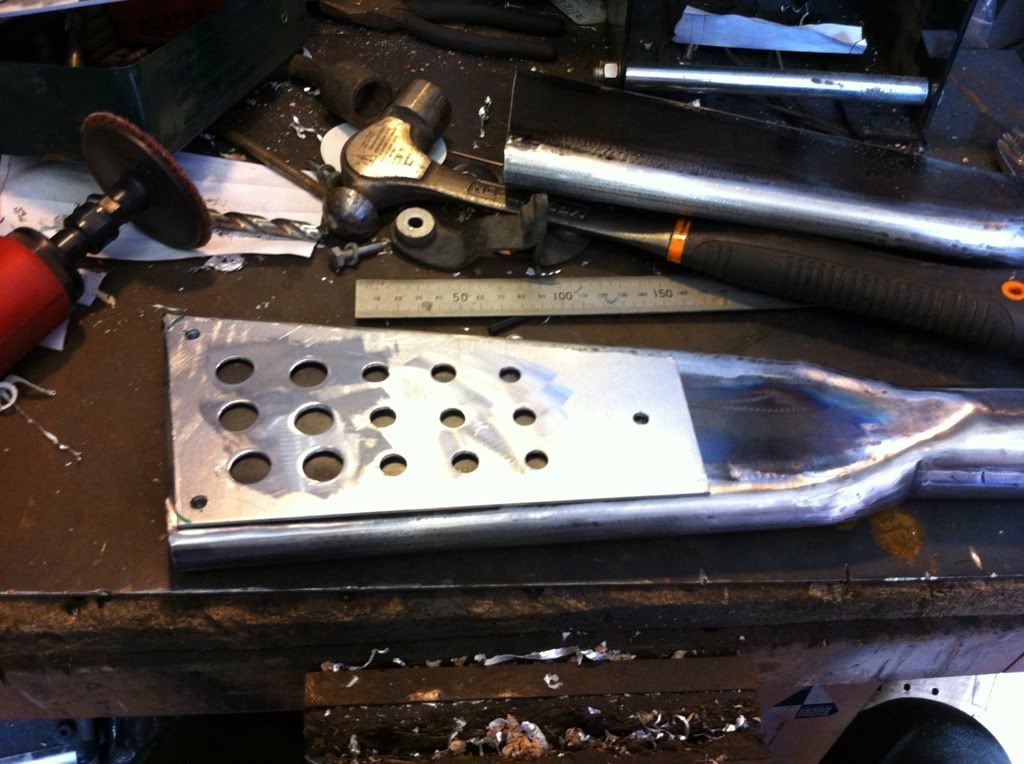
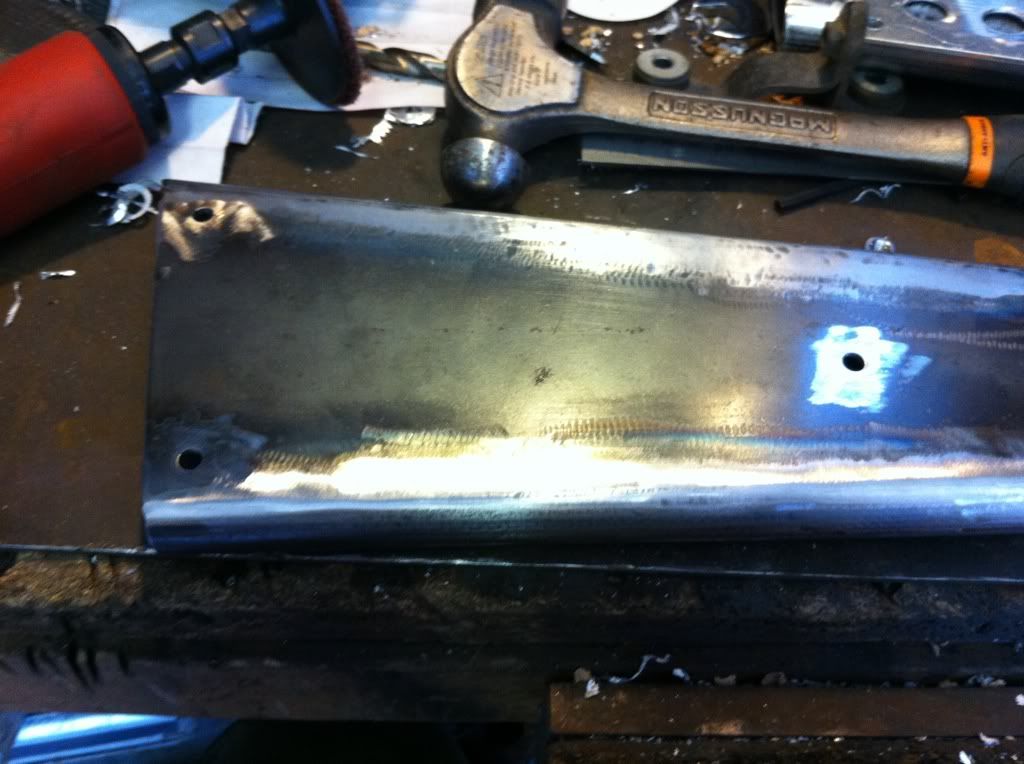
made a new mounting system to fit the narrow(er) yokes and got it sprayed up....


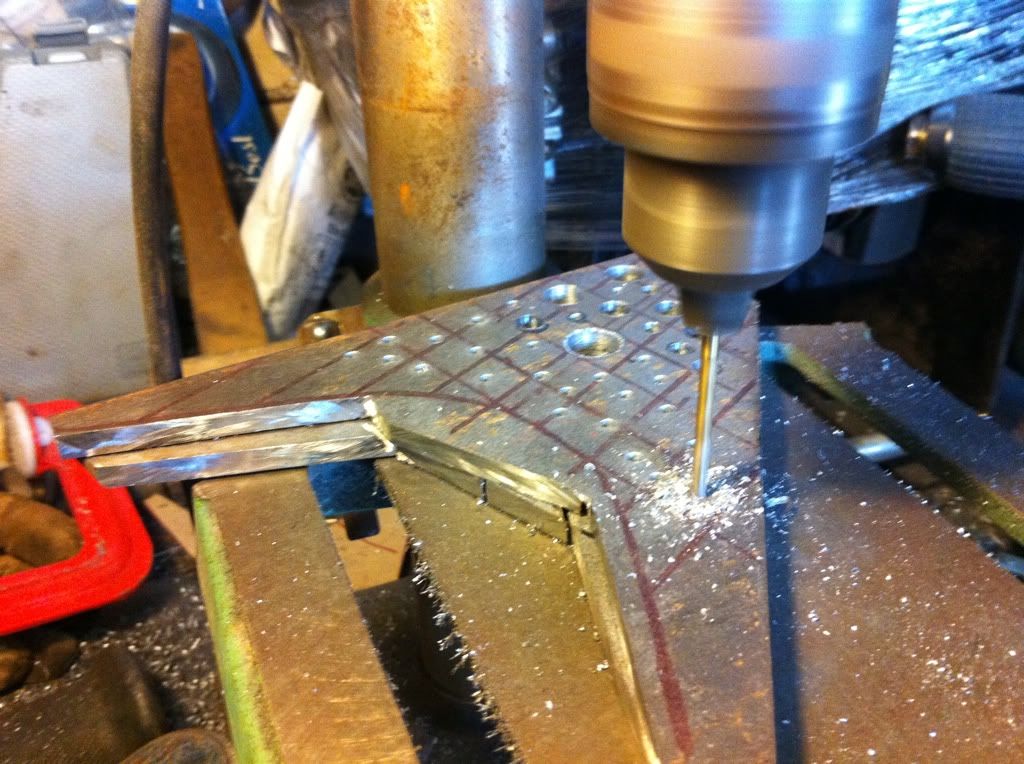
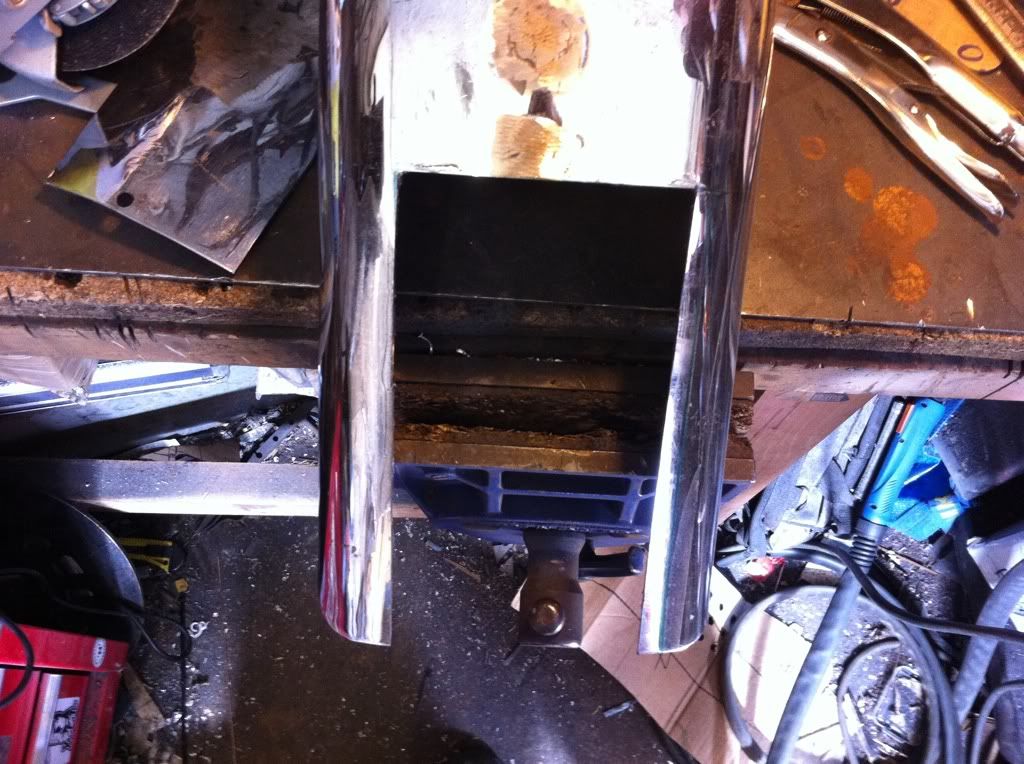
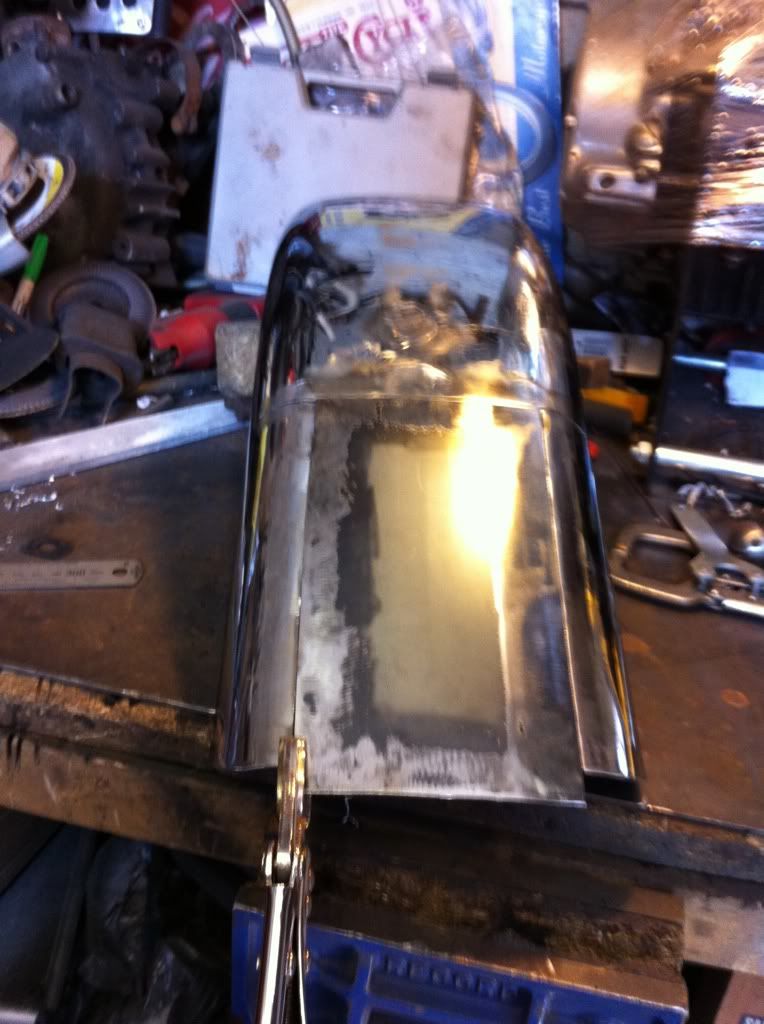
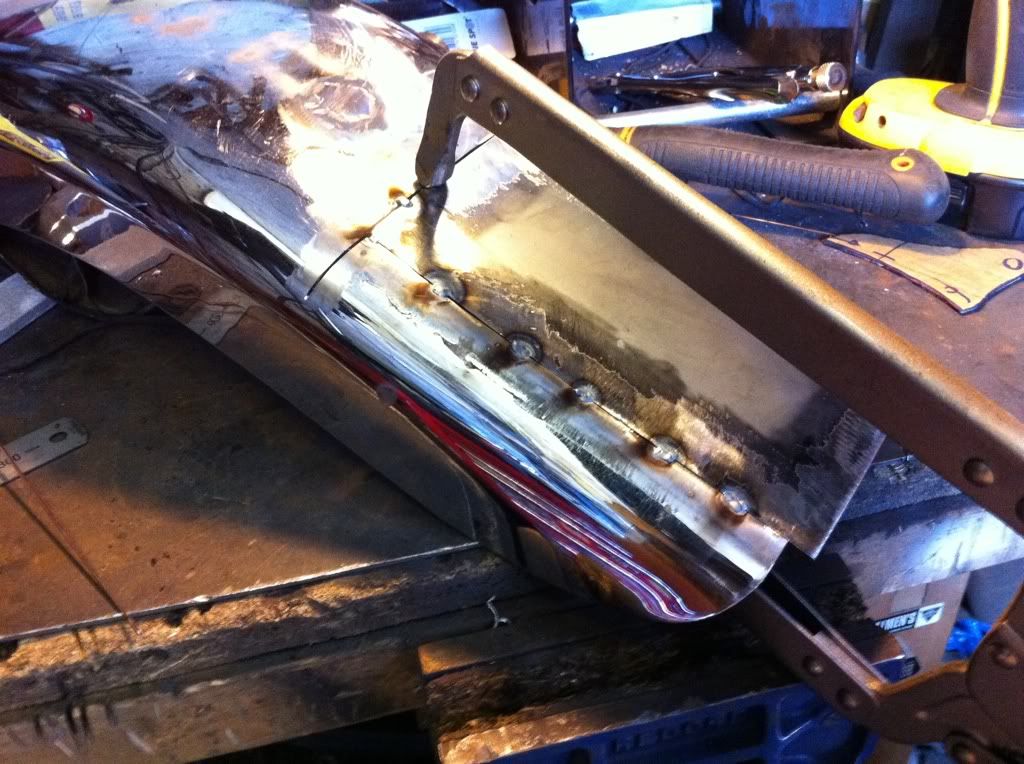
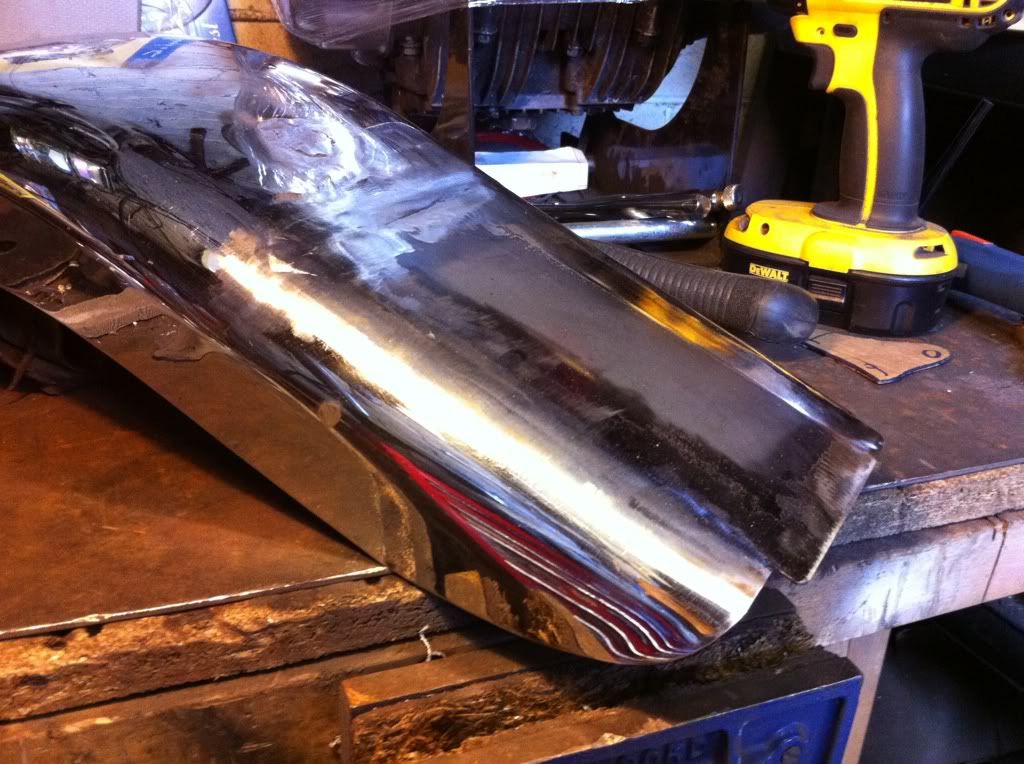
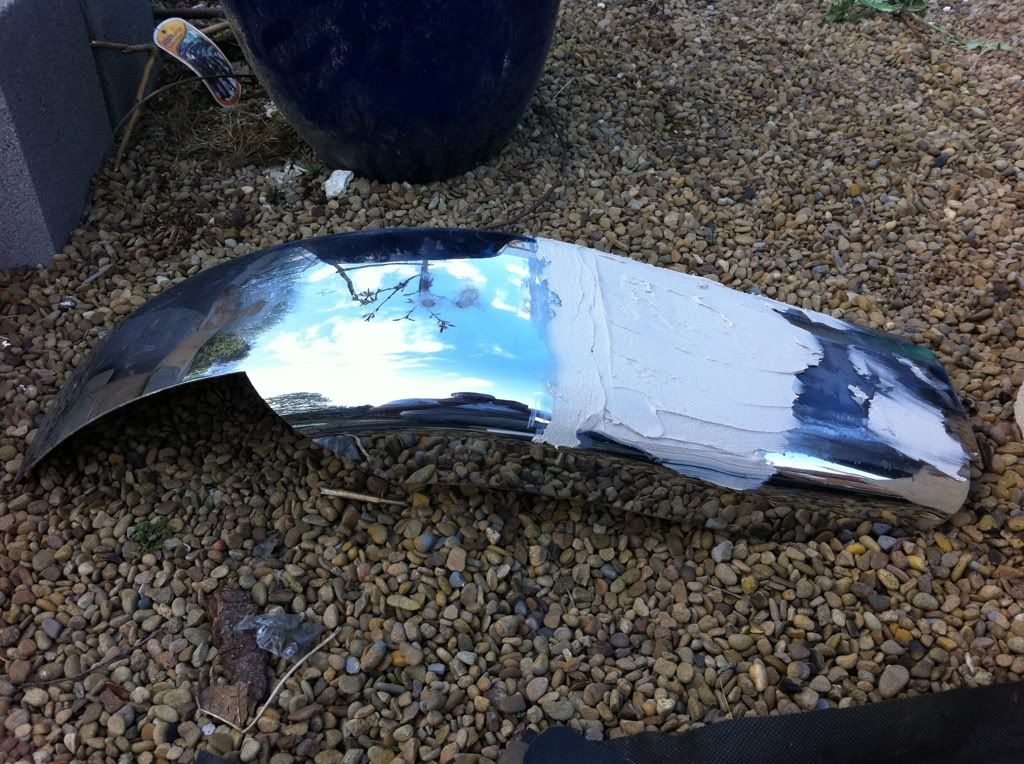
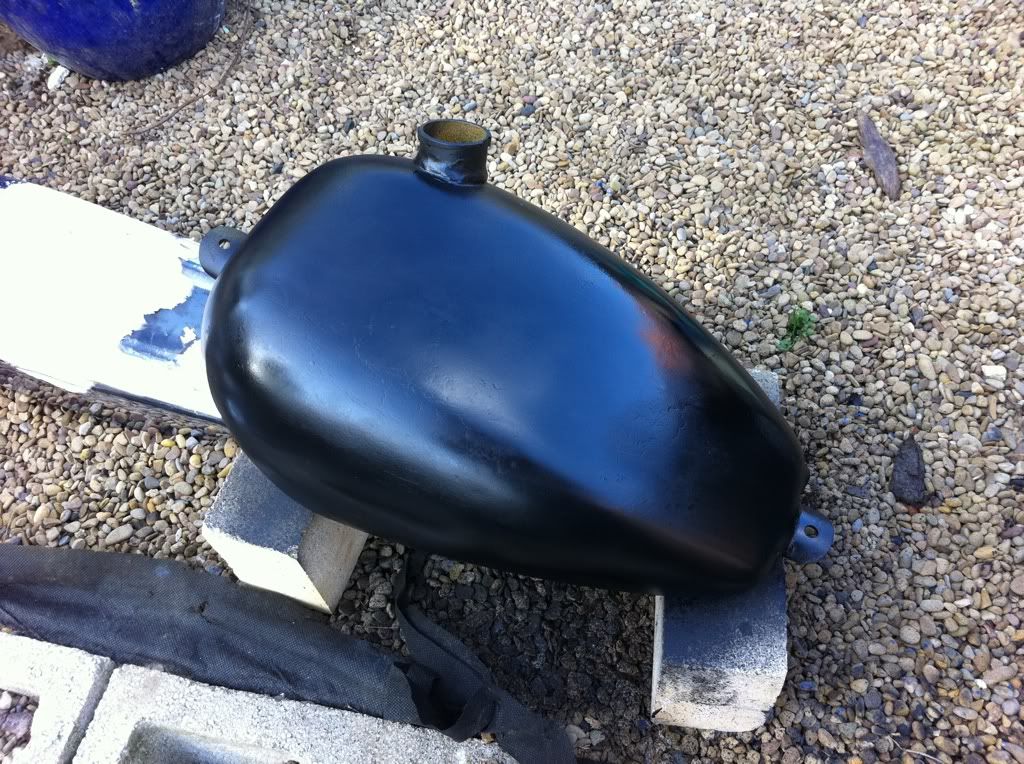
drew up a little parts list for Stafford, about the only things to fabricate now are mudguard mounts, rear light mount (#154) and a chain guard.  

still wavering on the possibility of putting a 16 in the back (bloody turmoil in my head!).

will make a decision when I get the forks on...

Hard Knock Life

Decided to see what was lurking under all that filler...


The top is pretty rusty, but not right through. there have been a lot of repairs done to the cutaway section of the tank. I think there should have been a panel in there that has been cut out or something....

Tank Arrival - Futago

Haven't said too much about the next project on here, but I have the next project forming in my head (and shed) quite nicely.

The plan is a stretched out custom frame xs650 away from the current bobber style that seems to be en vogue, it will have a vintage girder front end, 18" wheels front and back, a solid - non sprung seat, and a style similar to some of the zero bikes that I like so much!


the tank has just arrived - its off an old t125, but with a bid of cleaning up and modification, it should look wicked on the bike!


Wednesday 13 April 2011

Holy Gussets!

Had a couple of hours today - decided to sort the gussets out.

Finished cutting the old gussets off, and then made a cardboard template out to fit inside the frame. The old gussets were tight on the tank, so wanted to make sure there was plenty of room when mounting:-


sat the tank on to see what it would look like and see how much would show


cut out the template and then marked it up on some 6mm plate. I did the same as I did for the forward control mounts in that I tacked the 2 gussets together.

I planned to mirror the holes in the exhausts, but it didn't quite work out, so I decided to opt for the random hole option. I think I must have been drilling holes for about 2 1/2 hours non stop!!!


finally finished them up, and then gave them a clean up with the angle grinder, including getting the shape right...


Tacked it up with the aid of the magic magnets


found it hard to weld because of the angles, so took the frame outside, and welded it up sat on the floor


Then tried it on with the tank in place


should look nice when the frame is all painted black!

Meanwhile the headstock bearings have showed up, so next time I get chance to get out there I think it'll be a roller and stay outside.

I'm starting to trip over finished parts now!

Tuesday 12 April 2011

Under my skin!

The bike is under my skin at the moment - getting closer to getting it all together now which is a major excitement in my little head!
had some more work cancelled today and tomorrow, so instead of filling my diary up - its SHED TIME!!!!

Today's efforts:-

First up - made another start on the forward controls (finally!) drilling the stainless on my poxy little drill was a no - go so I opted for 6mm Mild steel instead. I roughed out around the shapes and tacked the 2 pieces together whileIi drilled them.

this is the 18mm drill doing the last hole for the stainless spindle to go through:-

all drilled up:-


shaped them both up with the grinder, with the last edge being the one I tacked up, so they matched 


cleaned up the metal with a flapper disc and got the spindle in place ready to weld up


then welded up both sides of the spindle, and they are solid as a rock! I will need to put a gusset in place to add some more support, but this will also act as a spacer to hold the bush in the right place


I will need to get the bike rolling, so i can work all the clearances out for the exhausts etc. before they get finished.

Next up was the rear mudguard. I got it off Steve but it was in a right state, with loads of cracks and holes in it. I had attempted to weld it up in the past, but it was knackered - and all out of shape.


I decided that some drastic surgery was needed!

I marked out the offending area with some tape to get the lines right, and then marked it up with a sharpie


Carefully cut the section out with the trusty angle grinder


then I cut a replacement panel, and rolled it to match the contour of the existing metal


Picked up this long reach clamp ages ago and it was more than a bit handy when tacking it all up!


then welded it all up. you may notice that i had to slit further down the sides. Because of the various knocks and bangs it had, it was all out of shape, and this allowed me to straighten it all up.


a bit of a clean up with the grinder, and it was looking alright!


The end will probably need to be trimmed, but i wont do that until its been mounted and i can see where to cut.

I then cut out for the chain to go past, and put a bit of filler on to smooth it all out.


In between tea breaks ive also been rubbing the tank down - its been giving me a bit of jip, as the primer reacted with the filler and metal. its weird, but it'll get there!


Finally - I've been having jip with the tank fitting over the cumbersome welds on the frame, so instead of trying to thin them down i decided it best to cut the buggers out and make some new "pretty" ones!

I've cut the one side out - you can see on the other side where I had to patch in a panel where the old tank mounts were.


a bit of cleaning up with a flapper disc


then I thought best to try the tank on. 


It'll look far better, and a bit more "custom" (for want of a better word) when I put the new ones in. I will have to make 2 and make them meet under the frame, but I'll make them out of the 6mm plate I have left over to make sure they are good and strong.

Saturday 9 April 2011

Busy Day!

Another day of fettling in the shed!


I worked out that I could mount the regulator/rectifier under the battery box, so welded on some threaded lugs on the base of the tray


Then the reg Rec mounted nicely under the tray. Just wondering if I should make a little sump guard effort to cover the black part...


Got it painted black, and it's ready to rock. I'm thinking of covering the bottom with rubber so it doesn't vibrate it's nuts off against the frame....


Started to make the mounts for the forward controls out of stainless...


Cut them out, but blunted about 10 drills attempting to drill it then gave up!!!


Next up sit in the sun and start working on smoothing off the tank..


Spray fillered up the petrol an fakey oil tank...


Didn't take so many pics, as I was covered in dust, and my phone was plugged into the garden sound system!!!


Next up them mufflers.


Got it all lined up on the frame


Then welded the bugger up. The main pipe was stainless, so had to use stainless rods...


Sprayed the pipes black, then it was time for some wrapping!


Not done this before, read on here it was best to soak the wrap, so did that and got the stainless ties ready.


Then I got wrapping!!!


Looking nice!! Used more ties than I thought, bit I liked the detail.


This is it on the bike...


I'll do the other one tomorrow!

Thursday 7 April 2011

Pipe ends done

Got load of odds and sods done in the shed today, including a much needed hover up, and a spring clean and re-sort of shed 2!

main think of interest was to smooth off the mufflers, and to make the plates for them...

I cut out some Aluminium to the desired size (I actually did go back to the golden section rule as it goes)


marked out the lines for the holes then punched their locations


then drilled the buggers out using different sized drill bits


there was 3 additional holes for mounting, so i marked them through to the corresponding muffler, and drilled them through..


welded on some nuts which also acted as spacers


bit of scotchpad work and SHEZAM!

 Grin Grin Grin

happy with that!

of course there are 2 of them an'all!

 Grin Grin Grin

so what i'm thinking - if i need to make a baffle - i can use the back 2 holes in the muffler to hold the baffle in place...... 

also, i'll be spraying the pipes black, and probably wrapping the front part with heat wrap.