Wednesday 28 October 2015

What a Knucklehead!

So if you still read this blog then your obviously as ill as me - you must be nuts!

You'll also know that i'm completely lost to the world of bikes. its pretty much 60% of the whole brain power I have at any one time being utilised running through things in my little brain.

Well I finally achieved another big goal, I've swapped, bought sold and made enough cash to order myself a repop Knucklehead from Germany.

I believe the word is STOKED!


Tuesday 20 October 2015

The Finger Dustcaps - Order Now

New dustcaps are up and ready for order. These "The Finger" dustcaps are the new version, and again on a limited rum. Half the stock has gone already, so be quick if you want some!

Order from www.the345.bigcartel.com


Wednesday 7 October 2015

Sorted the bars for the knuckle project, dying to get cracking on this and get the VL girder working.


Friday 28 August 2015

Tinker time - Chemical etching Aluminium and more work on the VL

Wednesday got swapped out to Thursday this week. 

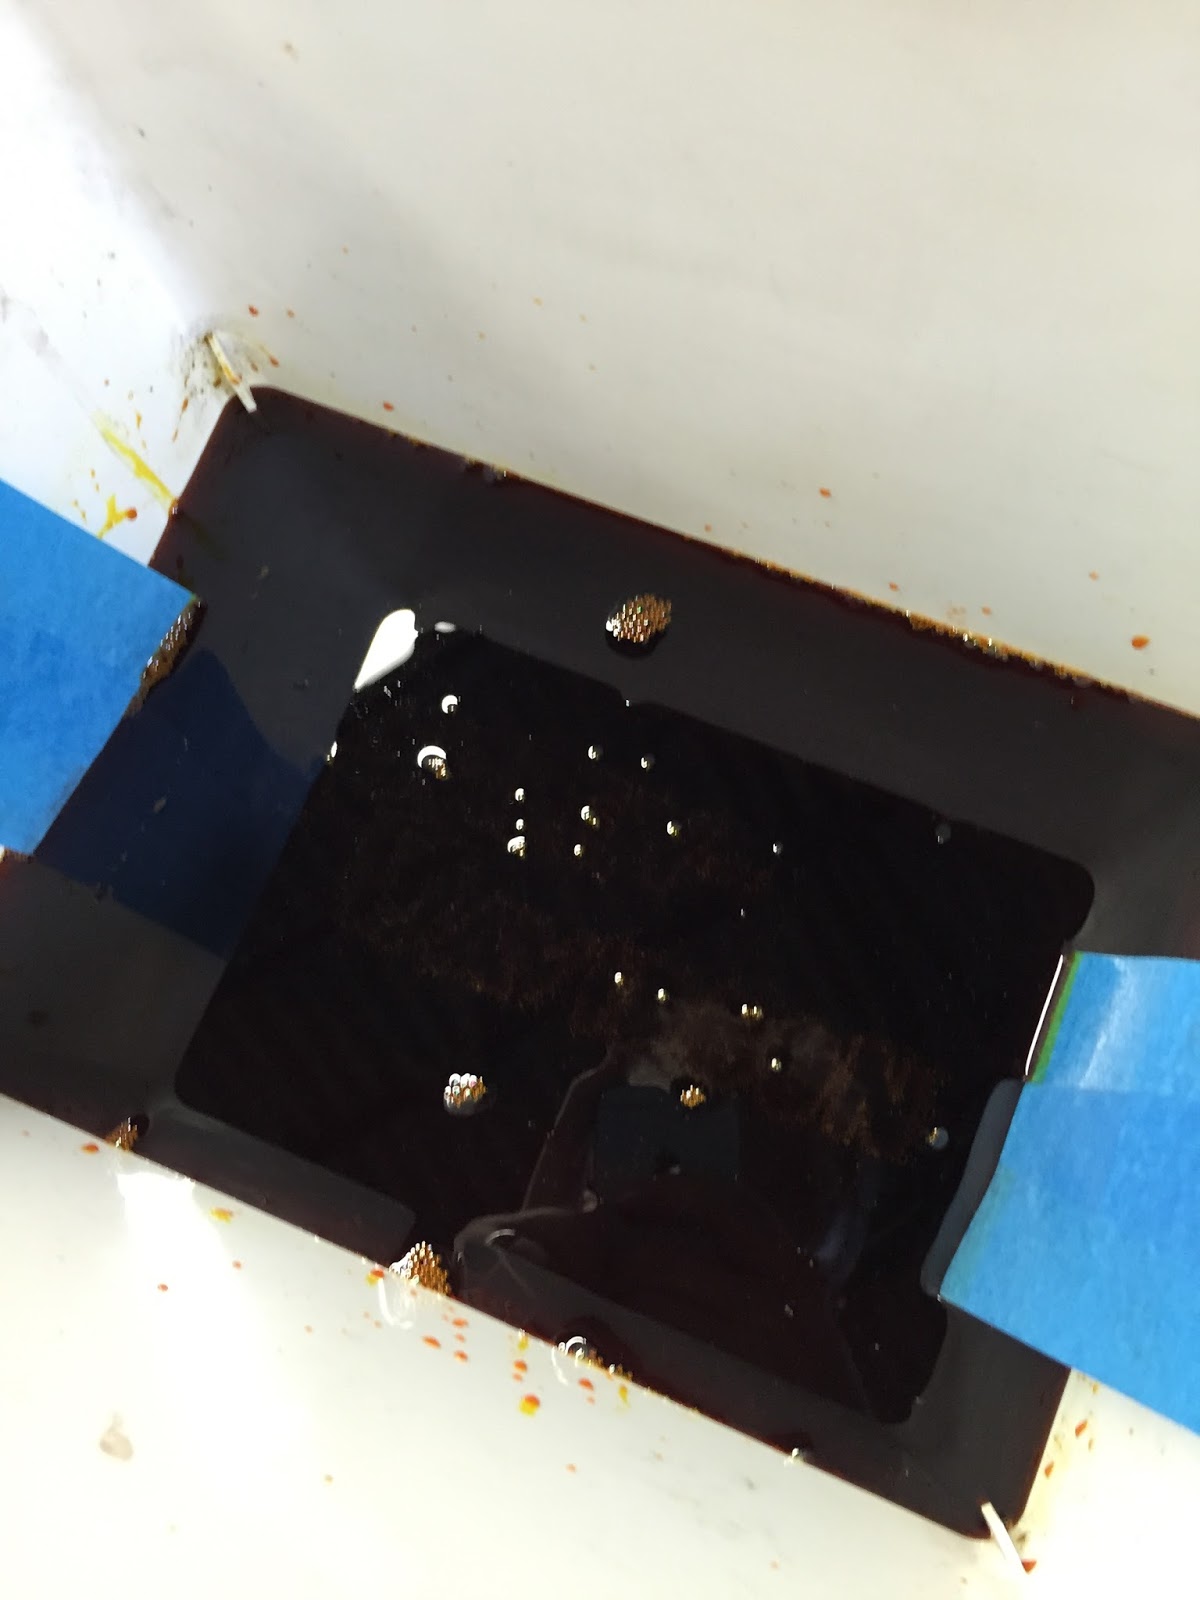
The intention has been to re-visit etching. I had a couple of good attempts at it a good few years back. to keep things as safe as possible (as i was in the back bedroom) I opted for a salt water solution and an electric current last time. this time, I've gone down the chemical route this time - Ferric Chloride to be exact...

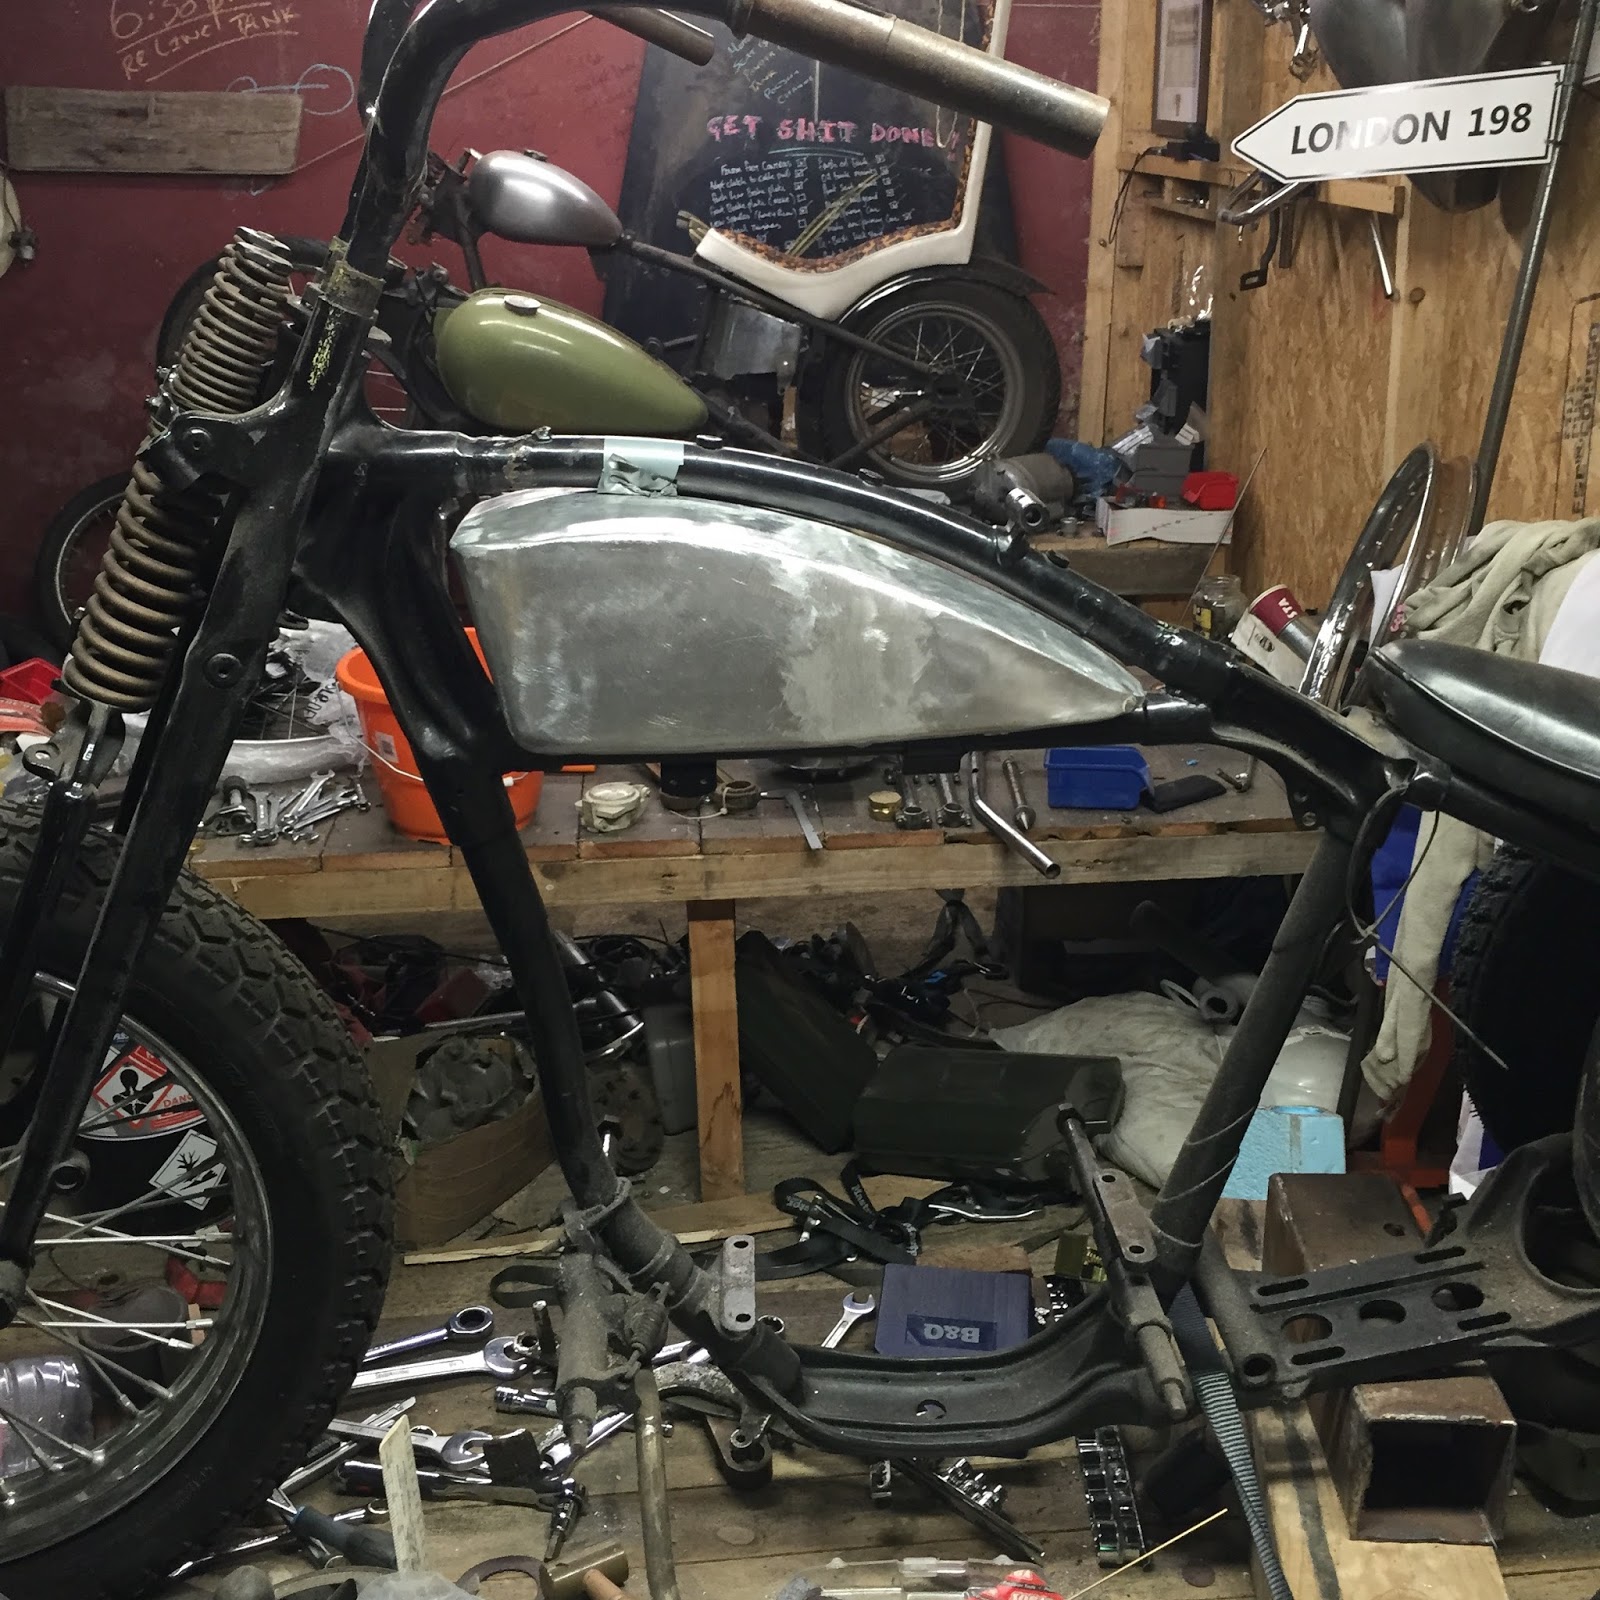
I want the VL to look very honest. I'm not gonna perfectly finish the petrol tank, and I like that it looks a but battered round the edges. it'll only get better with time.
I got the Vl lettering and my good mate Tibbs knocked me up some stickers to use as a mask.

I just used some plasticoat rattle can spray to spray the test sheet as the resist to the acid. seemed to work OK...


It has about 25 mins in the solution, and gave a nice "bite" into the Ali. I think i'll give it another 5 mins when I do the tank...

Use your imagination and you'll kinda see what the tank will look like when etched.


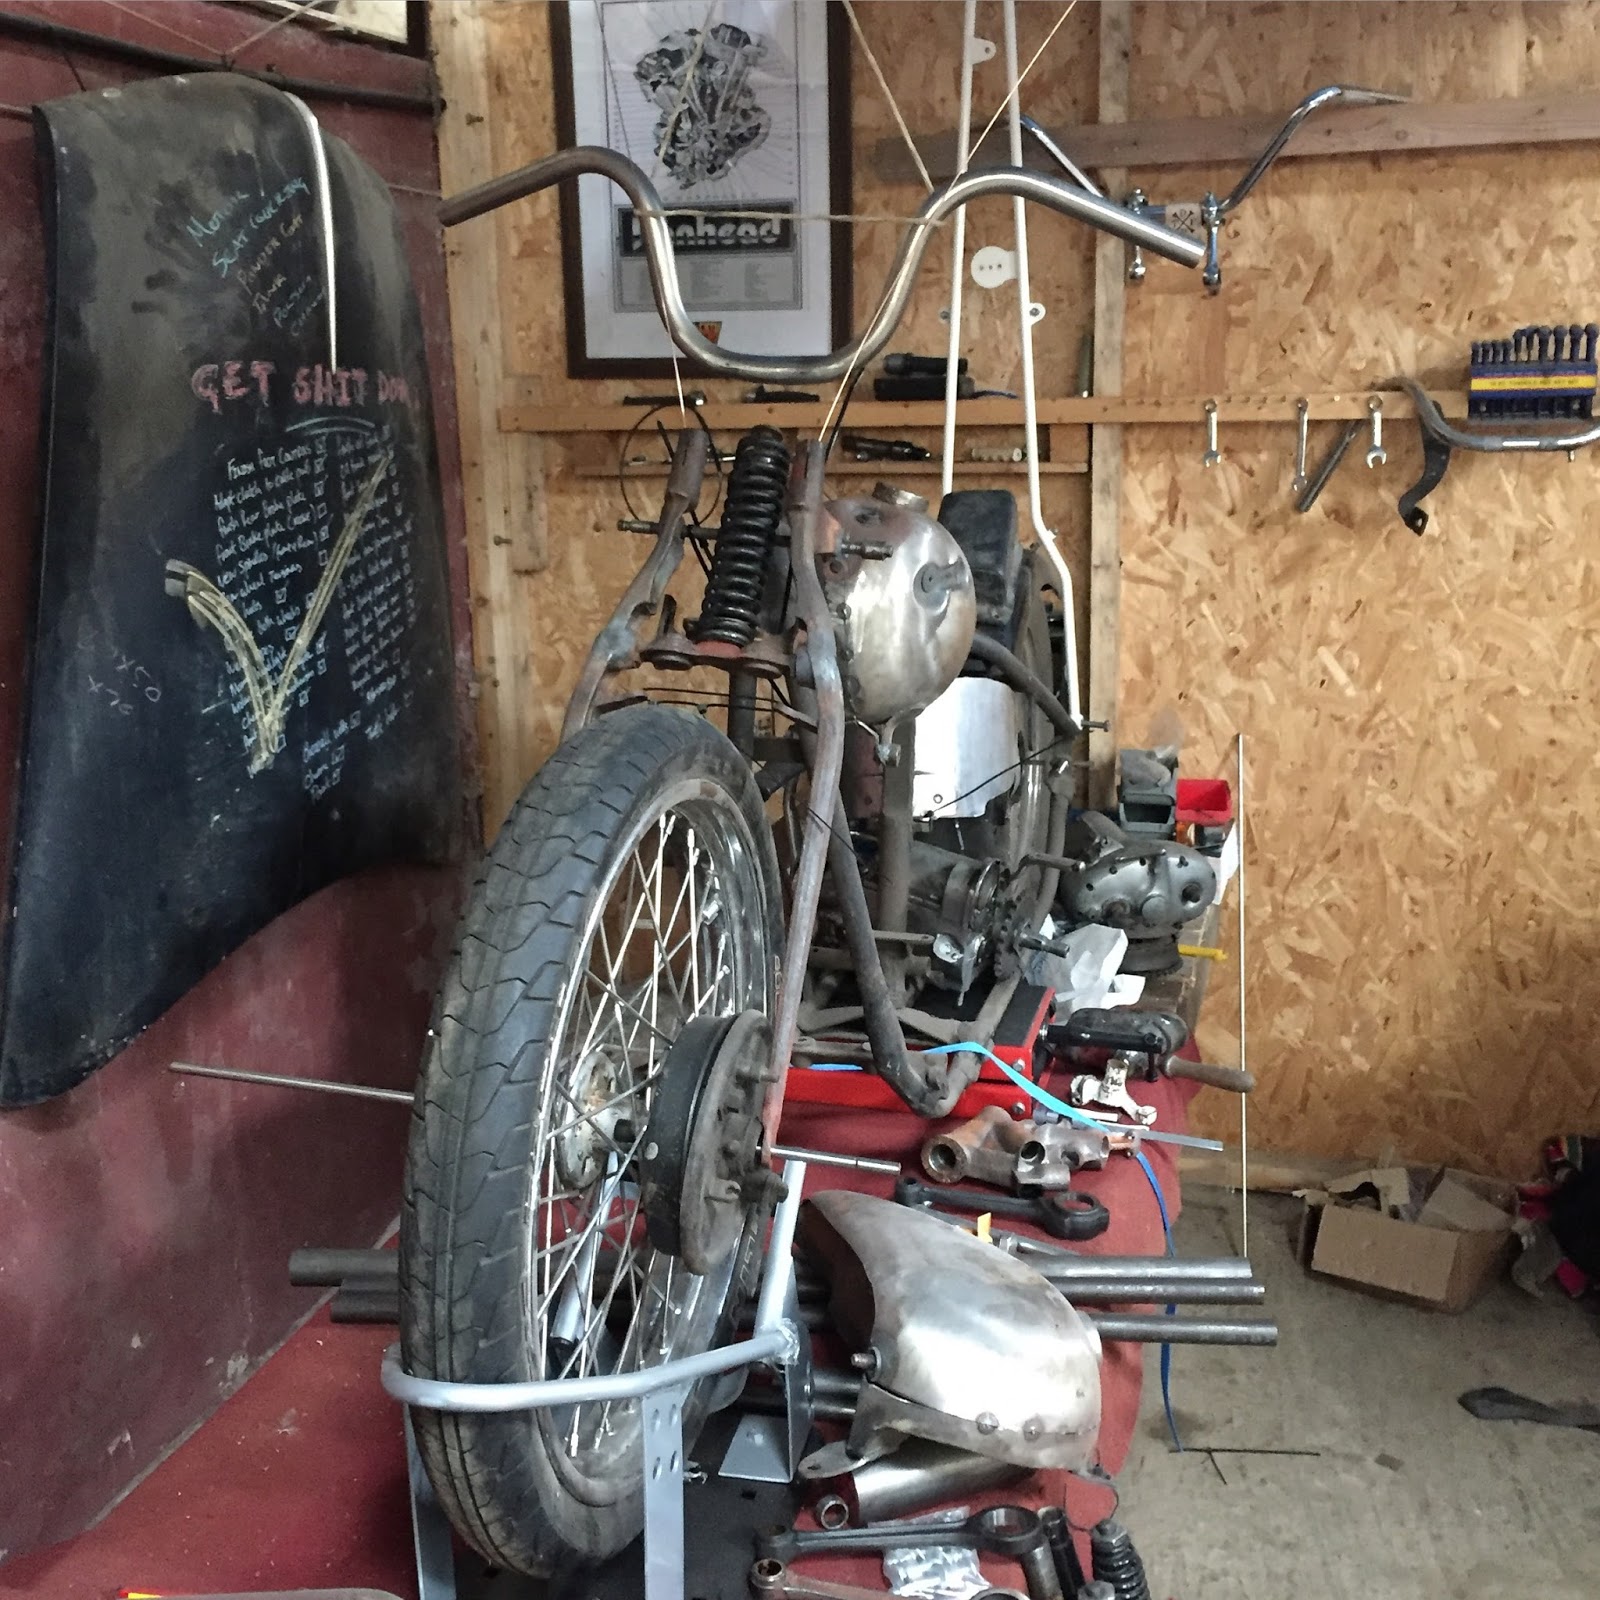
Mudguard trimmed down and new 19" Firestone tyre - I've elected to do a 19" and a 20" rear wheel. the 20" will be the clincher with chain tyres and the 19" for general tearing about!


The tank has taken ages to solve the cracks. I ended up hammering a dip either side of the partition and filling with weld all the way round. its been a lot of work, but I think its going to be right this time. 


Finally i altered up this brass pipe fitting. It will be the oil filler. The one I played about with being on the left of course. I think I've used the letter stamps on all my bikes - cant help myself!

Thursday 27 August 2015

Nice surprises don't come that often

Ive been tinkering long enough to know that with all old bikes - "prepare for the worst" is the only way to prepare for everything. This especially applies with engines you buy blind from the otherside of the internet "Because you have a good feeling" and "it ends on my birthday - its fate!"

to my astonishment these 2 sentiments are true of the VL motor. I dropped in on Baz while down with work yesterday and we whipped the heads of the motor. It came with a new set of +20 pistons and rings, but you can imagine my amazement when the tops came off, the rods were nicely wrapped in bubble wrap so as not to do damage to the great looking and freshly honed barrels. Not only that, but the valves looked good and freshly seated (and even had the markings of a fresh rebuild with which valve was which on top!


Not only was the motor a nice surprise, but the gearbox (which did not come with the motor) was able to shift nicely between gears, and all looked to be working fine! 

both the motor and the gearbox are going to have a good going through, but I left with a feeling I hadn't experienced before - optimism!

Friday 21 August 2015

Business up front and party at the back

I made a decision that putting an oil bag would take away from the bike, so a drastic action was taken and I chopped the back off the tank. this allowed me to weld in a partition to keep the fuel up front and the oil in the back. 

Ali welding is getting better every time. 

once I got the front all welded up I got the back welded on. When cleaning up the welds I consistently got a hairline crack coming through the metal.

Once I got home and my head clear I realised that what had happened is that the sheet metal had "sunk" near the edges, as i was trying to smooth things off I was going too far down with the grinder, and hence leaving it too thin.

My fix will be to lay a load of beads of weld down to provide loads of coverage, and then file back smooth. Its coming on though. once the tank is finished i'll be trying to make a mudguard with my new English wheel. 


Friday 14 August 2015

Handmade tank - VL Hillclimber

Wednesday has been and passed, so to fulfil my promise to myself - time for an update. I've got to admit I realised how much I enjoyed doing the blog - getting the narrative out of my head as I'm going...


Anyway - the hill climber has me hooked - really enjoying not having a deadline to work to, so rattling on with it. I've never had brass bits on a bike before, I can find it quite naff looking myself - but with this bike being from the 30's it seems to want to have a few bits on it.  I've been hanging onto this old machine switch for years, looks perfect as a kill switch for this bike. 

After a bit of head scratching and turning on the lathe I made up a holder and adapter out of 3 pieces of Ali, that will hold the switch. I had to weld them together and make sure it was sealed as there will be fuel around it. My first attempts at Ali welding haven't been great, but I banged the amps right up and it started to make a bit more sense...

I also cut the holes for the switch mount and fuel cap holder and welded them in as well. Plenty of grinding later and they seem to have come out nicely.

Next up will be some mounts for the tank onto the top tube (although with all the heat its quite tight already!) and then fuel line bungs.

I was thinking of doing some of the tank as an oil tank, but I think I'll run an oil bag.... home made of course....

I'm not sure how the shifting mechanism will work yet so I'll see on that...


Monday 10 August 2015

VL Hillclimber

Had my 1 night last week and spent some time on the VL Hillclimber tank. Haven't touched it for a while, but I've been itching to get back working on it. as a reminder its my first attempt at making a tank, and my first go at Ali welding. I should have done a bit of practicing, as I don't find it the easiest of things to do. 

Its coming on nicely, I've the front to do, then sort out how i'm going to get the filler neck attached (its brass). I'm also planning to split the tank and use 1/3 of it to hold the oil...

Oh and I want to chemically etch the tank with Harley lettering; really looking forward to that.


Tuesday 4 August 2015

Project Girder

Ive had an idea brewing in my head for quite some time, I wasn't aware of Harley making a girder fork - turns out i'm wrong and they made a small one for a hummer or something, but they never made a big twin sized one.

My hair-brained scheme has been to use the lovely rear legs from an VL/RL I-beam springer as girder fork legs.... with post BF7 and lack of tinker time blues I sourced a rear leg from Scandinavia and set about working how to do it.

I've planned most of it in my head, but as always, those ideas have to change up now and again when  actually making it....

original intention was for dual springs, but it looks like a singe spring is the way forward on this one... I'm intending on using WL con rods as the linkages - of course with a load  of modifications (read - cutting and welding!)