Showing posts with label foot pegs. Show all posts

Thursday, 27 September 2012

Good times!

Well today has been a great day. I honestly think I broke the back of it today, and feel that all the big things have now been tackled.

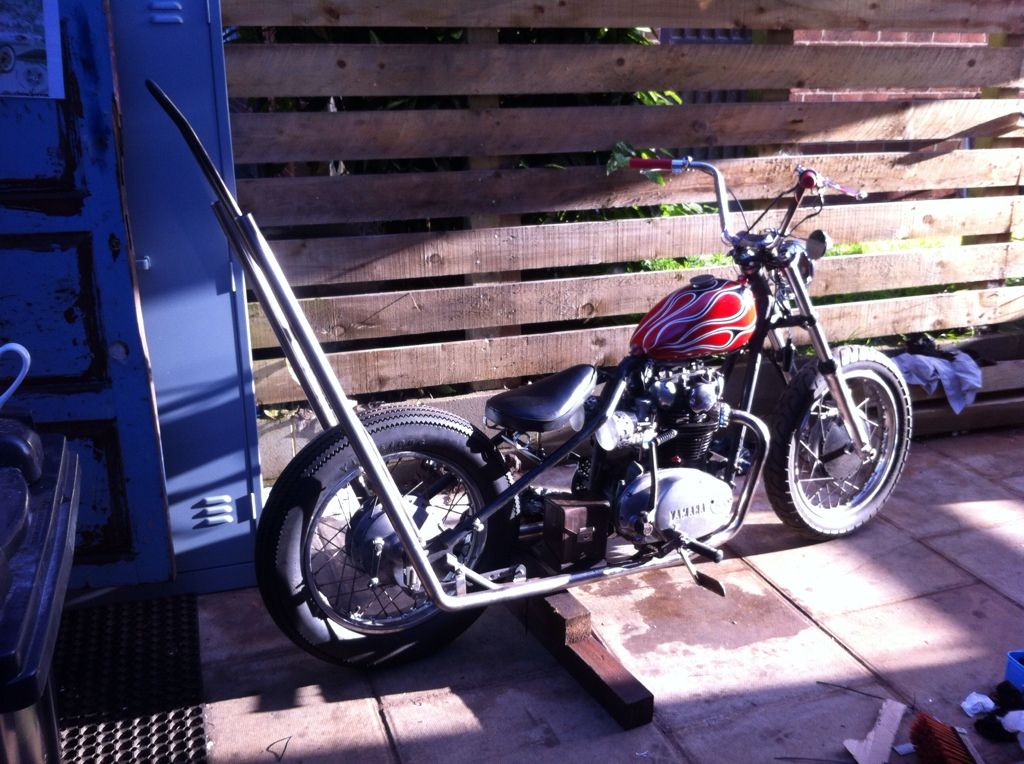
It was a good omen when I got outside and the morning sun was streaming down the side of the house...


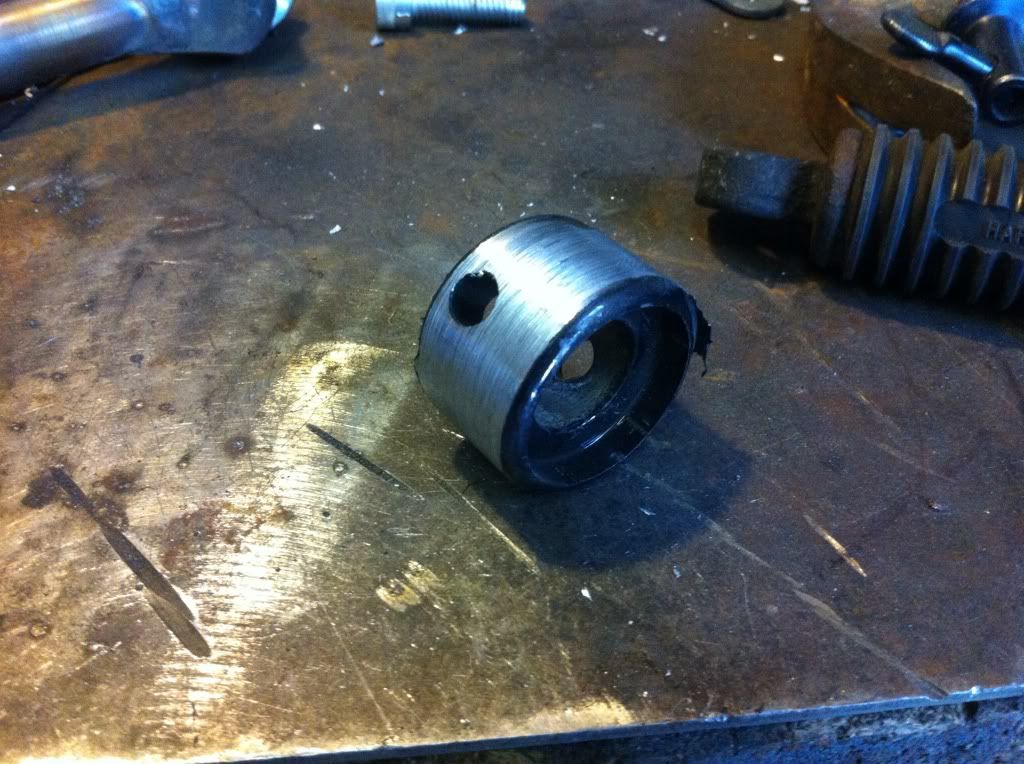
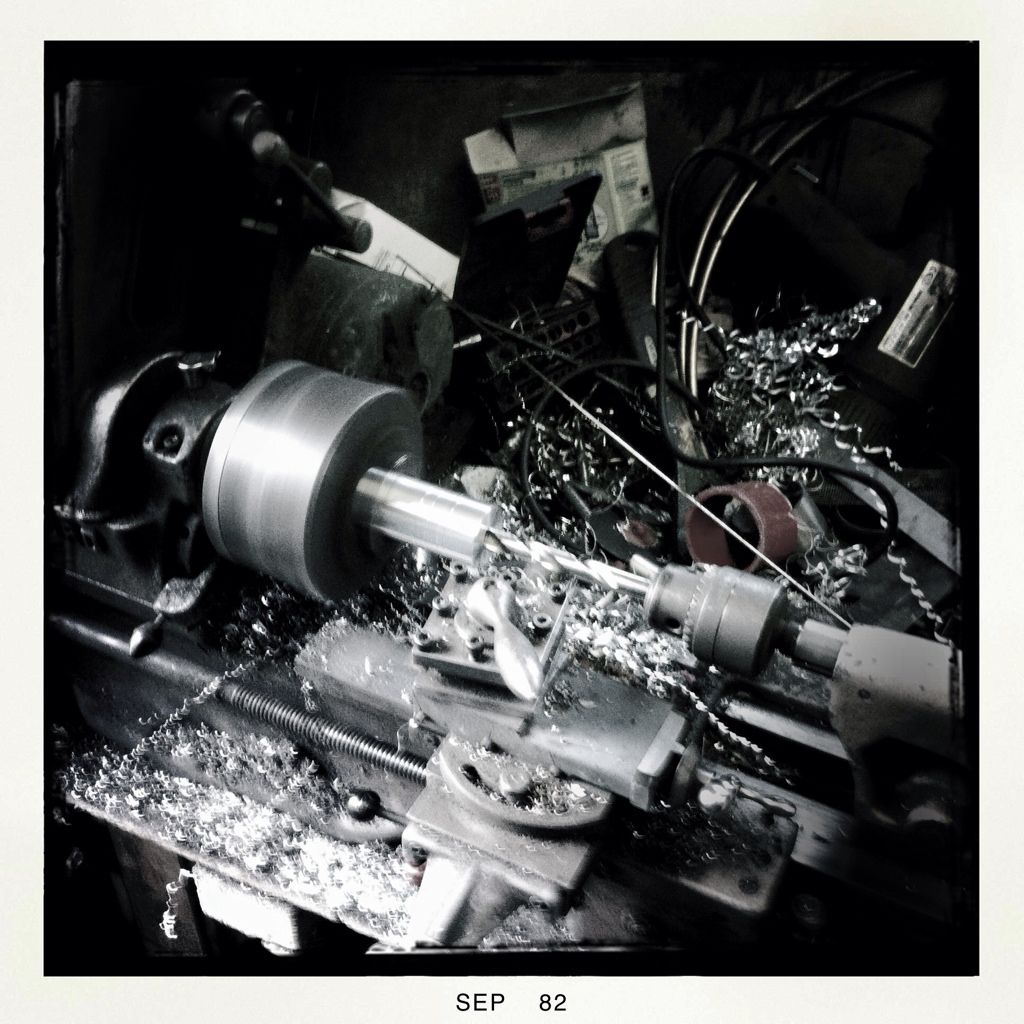
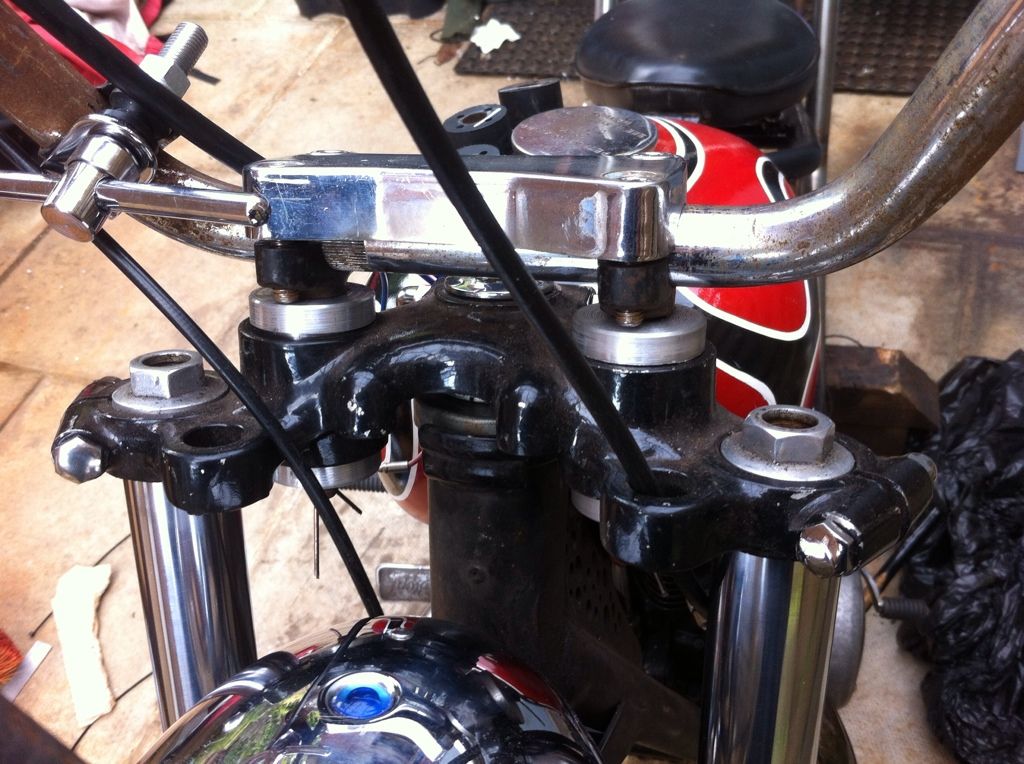
Chris told me he hated the original rubber mounts for the bars, and with the big high bars, they would just make it worse, so I cracked on with turning up some new ones....


I didn't spend too much time tidying the bottoms, and need some new tips to clean the top surface, but they'll work nicely!


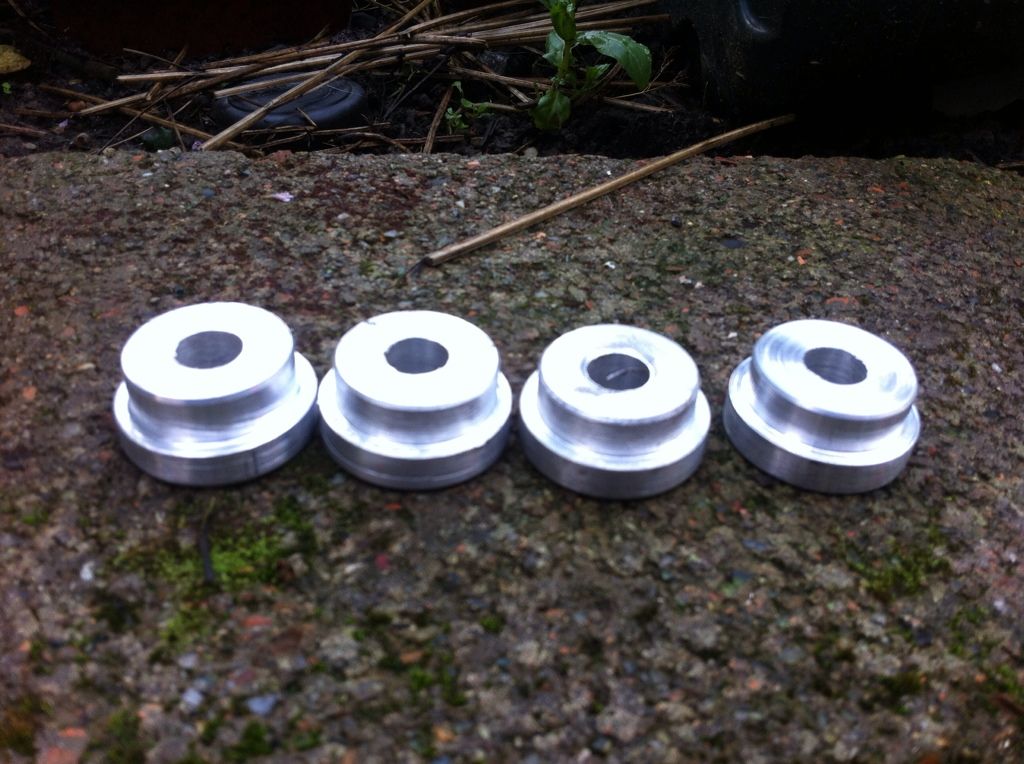
Just awaiting new nuts to arrive for the bottoms now...


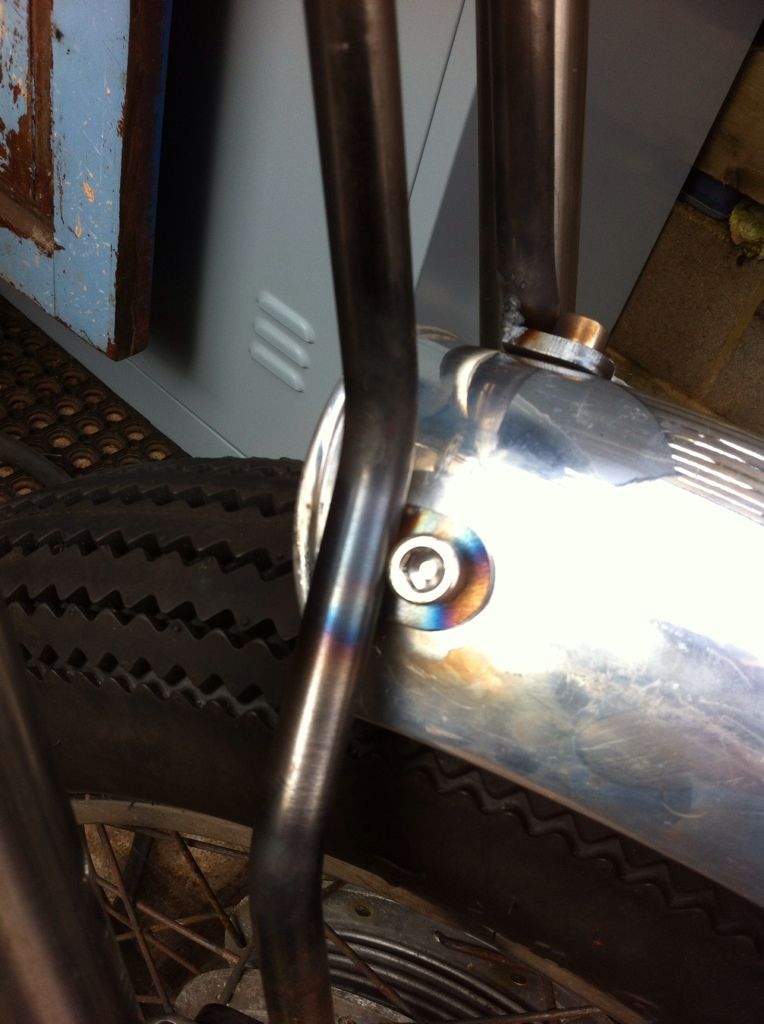
next up - rear mudguard.

Ive been avoiding doing this - no idea why - probably cos I havent done it before, but it was time to get it done!

Got one of the laser cut tabs in the vice, and cracked the oxy acetylene-kit out for some fun!


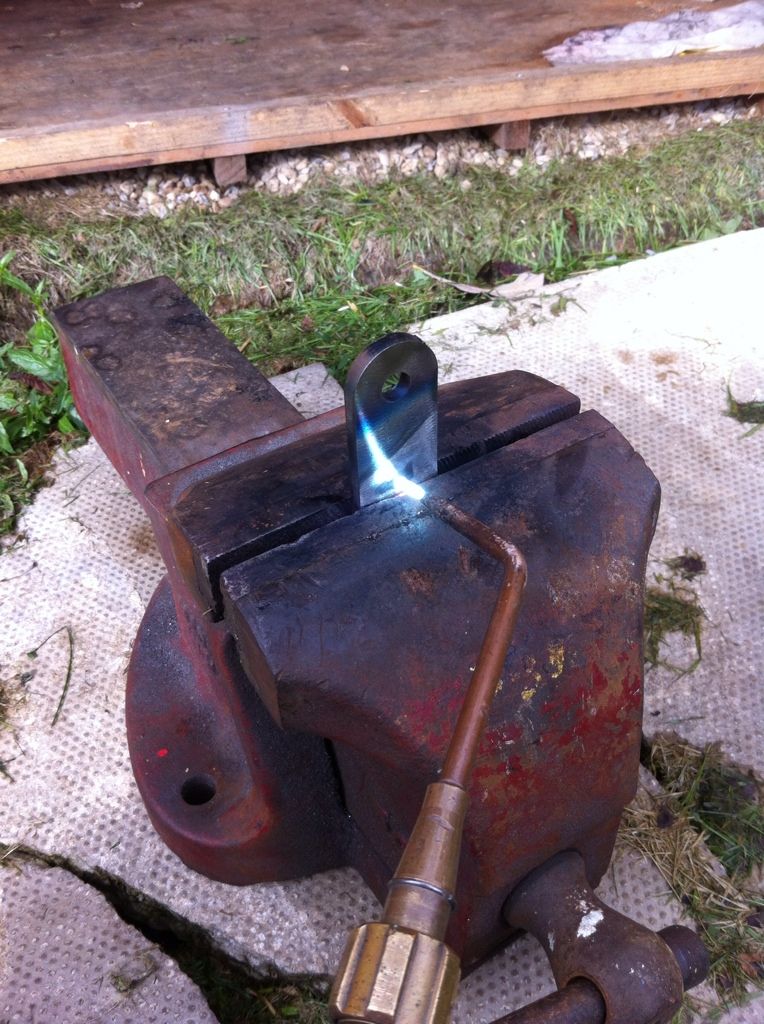
heres a before and after kinda shot....


Man - I Love my Oxy-Acetylene kit!

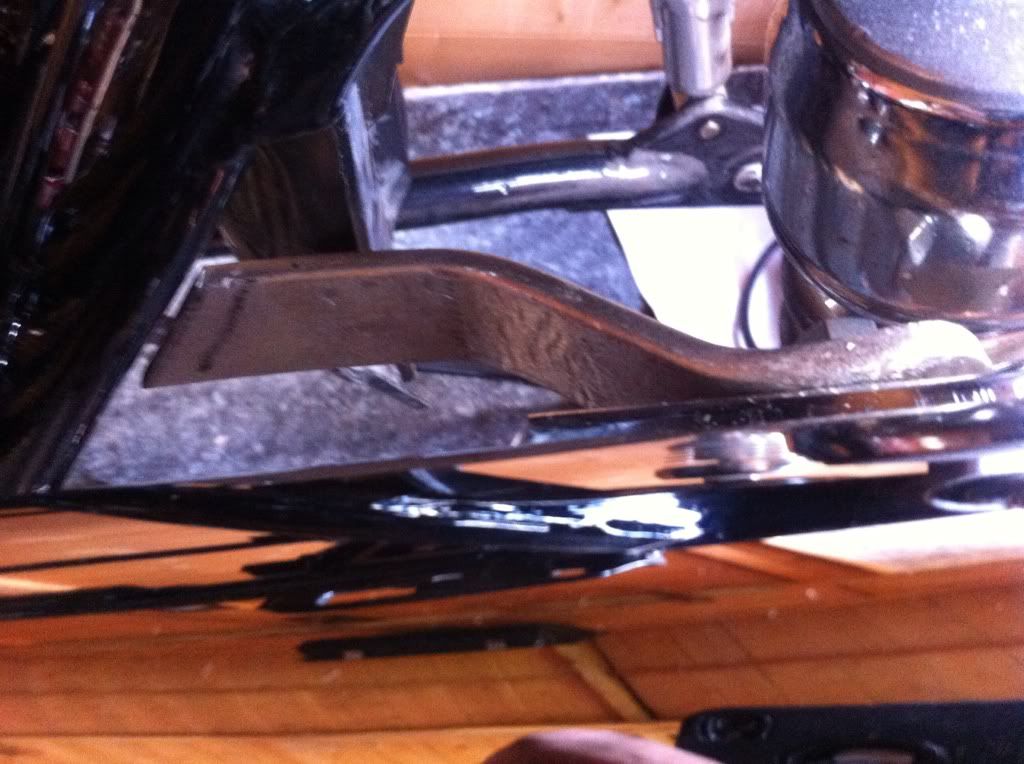
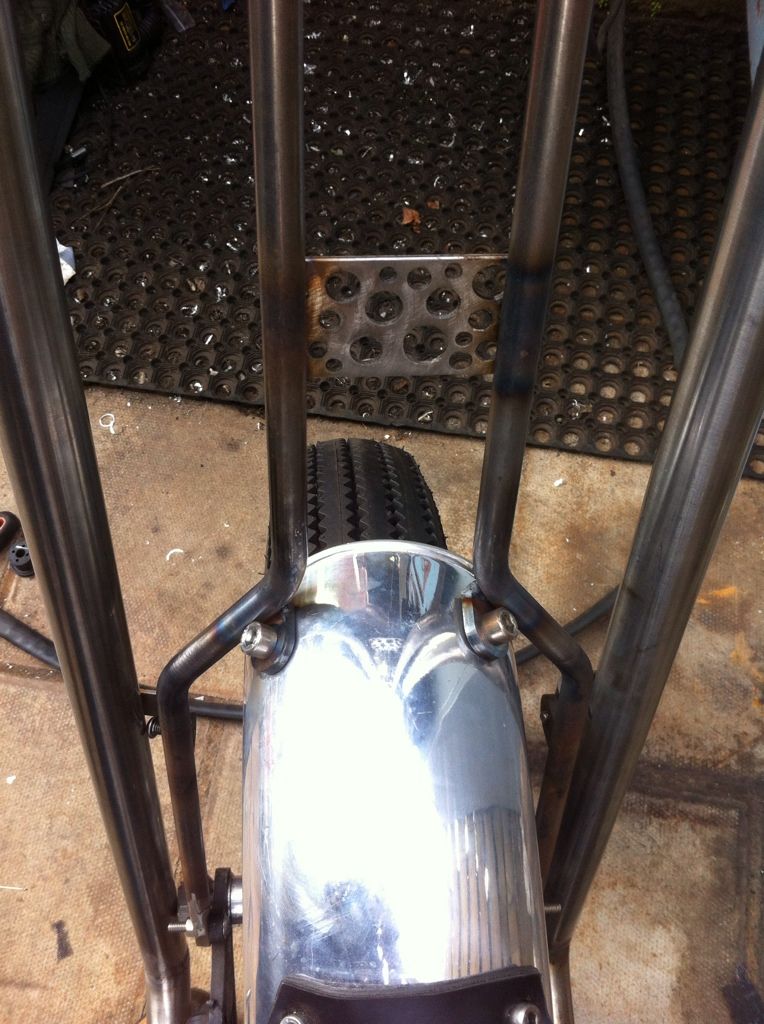
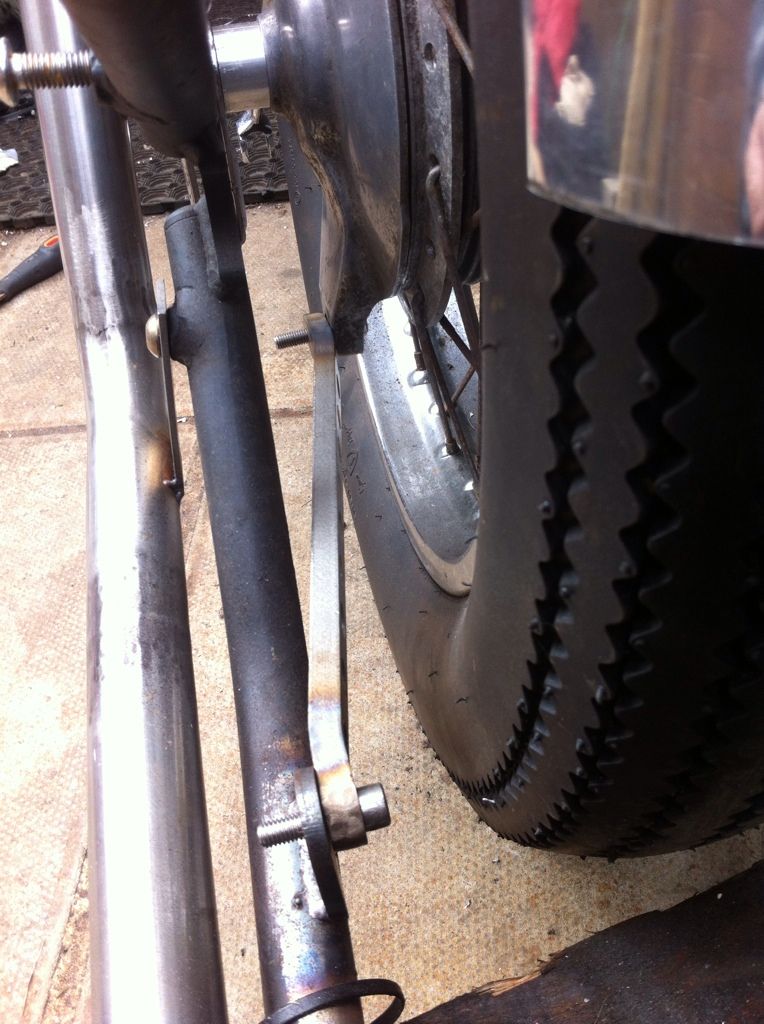
pushed the wheel right up against the back of the sliders, and put the parts in place.


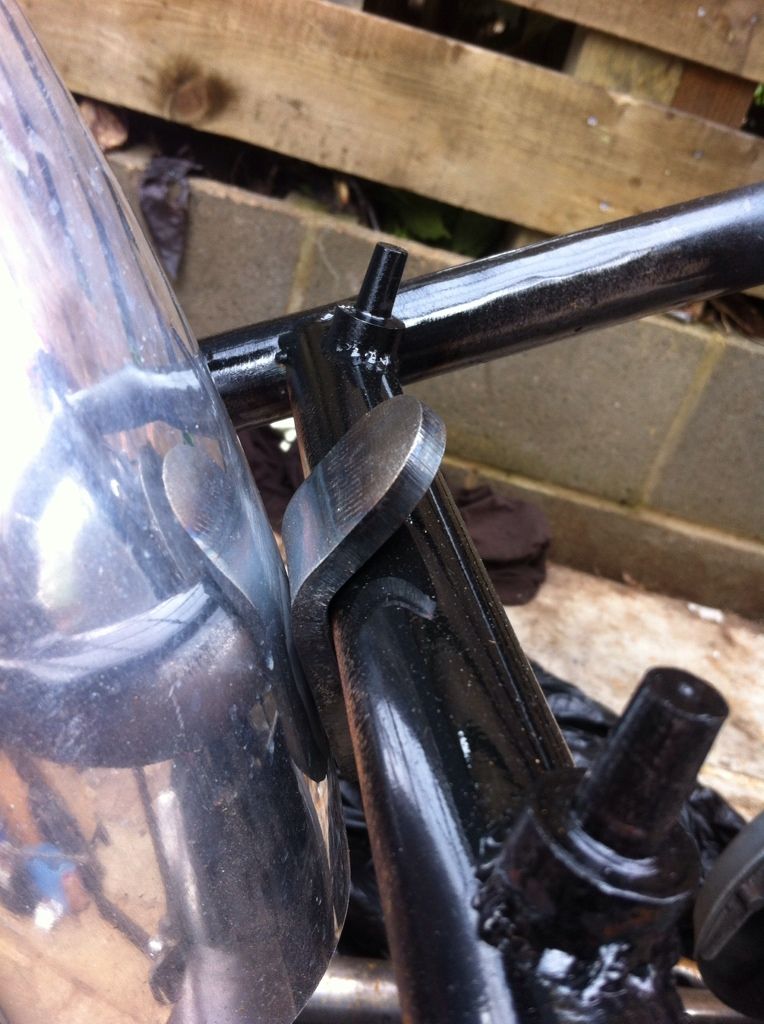
cleaned the paint off, and welded it in place.


I now know its not quite straight as the bike was leaned to the side slightly - but I'm not gonna loose any sleep over it!

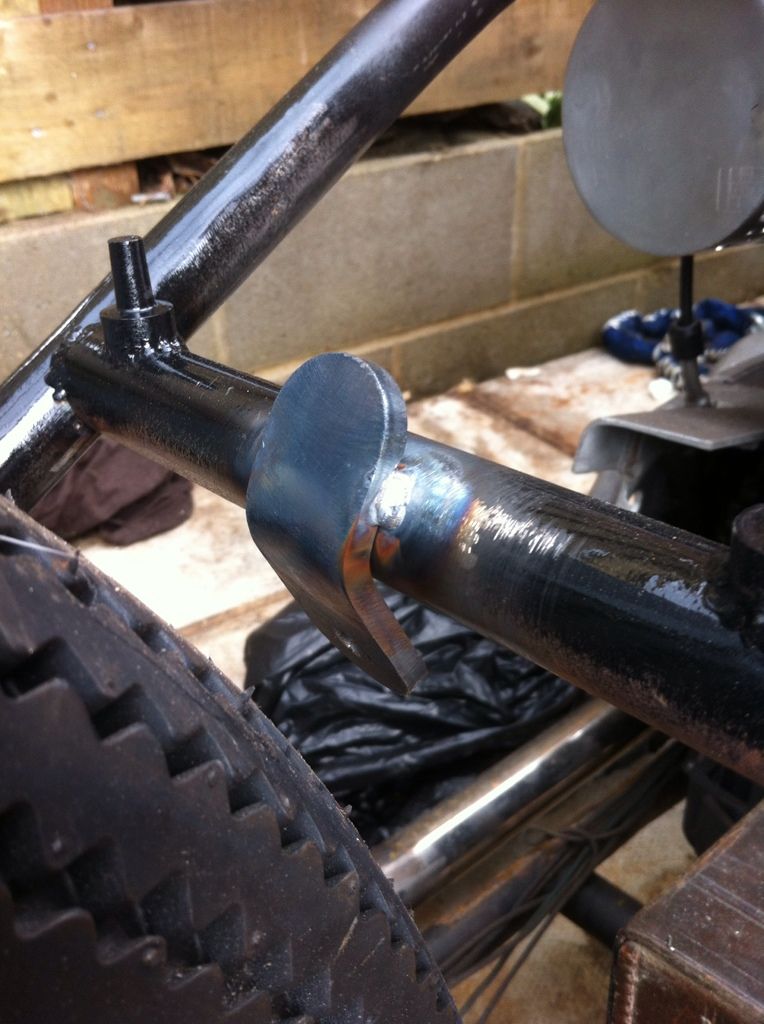
Then used top mounts to sort the top of it out. I would be lying that it didn't take me ages to sort this out. I guess it would be much easier to do with 2 of you there, rather than trying to stuff things behind the tyre and hold the sissy bar forward, and TIG weld...


Happy boy!

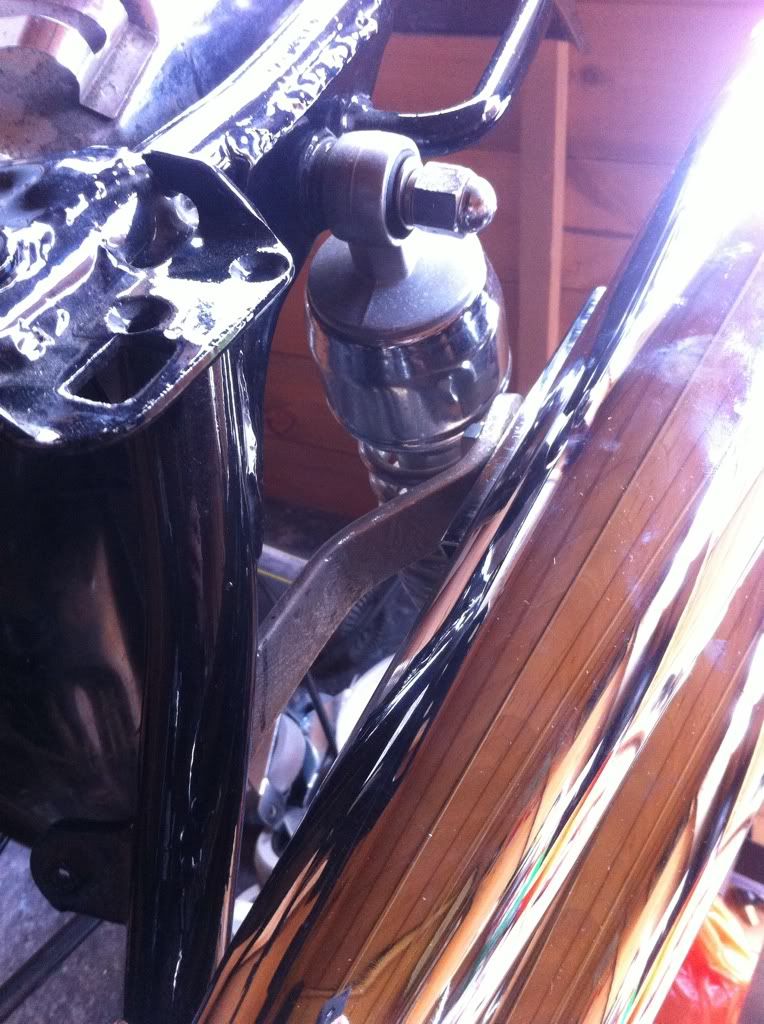
I had to move the P-Pad further up the muddy, as it was closer to the seat than I was comfortable with.

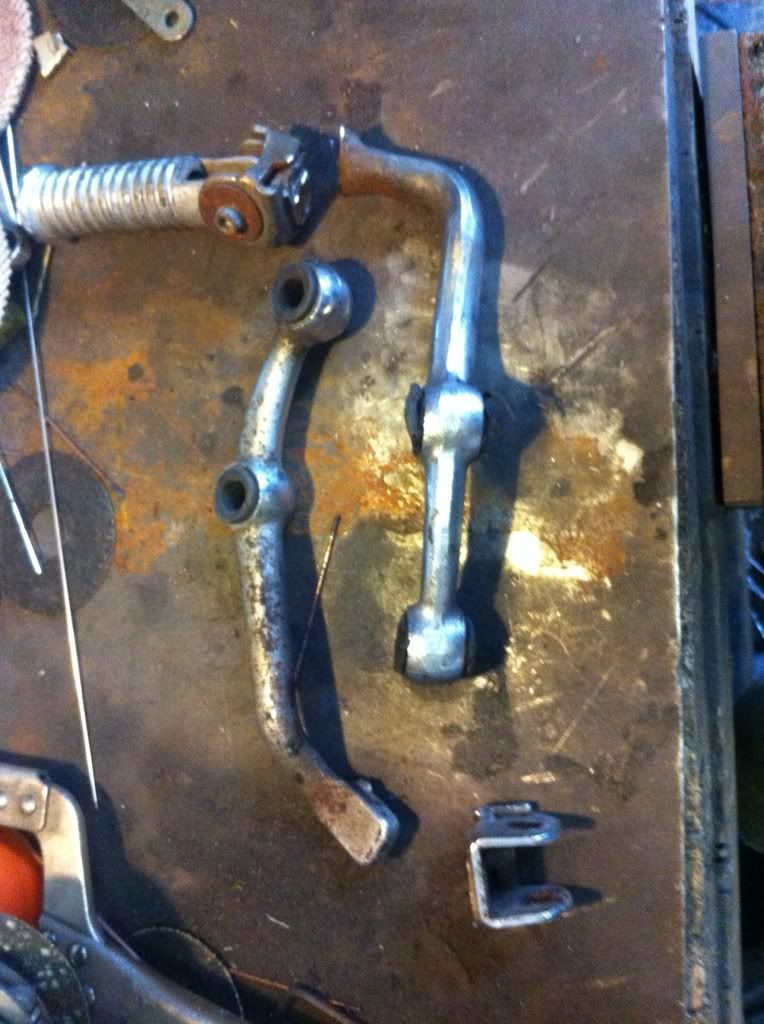
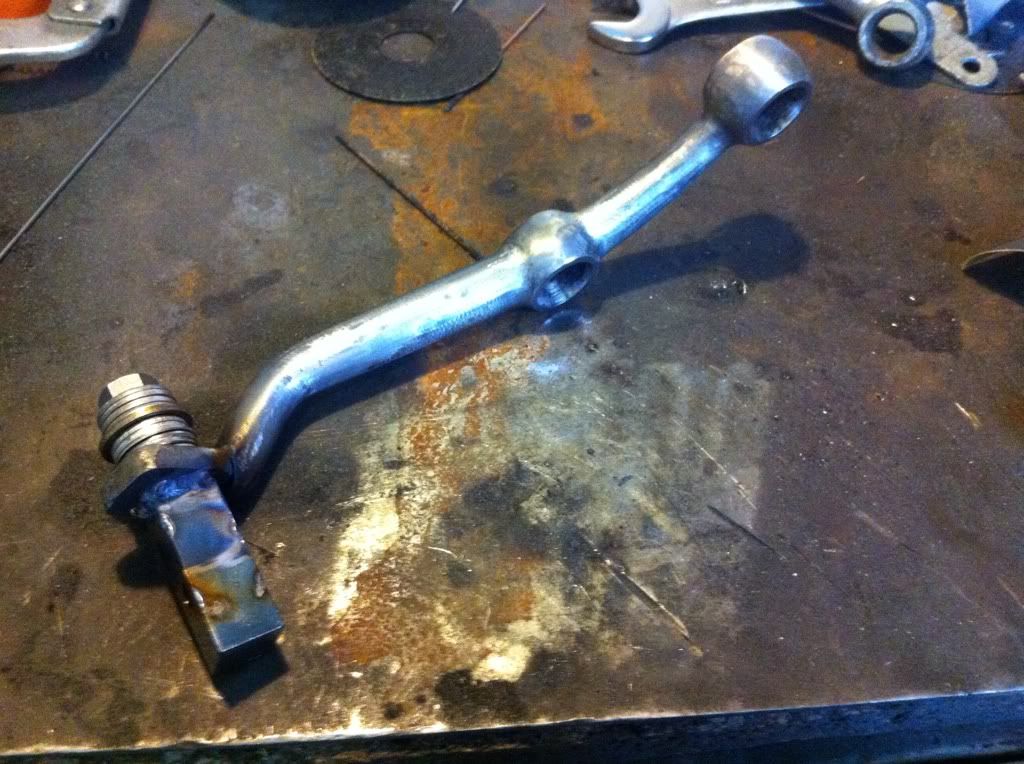
With the oxy Acetylene torch still out I bent the Z into the rear brake arm...


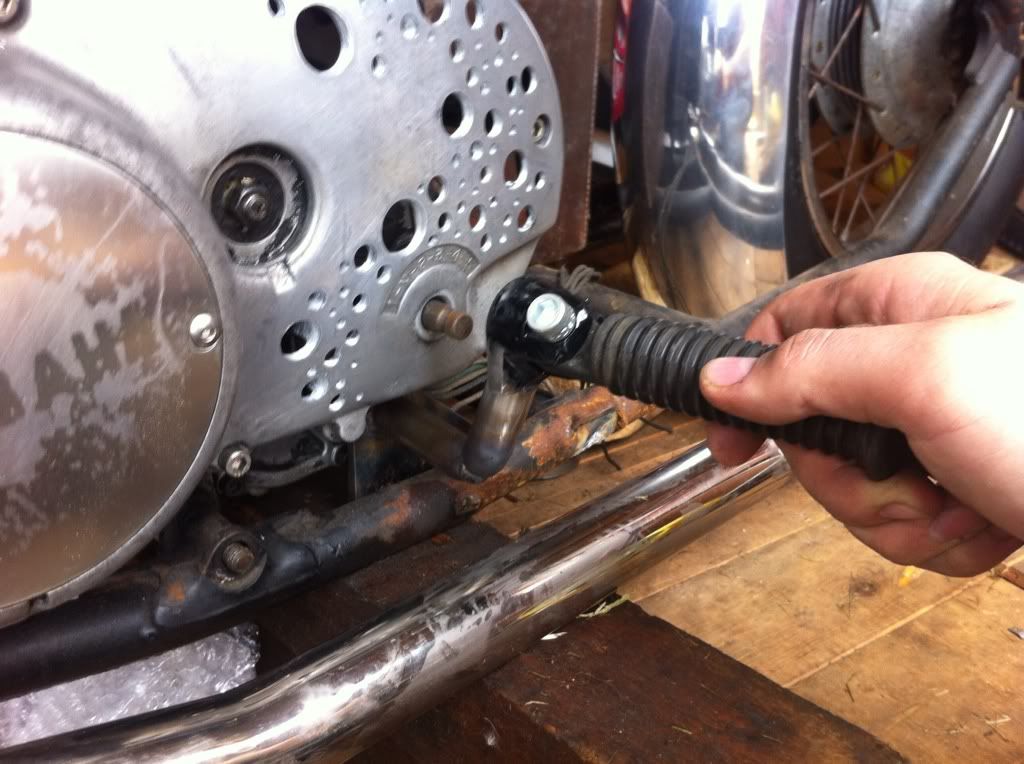
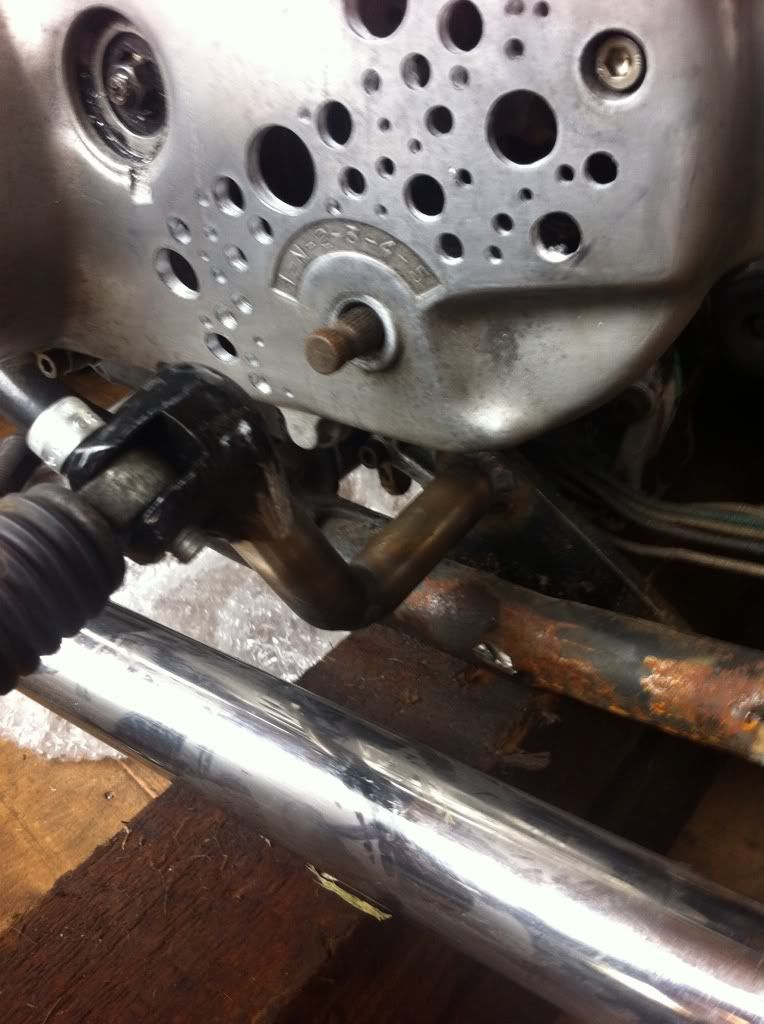
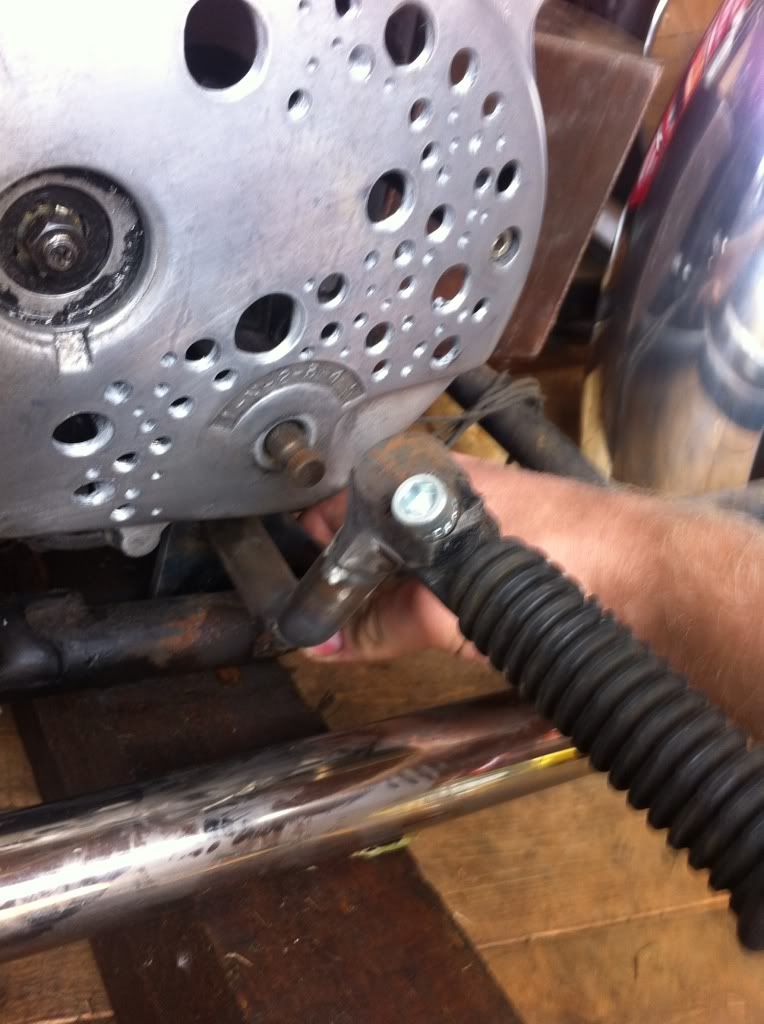
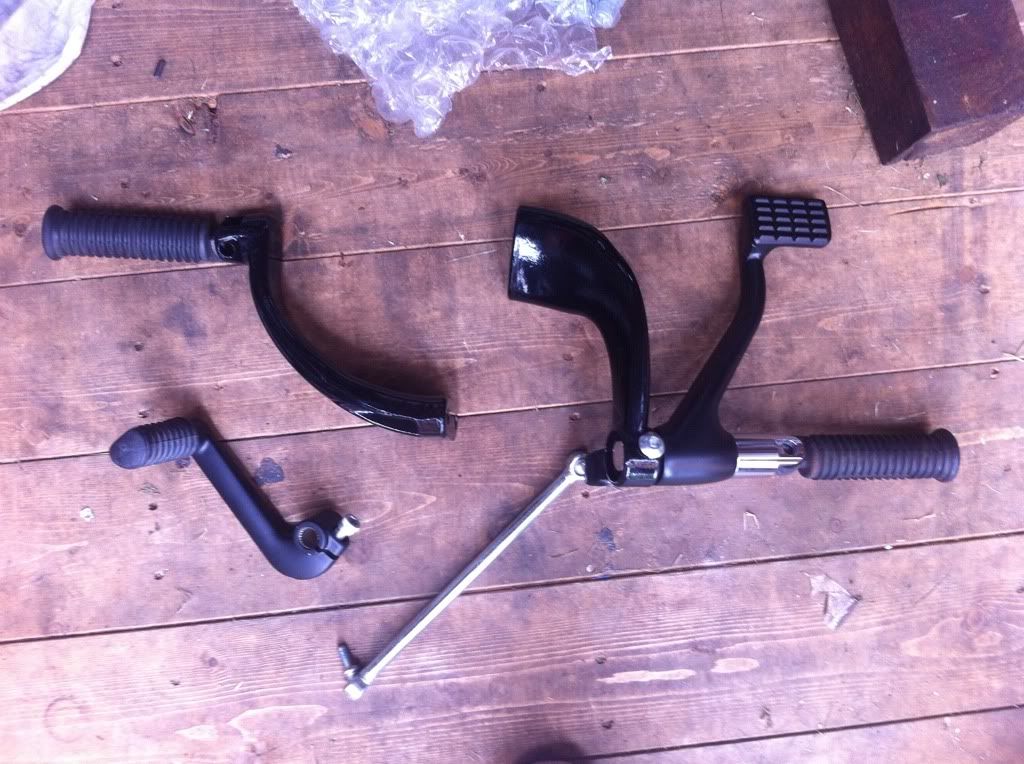
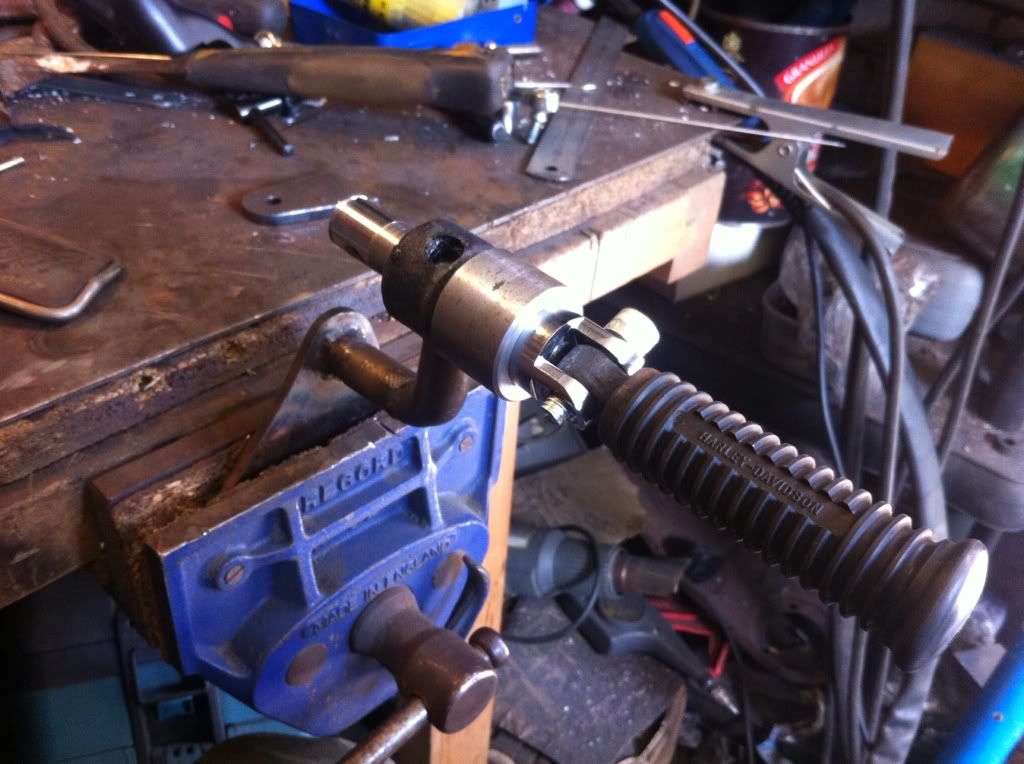
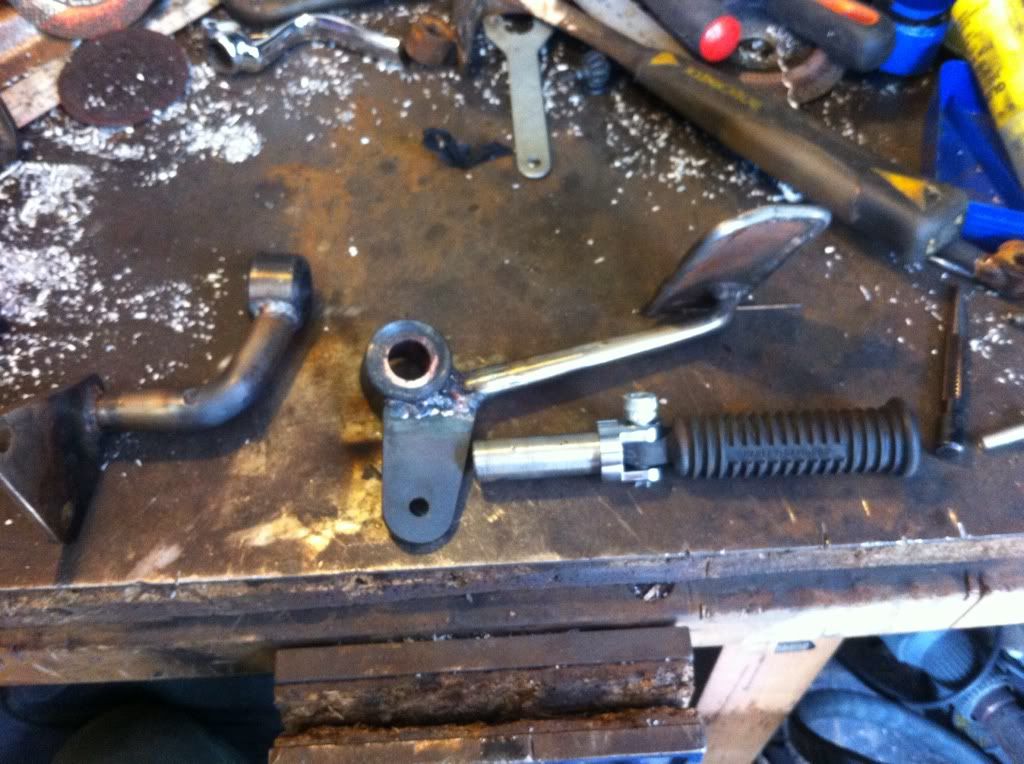
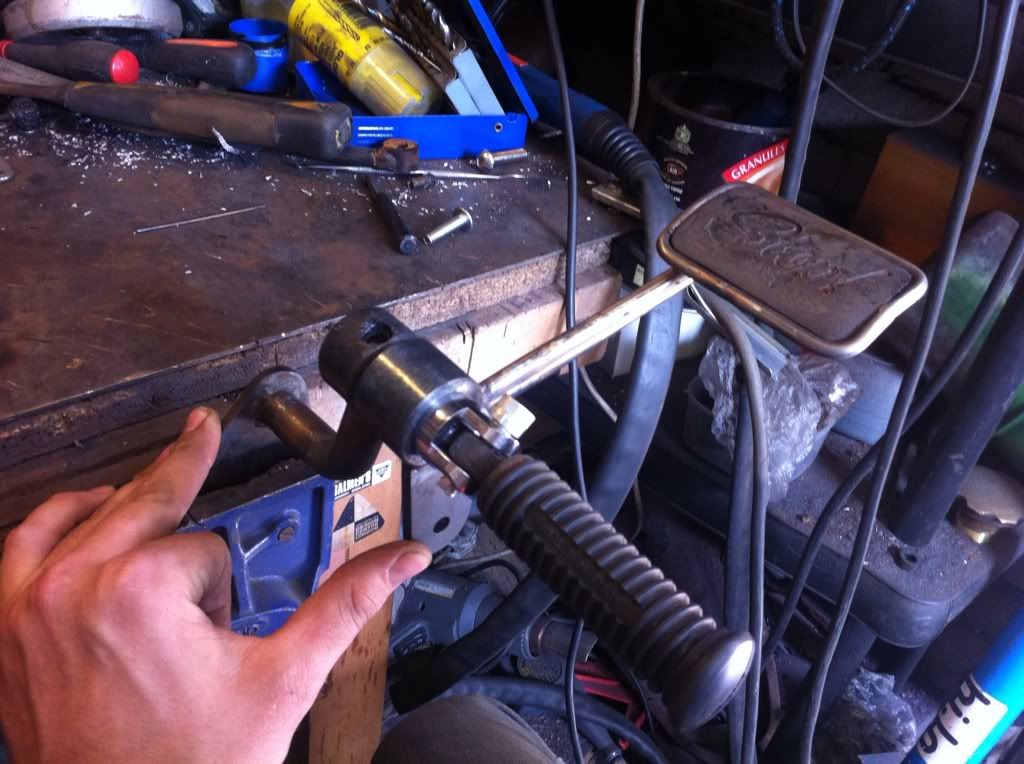
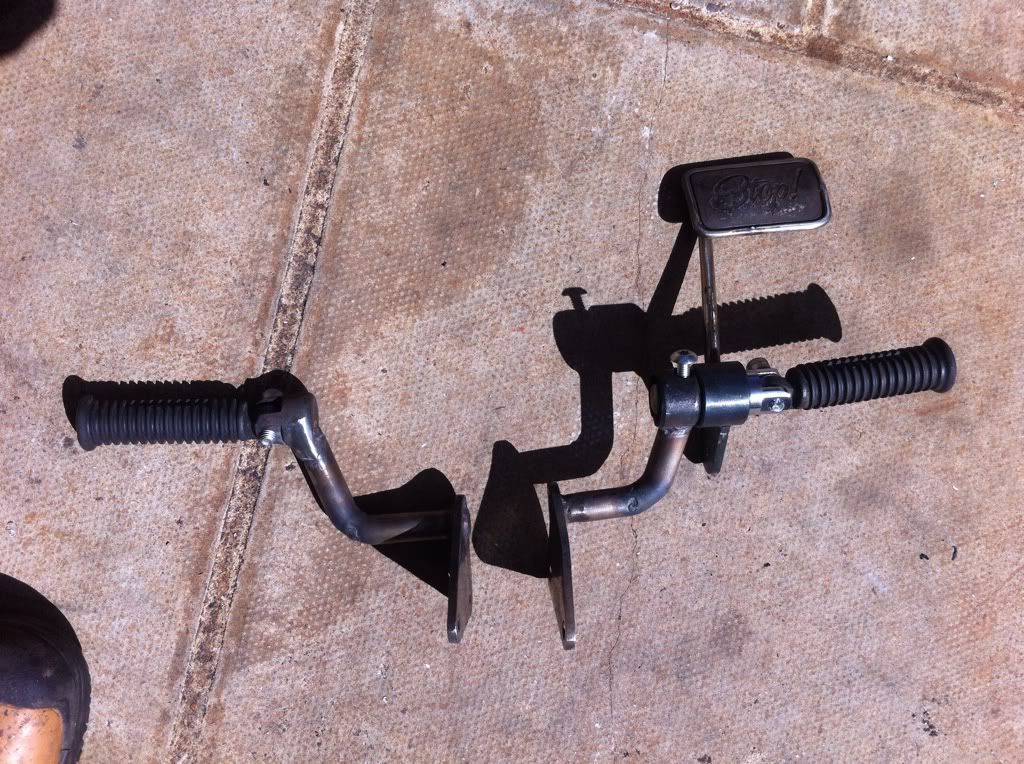
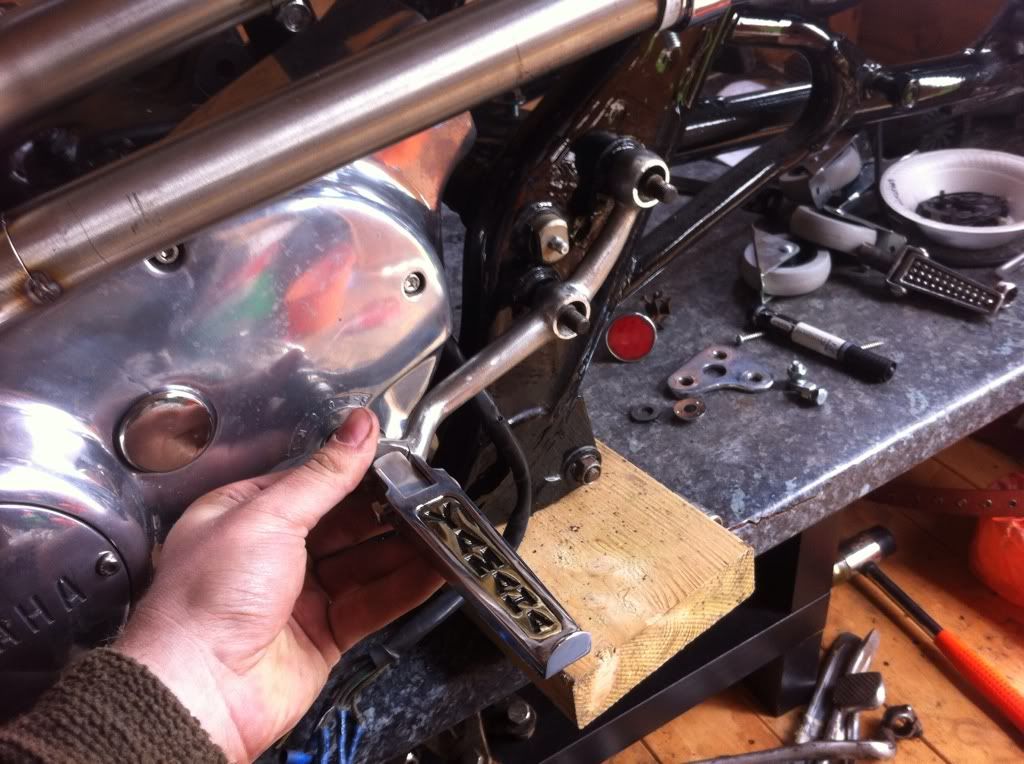
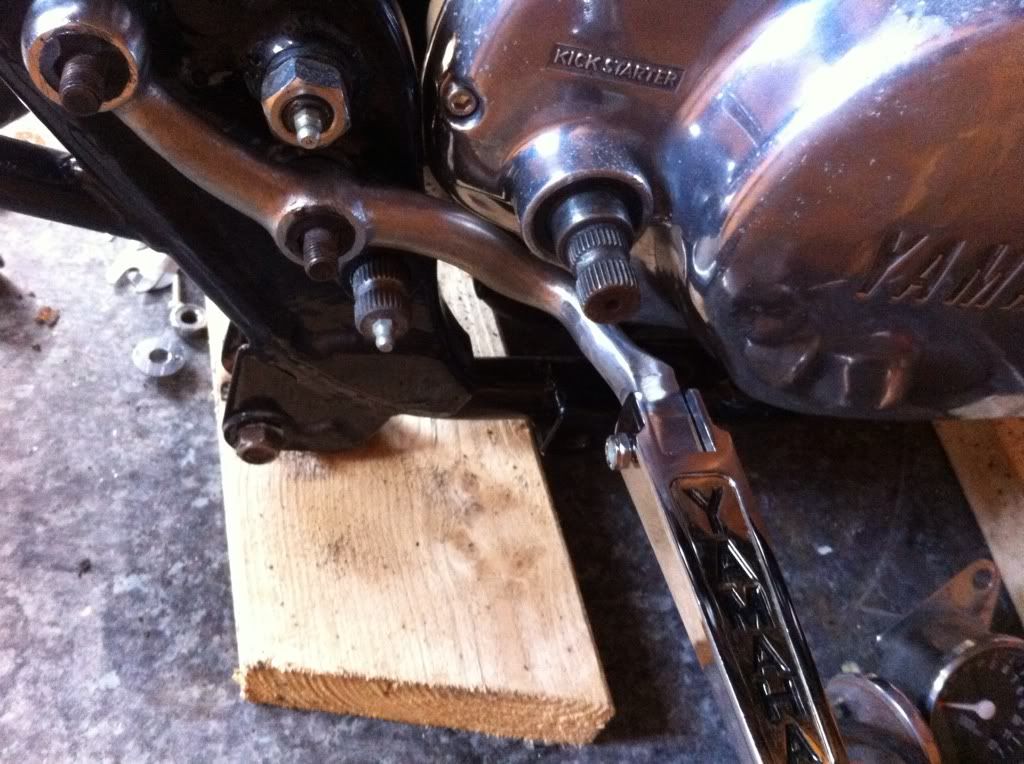
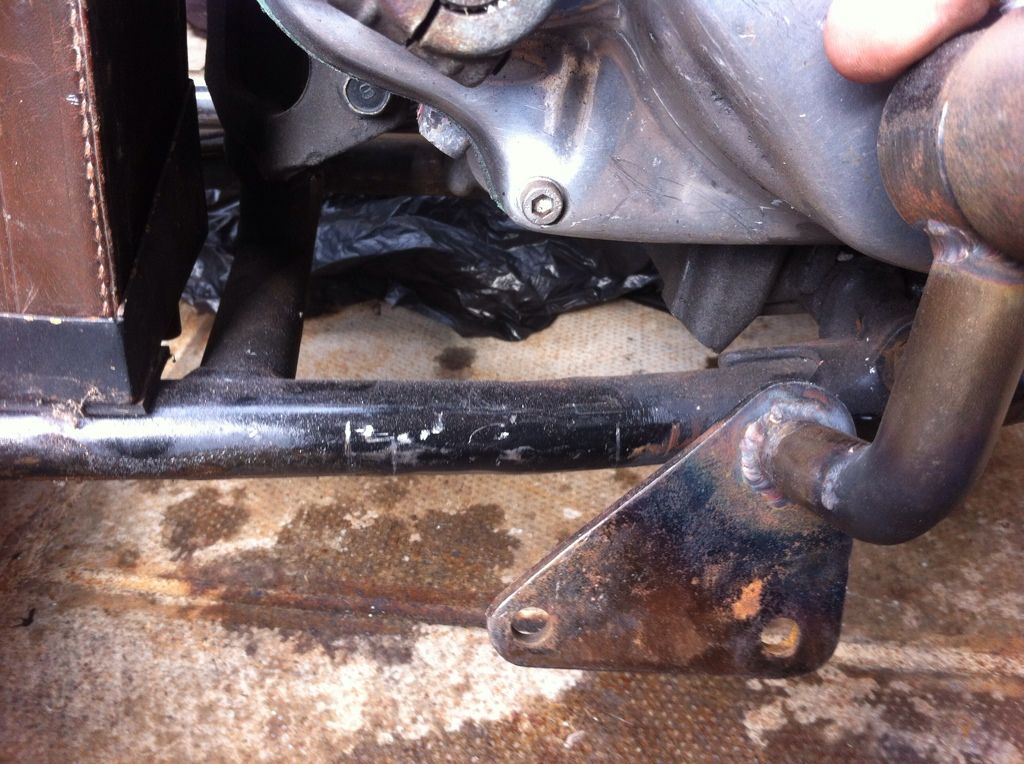
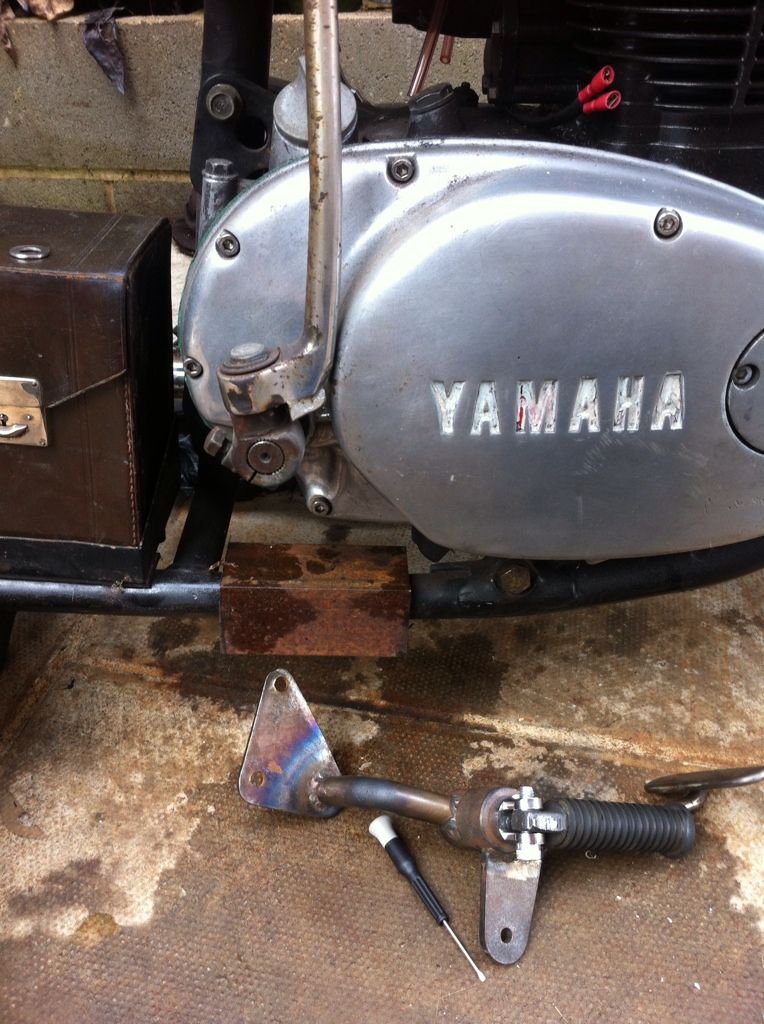
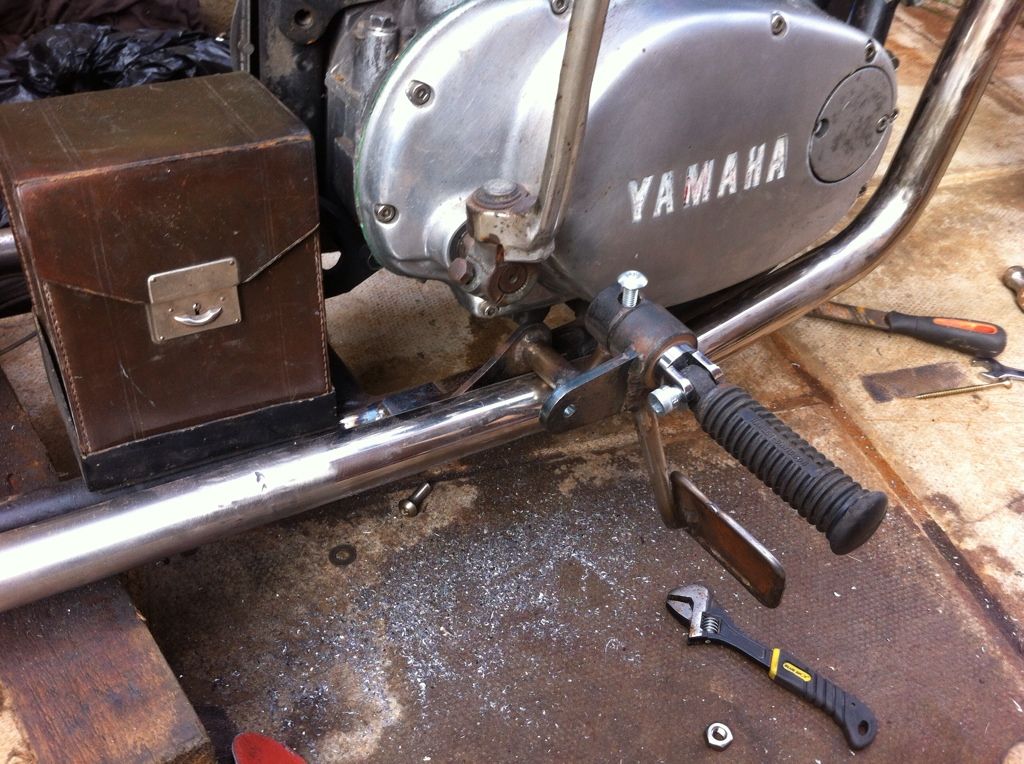
Well that was all I was planning for the day - but as this was just past midday, thought I had better crack on some more. The final job I had been avoiding was the foot controls. A real pain as it was all getting a bit tight with the exhaust / engine and the kick pedal.

I took a few pics and consulted with the great guru Toddy (this was the second call of the day to him, as i bugged him about the muddy mounts)..


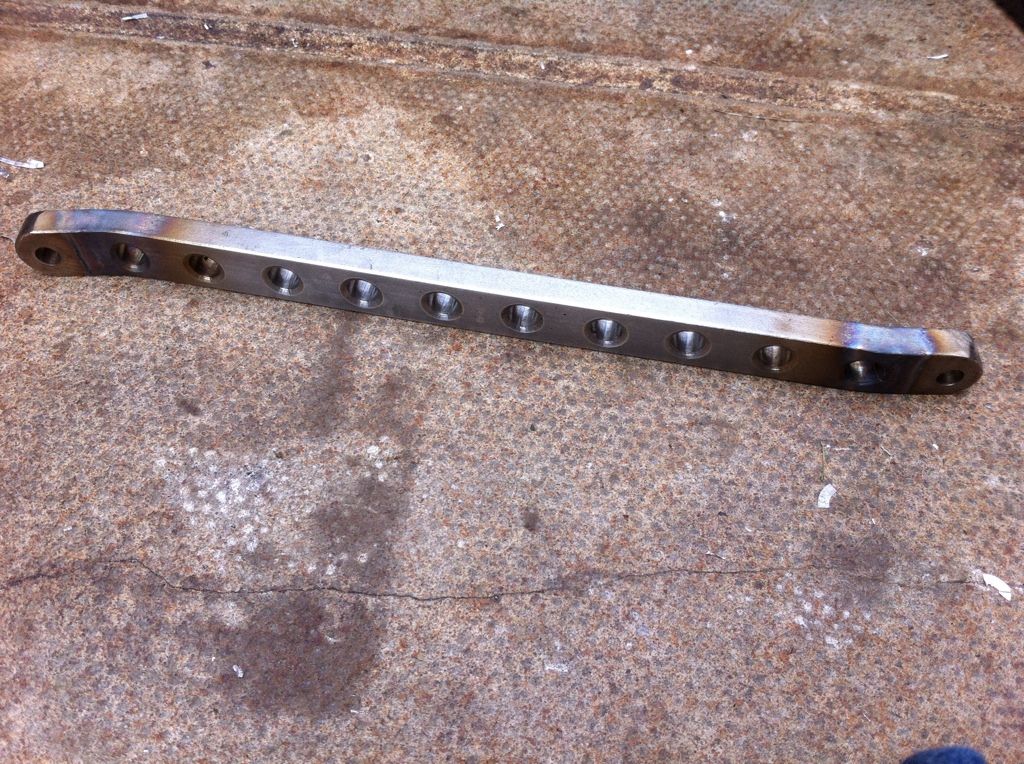
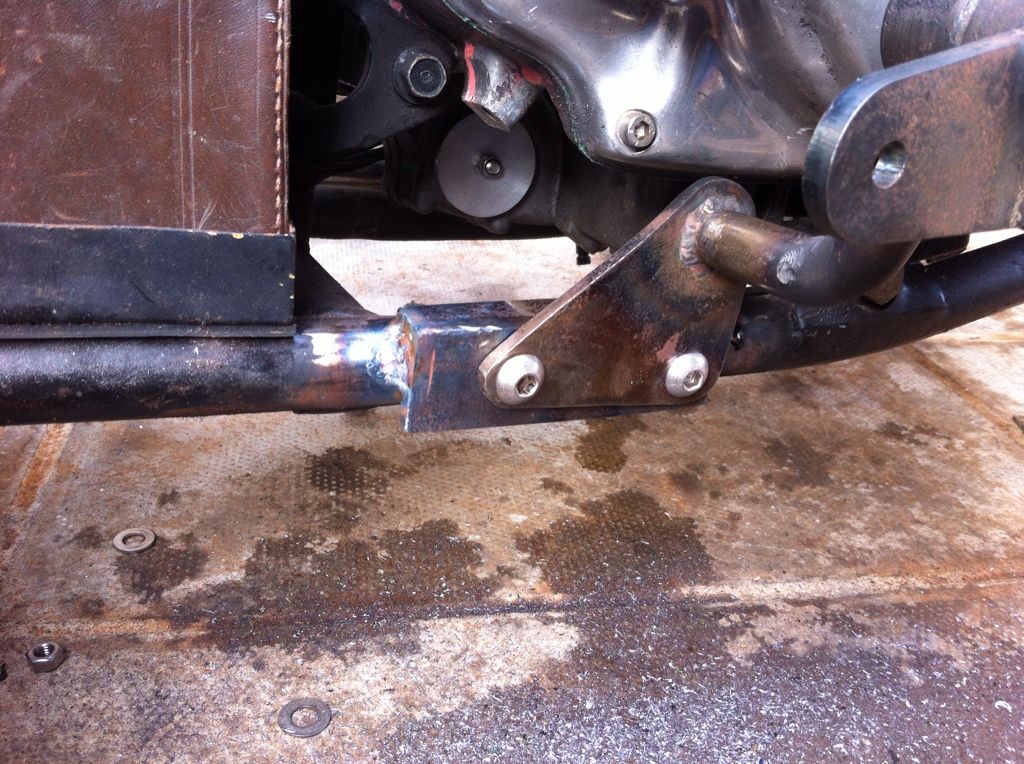
we dicussed a few options, but agreed that using a strong piece of angle iron I could weld some nuts to the back, and then weld onto the frame, while drilling the nuts into the frame rails. This was the best option as it needed to be right over the join for the hardtail - this way there was more strength being put into the frame.


I didnt take too many pics, but here it is all tacked on. When its all together and I strip the frame i'll seam weld around the box section, and probably trim the bottom somewhat...


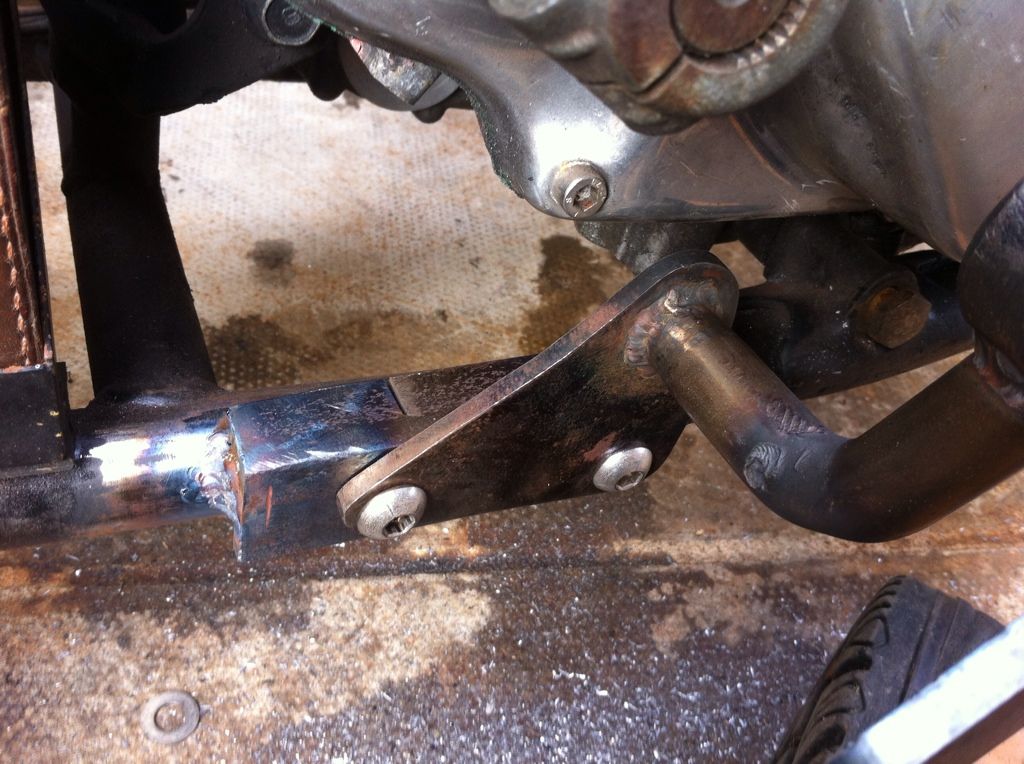
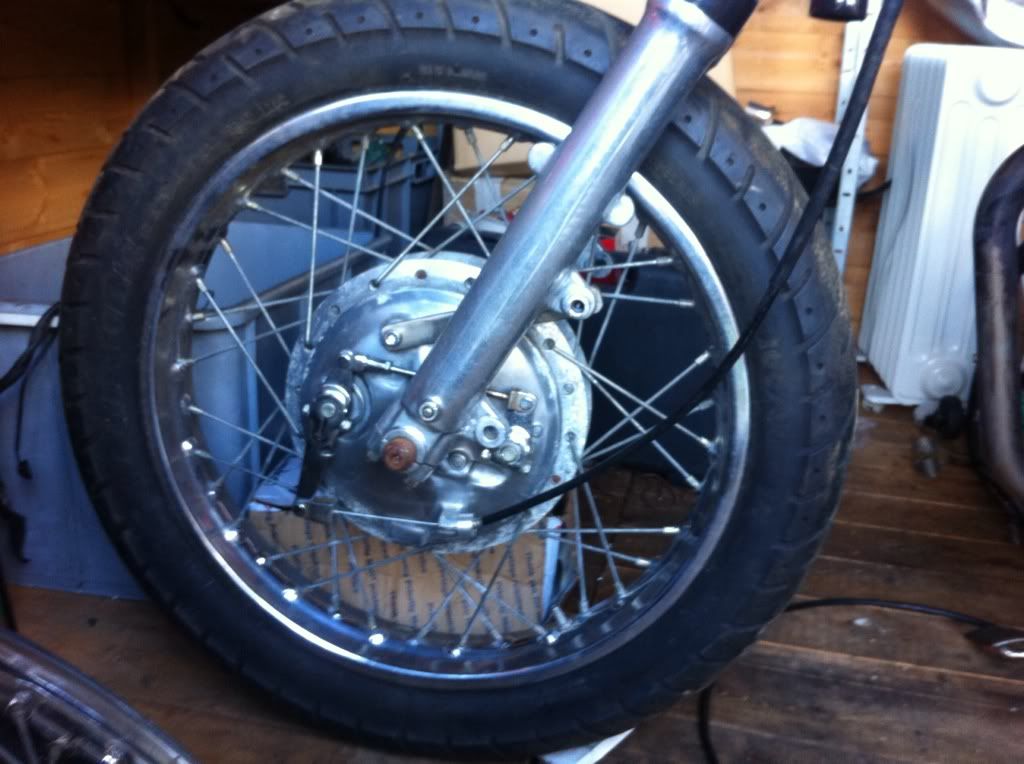
the moment of truth - will the pipes fit on???


yup, its a snug fit, but fit a treat!

With the dome headed nuts sitting another 4-5mm proud of the bracket it has swung the back out slightly - but nothing to be really worried about....


So that concludes today's efforts class. I've even managed to get in, showered and sort dinner (with a glass of red) by 5pm!

what a great day!

Wednesday, 18 July 2012

Sportster controls on XS650...

Up early this morning, work out the way, so cracked on with the controls at about 3 ish....

Basically cut the top off the left hand control and topped it on the bracket I made...


Needed a bit of tidying up to get the two parts to not look totally alien to each other. done the basic shaping - i'll finish it off at a later date....


The Brake side wasn't quite as easy - 

as you can see in this the bracket makes it sit really wide - too wide for my liking. the other issue was that the brake lever didn't want to play ball with the way I wanted to have the mount running from below. I either had to run the controls wide, or ditch the lever.....

The Lever was ditched!!!

this was the pin and pivot for the mechanism - i ended up turning down to within 10mm or so of the cutaway to give some much needed narrowing...


....and this is all I kept of the original bracket - again turned up in the lathe to get it a decent shape...


Cutting a long story short (ish) this is the new assembly as it is was loosely assembled...


I just had to use that STOP! pedal I etched ages ago! these are the main components....


I know the pivot underneath is rather large and ungainly - but i'll trim or drill that at a later date....


The sun even came out while I was playing!!!!


a few other bits I sorted - and adapter so my front brake operated (I say operated - not worked!!!!!)


Finally I had cut and punched this torque arm a while back - but my drill was playing up - plenty of cutting compound and it was given the holy treatment!!!

All in all a VERY productive 4 hours or so!

to top it off, i'm off out on the bike for a spin, and then to watch the new 6over DVD (all about building choppers!!!)

Monday, 16 April 2012

Foot Pegs

Taking a couple of days off work to work on the bike.

Today's efforts were:-

Mega mount


Made it from 6mm stainless I had lying round. It's fecking hard stuff, took an age to drill the holes. I thought about polishing it up, but when I bent up the step it had a good few hammer marks in it. I decided to attack it with a grinding burr and rough it up a bit!


I think I'll end up welding a tab on the frame to bolt it too...

On the list was also foot pegs. I had these old ones with the bike. Old rusty pitted and with dreadful casting marks. 


I cut the old peg mounts off and got cracking with the new ones.
Drilled through the legs, and held in the right place while I welded the tabs on.


Then with a bit of tweaking I got the pegs lined up properly


Then cleaned up with the grinder. 


Pretty happy with the results! I'll need new rubbers for them, but really suit the bike in my eyes....


And the other side to match...


I'll be tryin to sort the seat out tomorrow so I can get it over to mr caulfield.

Also have a few thoughts on making some side covers for the battery area....