Showing posts with label Stainless. Show all posts

Tuesday, 25 September 2012

Onwards, Ever Onwards

Day 1 of the real holiday (the missis back at work while i'm off!)

Despite having a river running over the floor of the side of the house, its full steam ahead!

Cracked on with re-making the backs of the air filters - I had to make them offset so they fitted correctly, plus I wasn't happy with the welding on the outside. I decided to weld a seam on the inside of the filter, so cut a hole for the tube to locate to, then welded away.


of course I did the same to the other one as well...


drilled the holes so they located on the main part of the filter..


then trimmed up to the shape of the main part with a grinder...


stripped them down, cleaned them up with the old Jizer, then a good scrub in the sink with soap and water. I'm normally rubbish at having things laid out in preparation, but today...


the black foam is ramair sponge. its a 2 part foam that can be cut to size / shape...


fits like a glove!


tried them on the bike with red tubing, but it looked a bit gay!


so I opted for black instead...


still need jubilee clips to hold it all together. but very happy that all the effort has come good (in my eyes anyway!)

Next up i turned up some spigots to locate the seat springs too..


and welded the buggers in place


Chucked a bit of black paint on to cover it from the weather...

Its coming together slowly!!

Tuesday, 31 July 2012

Air filters

Still buzzing from this years hayride, but down in the dumps because its all over for an other year. Decided to cheer myself up by attempt number 2 on the air filters.

Picked up some 4 inch pipe (stainless) at lunchtime today. Could wait to get home and get cracking...

Basically I cut the tube to length, and trued up the ends in the lathe. I then cut up an old stainless bread bin to make the end caps, tacked it in place, then trimmed on the lathe to make the edge right. I left the piece on the lathe while I welded it (not spinning)...


This is it welded up on the 1 end..


I then trimmed it and gave it a quick sand...


Didnt really take too many pics, but gave it the holy treatment in the pillar drill - plenty of cutting liquid, and plenty of patience..

Et voila!


I had some fine mesh I bought in Newark which I trimmed to fit...


I attempted to cut down a ring filter to fit,but it wouldn't really work...


Back to the drawing board on that one...

Whats better than one of them?

2 of course!!


Next to make is the backing plate,and attaching screws, plus work out howto make them fit to the carbs...

Happy boy now though! no more holy things on the bike though...

Wednesday, 18 July 2012

Sportster controls on XS650...

Up early this morning, work out the way, so cracked on with the controls at about 3 ish....

Basically cut the top off the left hand control and topped it on the bracket I made...


Needed a bit of tidying up to get the two parts to not look totally alien to each other. done the basic shaping - i'll finish it off at a later date....


The Brake side wasn't quite as easy - 

as you can see in this the bracket makes it sit really wide - too wide for my liking. the other issue was that the brake lever didn't want to play ball with the way I wanted to have the mount running from below. I either had to run the controls wide, or ditch the lever.....

The Lever was ditched!!!

this was the pin and pivot for the mechanism - i ended up turning down to within 10mm or so of the cutaway to give some much needed narrowing...


....and this is all I kept of the original bracket - again turned up in the lathe to get it a decent shape...


Cutting a long story short (ish) this is the new assembly as it is was loosely assembled...


I just had to use that STOP! pedal I etched ages ago! these are the main components....


I know the pivot underneath is rather large and ungainly - but i'll trim or drill that at a later date....


The sun even came out while I was playing!!!!


a few other bits I sorted - and adapter so my front brake operated (I say operated - not worked!!!!!)


Finally I had cut and punched this torque arm a while back - but my drill was playing up - plenty of cutting compound and it was given the holy treatment!!!

All in all a VERY productive 4 hours or so!

to top it off, i'm off out on the bike for a spin, and then to watch the new 6over DVD (all about building choppers!!!)

Sunday, 15 April 2012

Single Sided Pipes

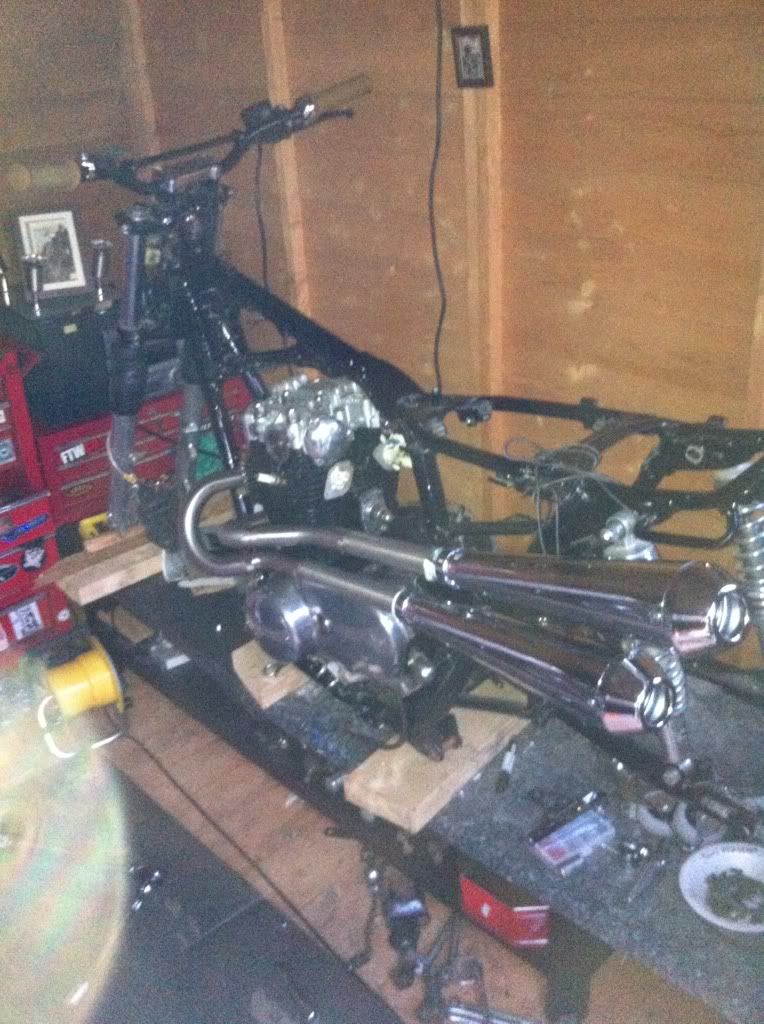
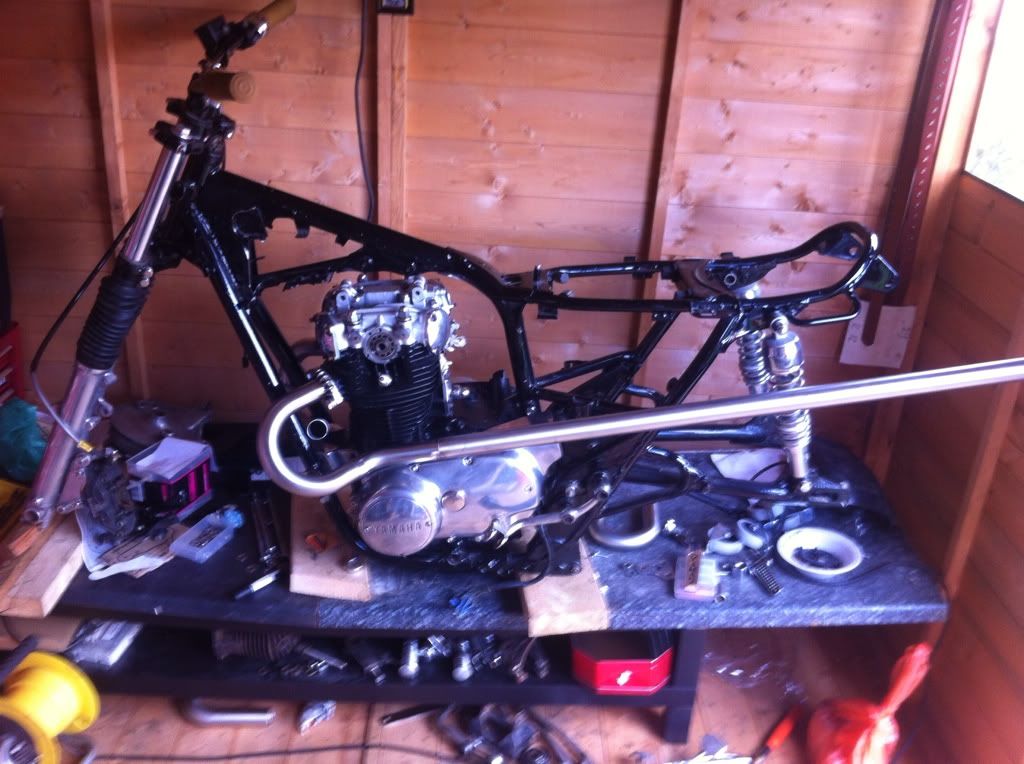
Yesterday's big job was the much anticipated high level pipes, looking forward to cracking on with them, but a little nervous about getting them right.

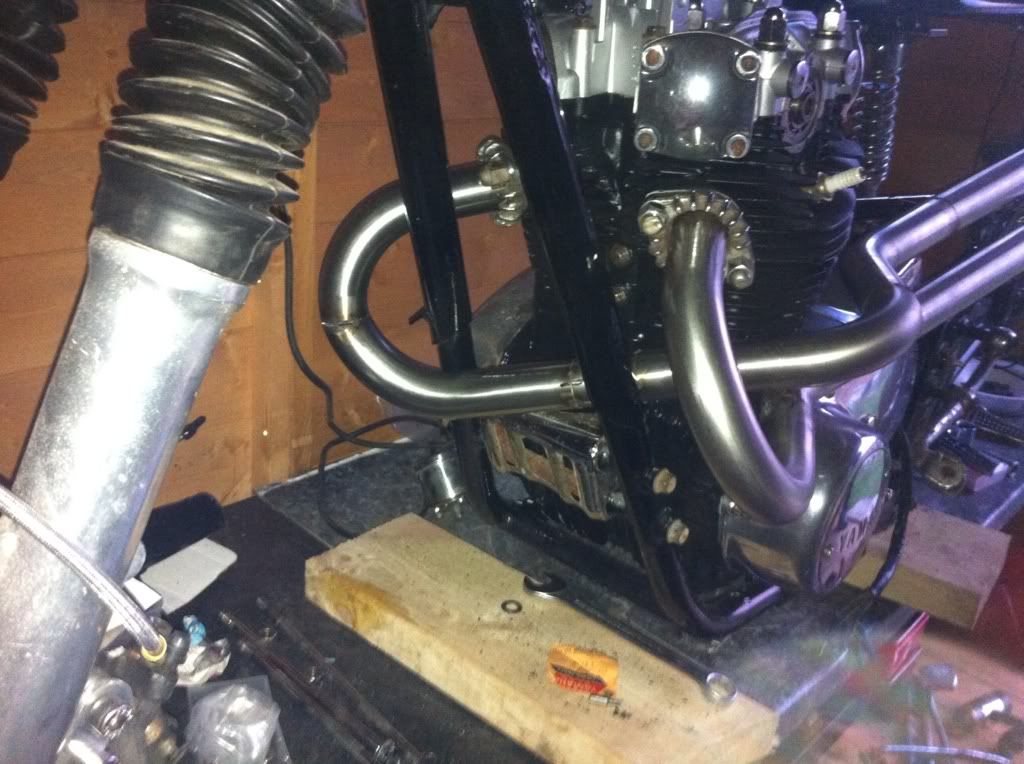
Spent a bit of time trying out the 2 different size u bends, and decided on the larger of the 2 bends to be used.

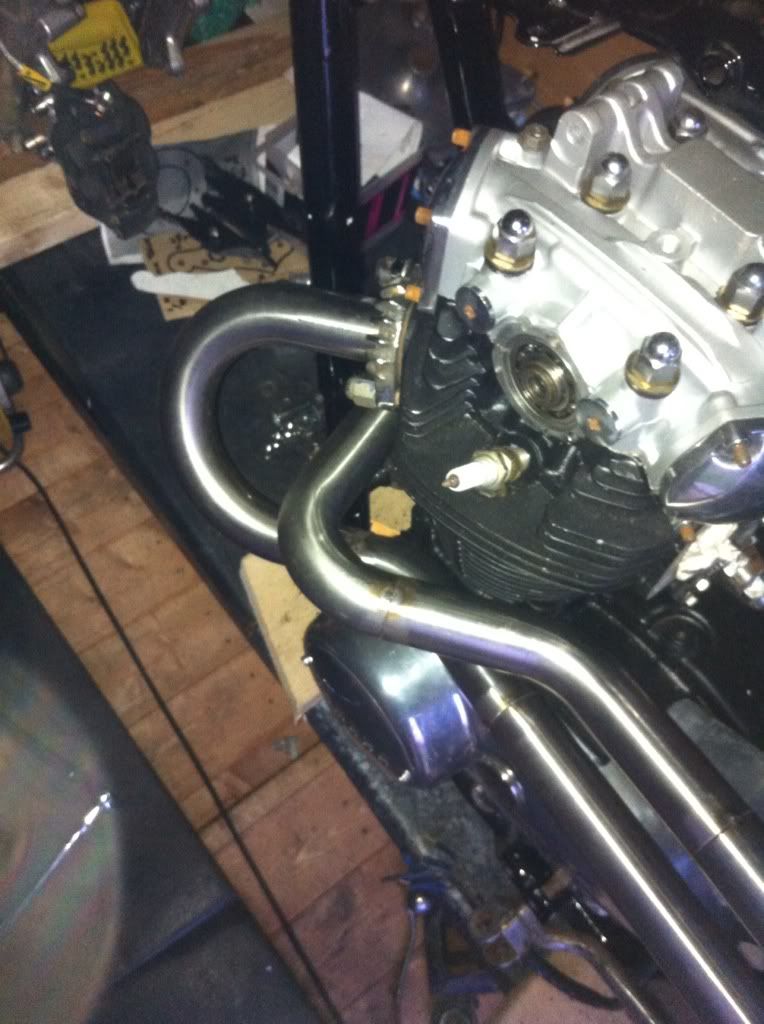
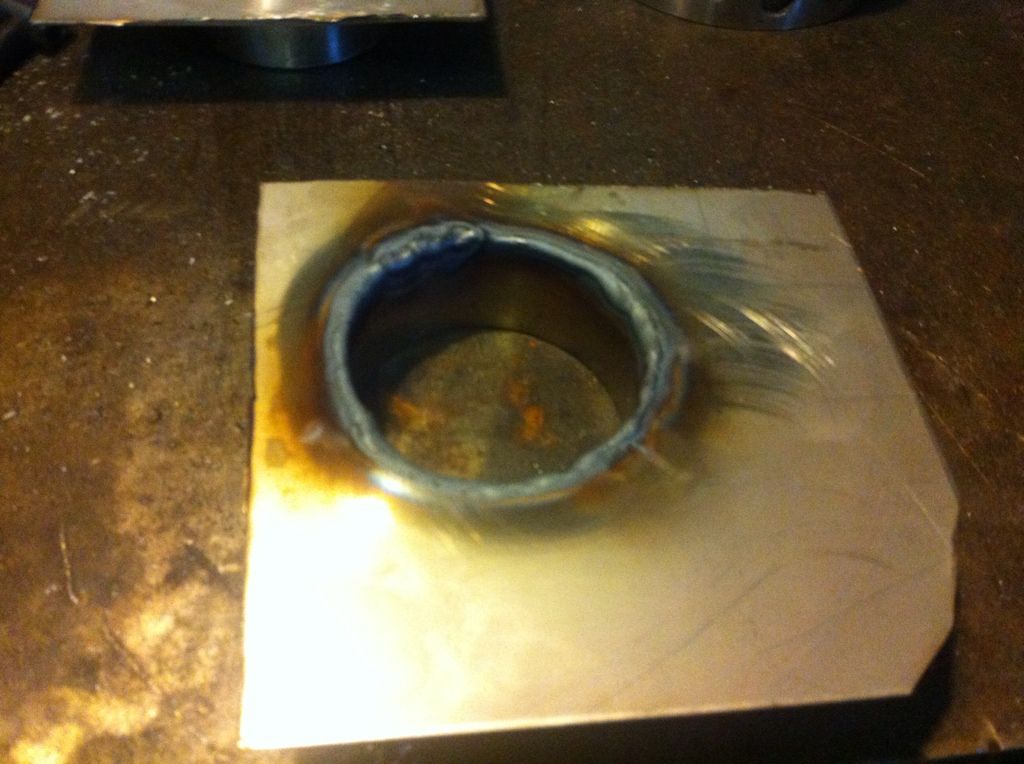
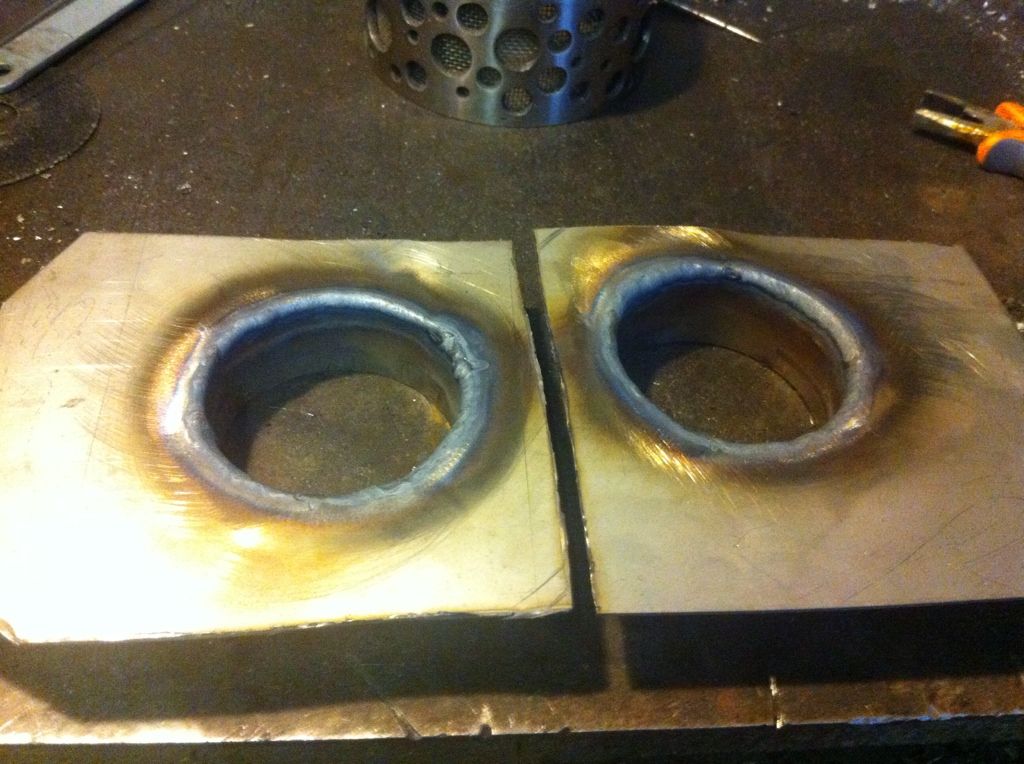
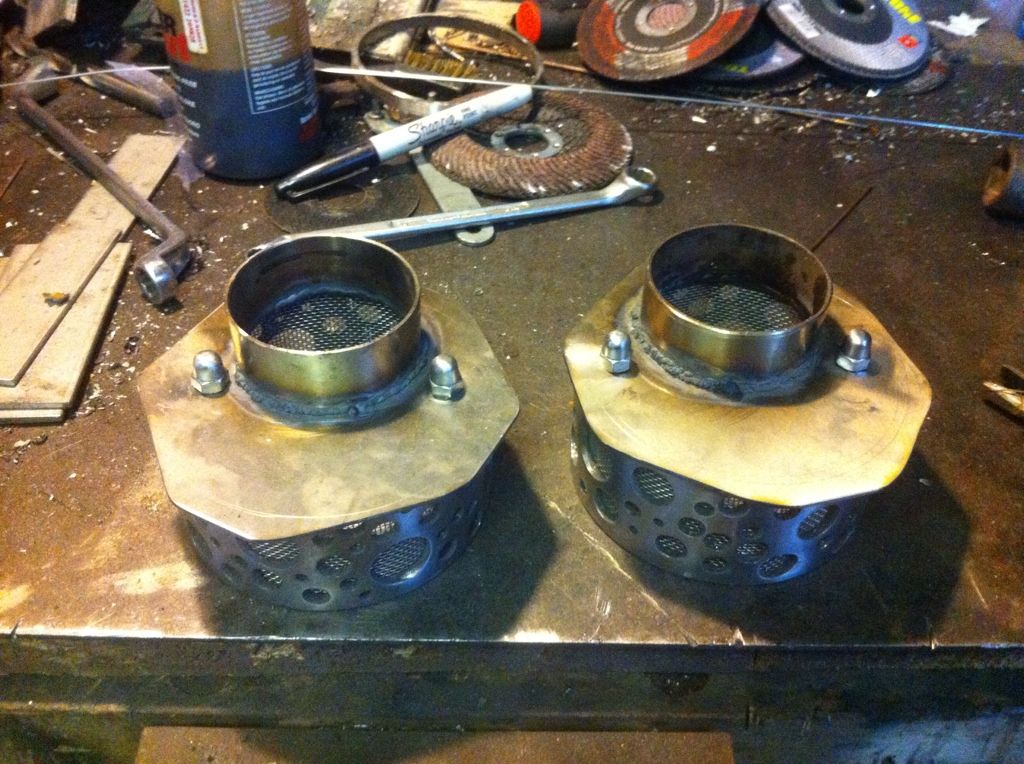
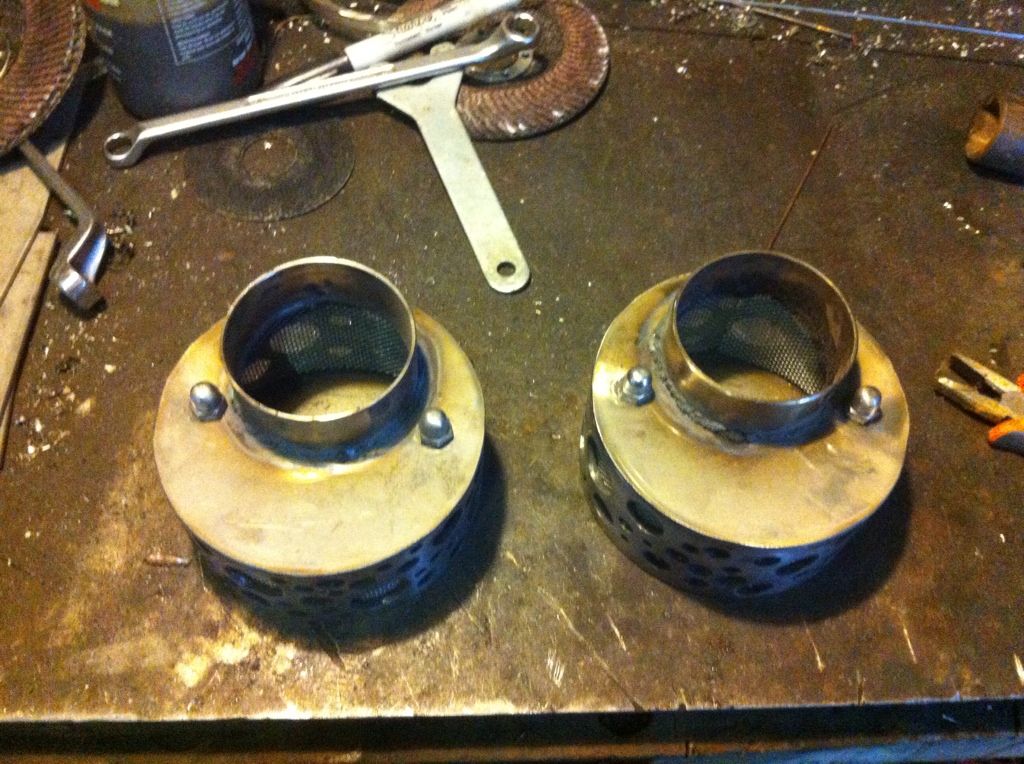
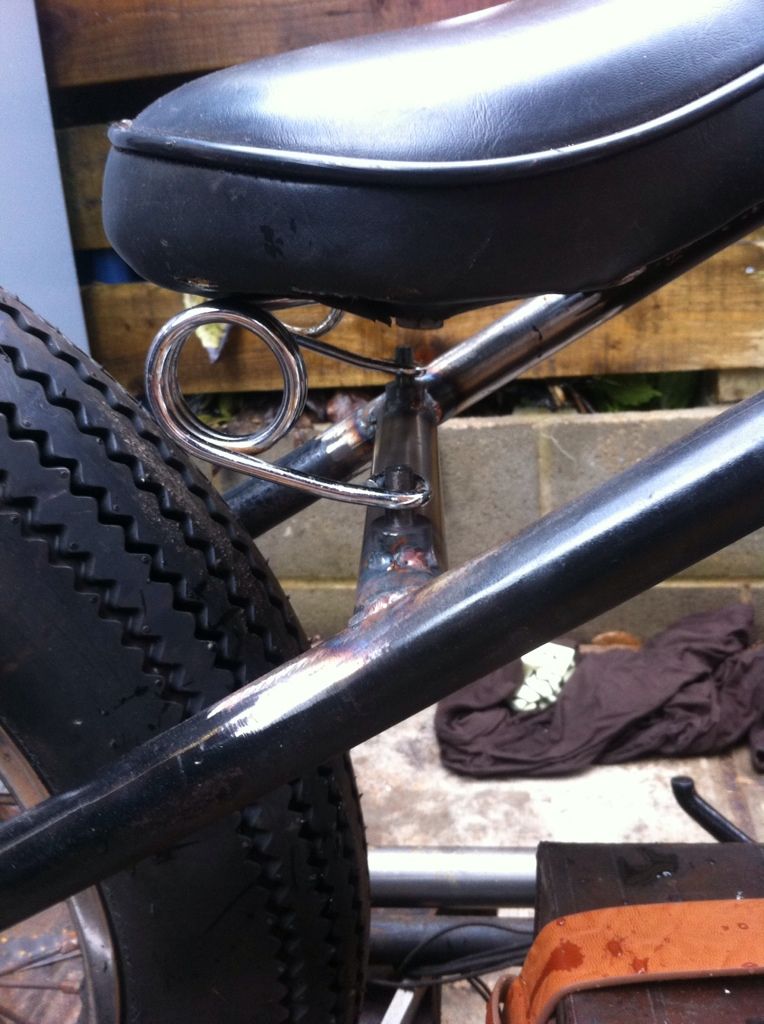
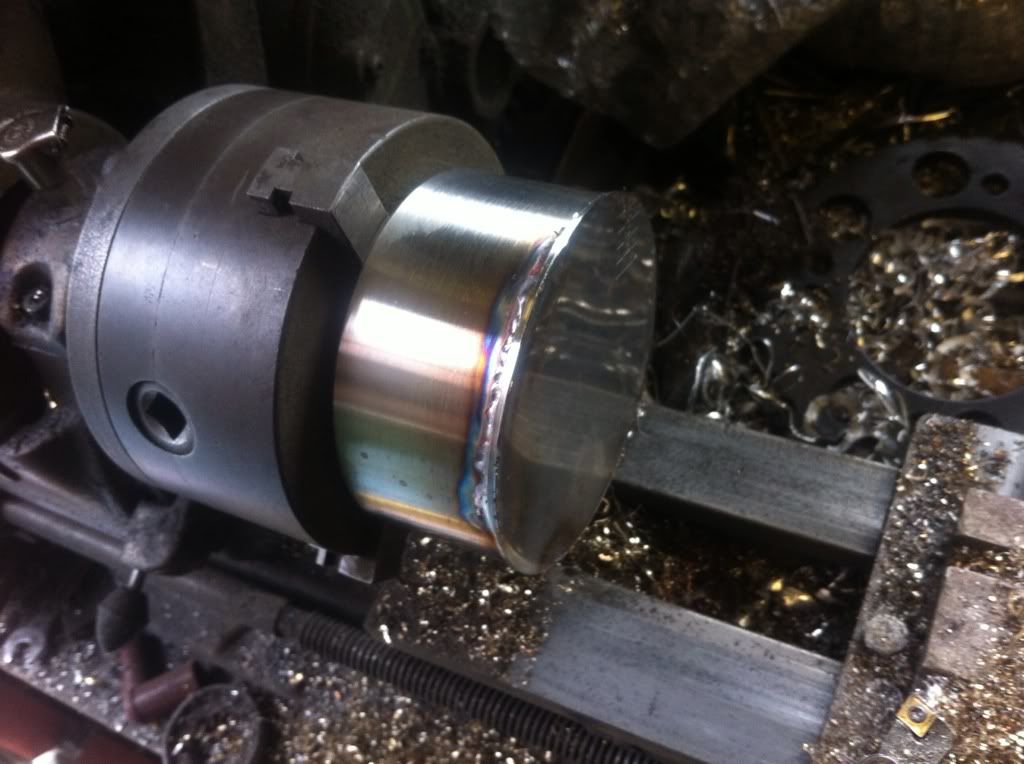
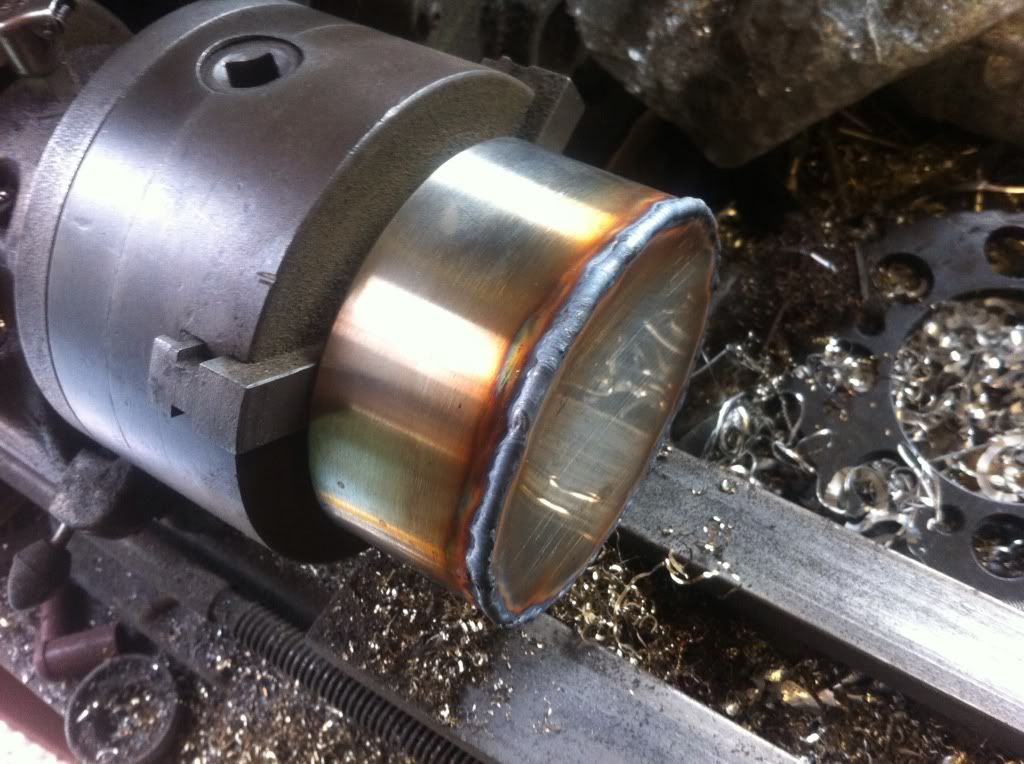
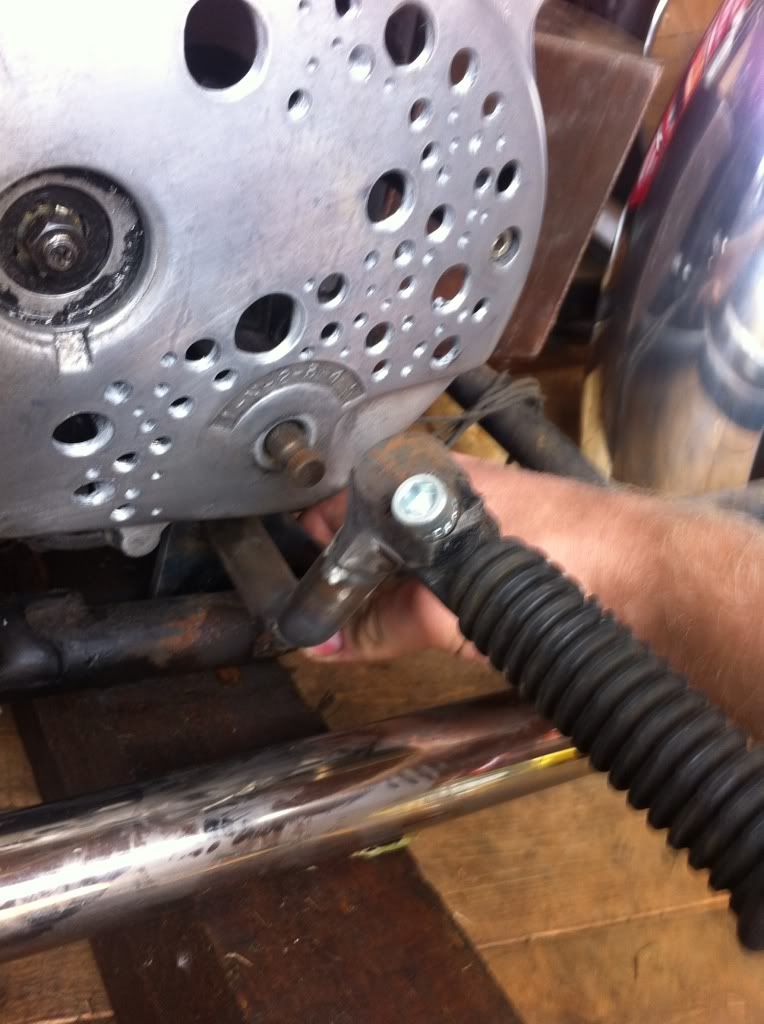
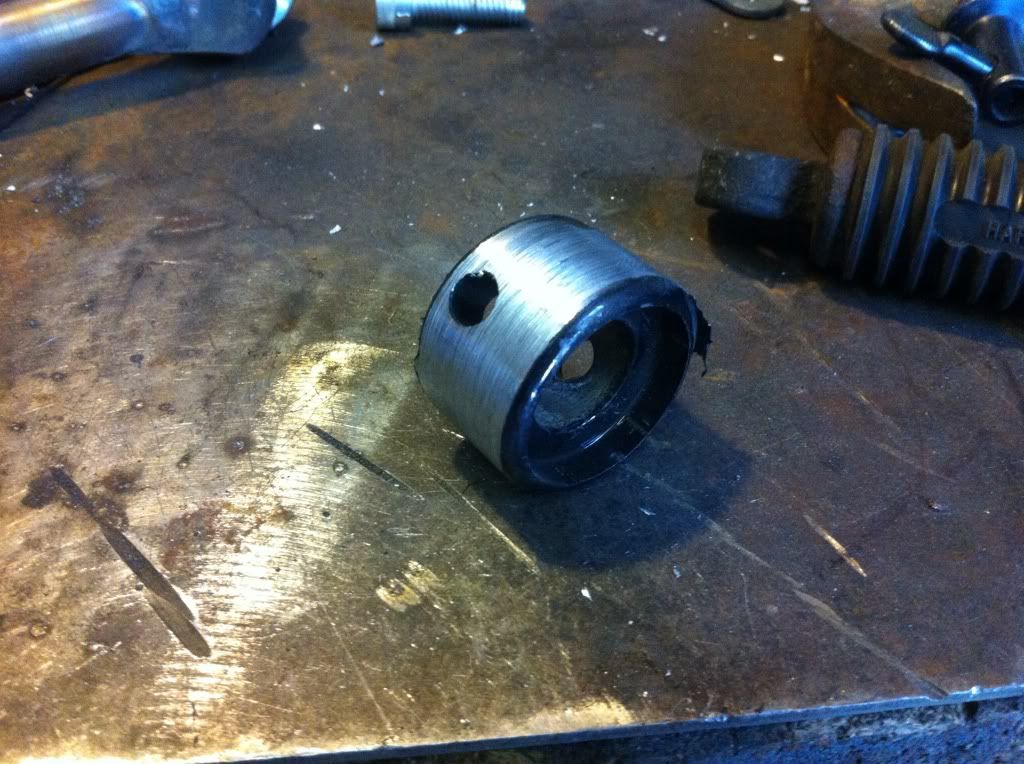
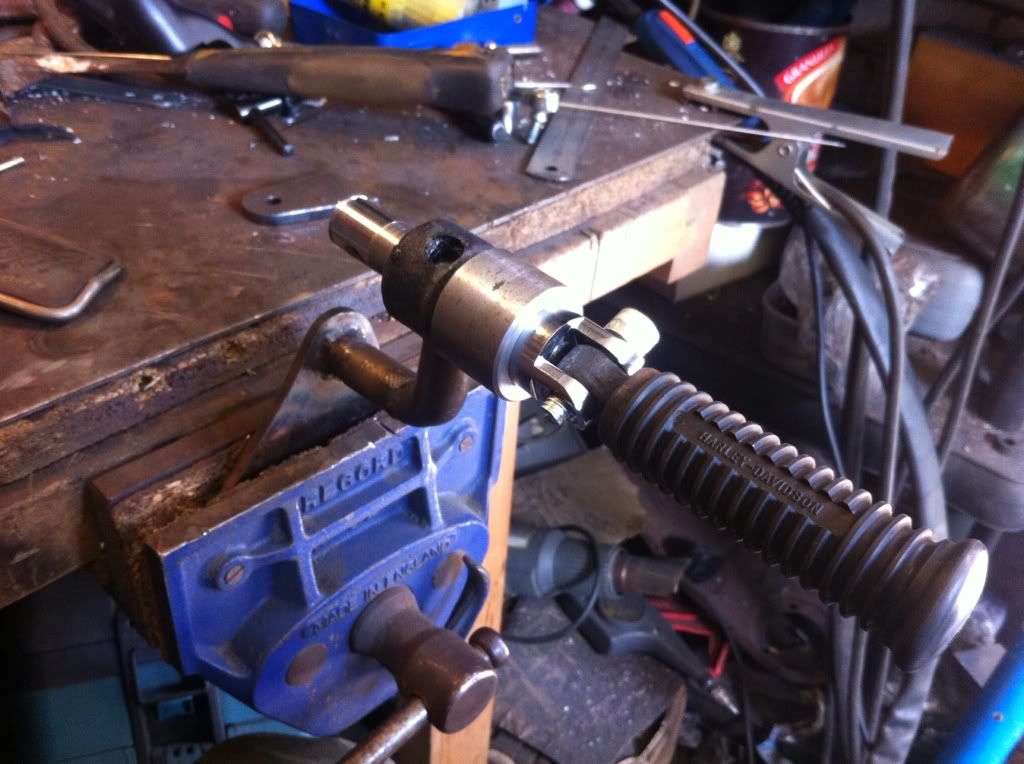
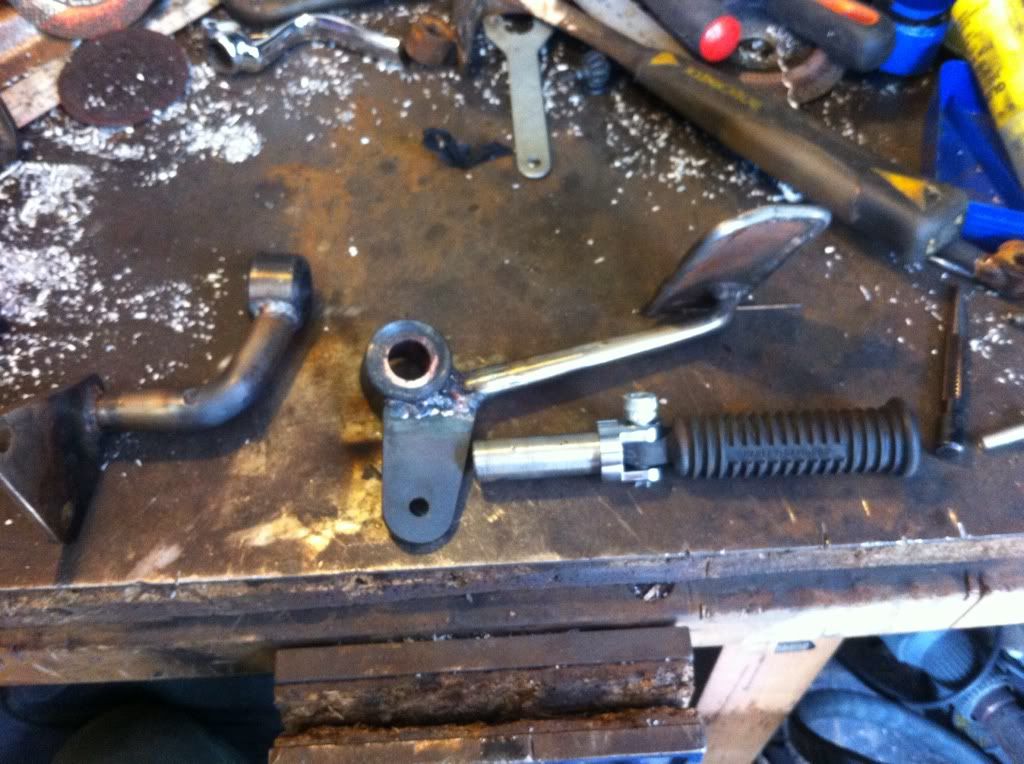
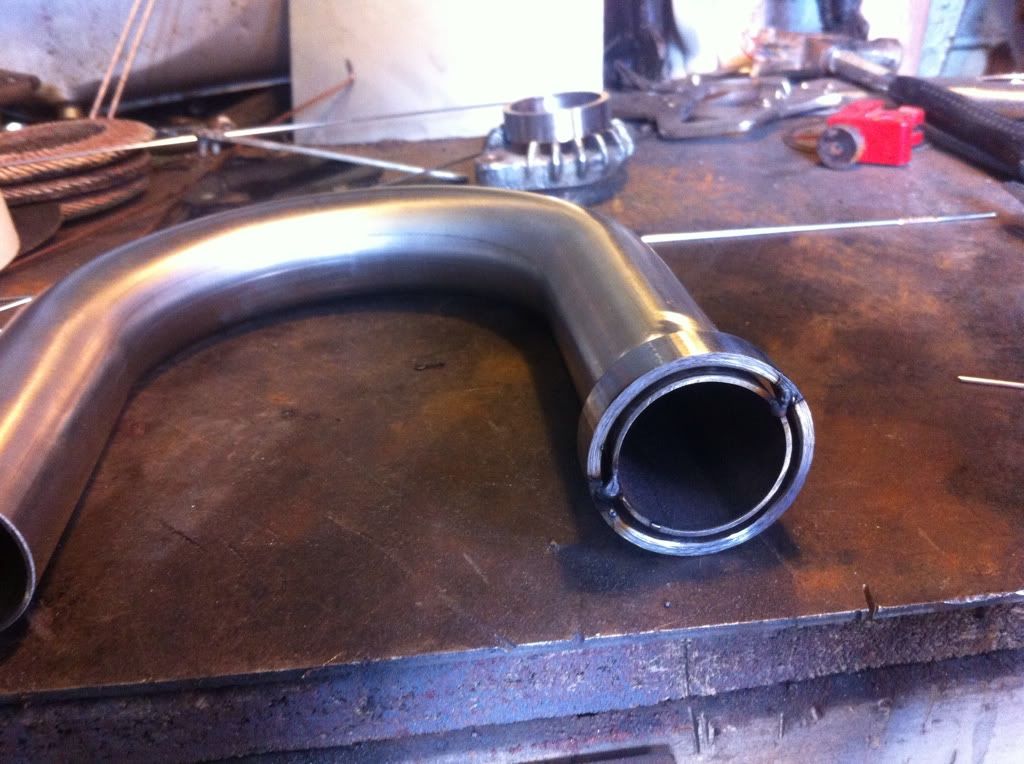
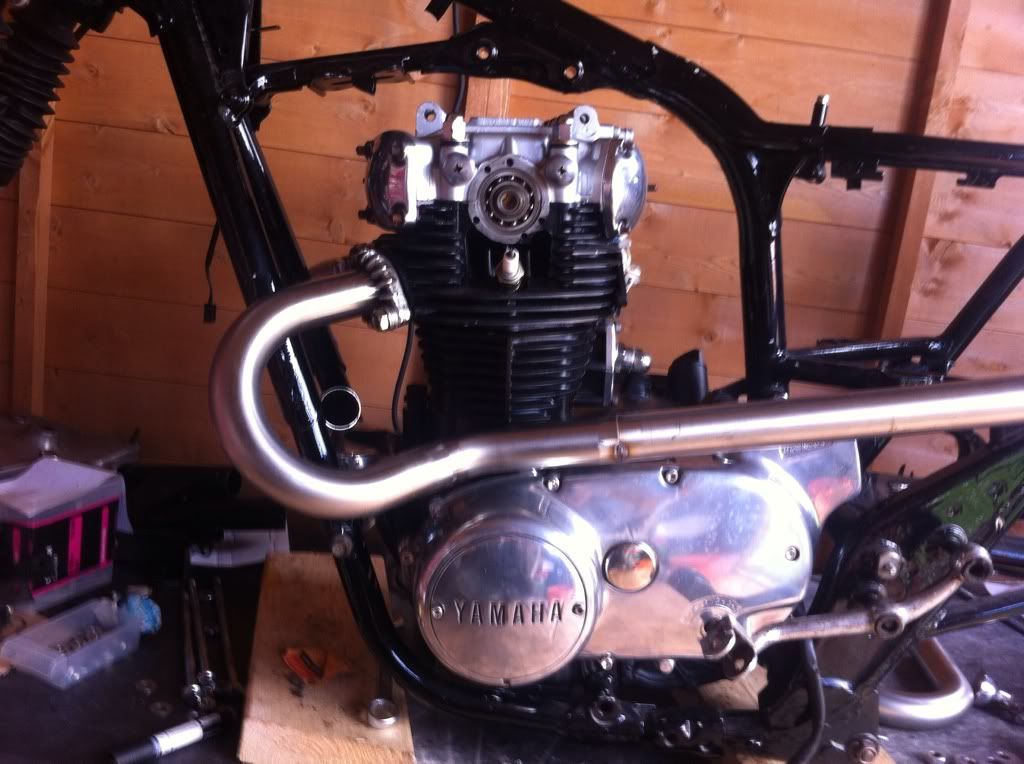
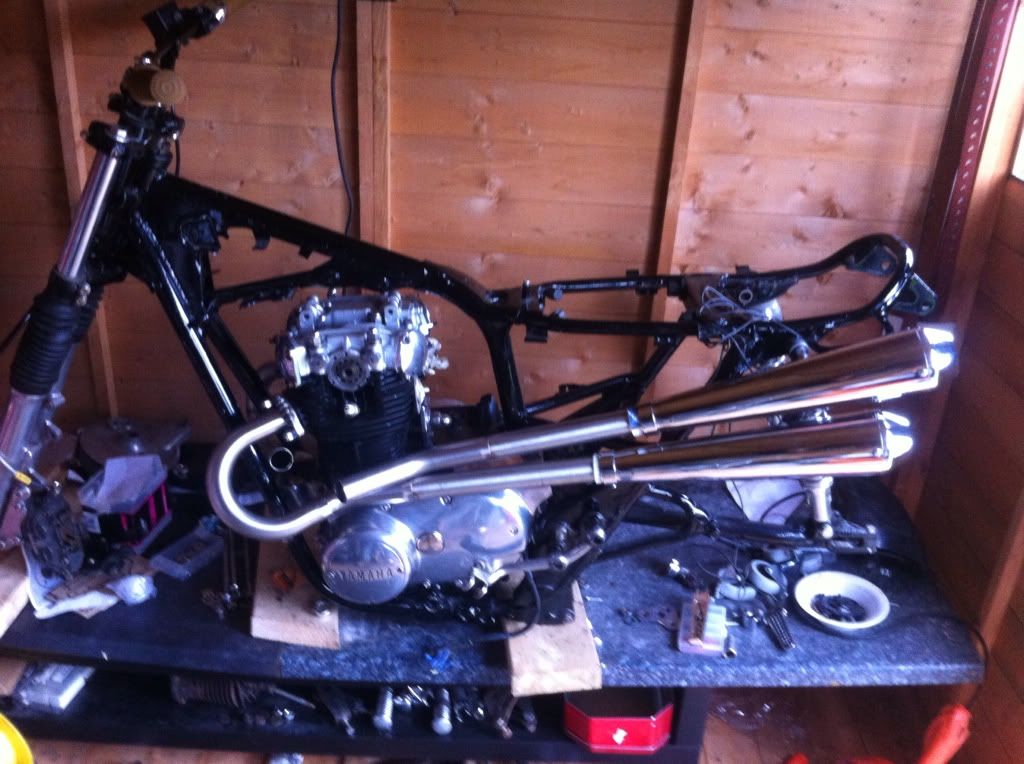
Probably the best decision I made that day was to take the time to fab some collars for the ends to sit in the engine. I initially thought I could do with out them, but they turned out to be essential. I just cut up a piece of scaffold pipe, turned them clean and even, and to the fit size - 12mm width. 


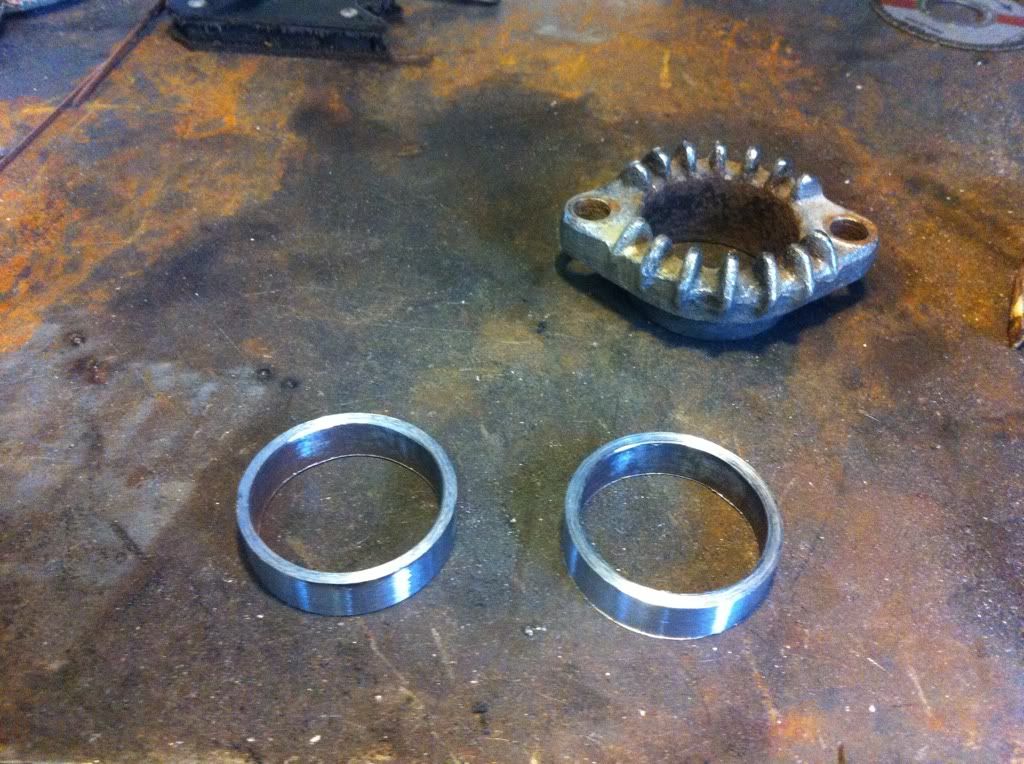
The collars weren't a perfect fit over the pipe ends, so I used some weld rod to evenly space the collar over the pipes.


At this point Tombo came down, just at the point where I needed a hand. Top man, cheers for coming down mate!

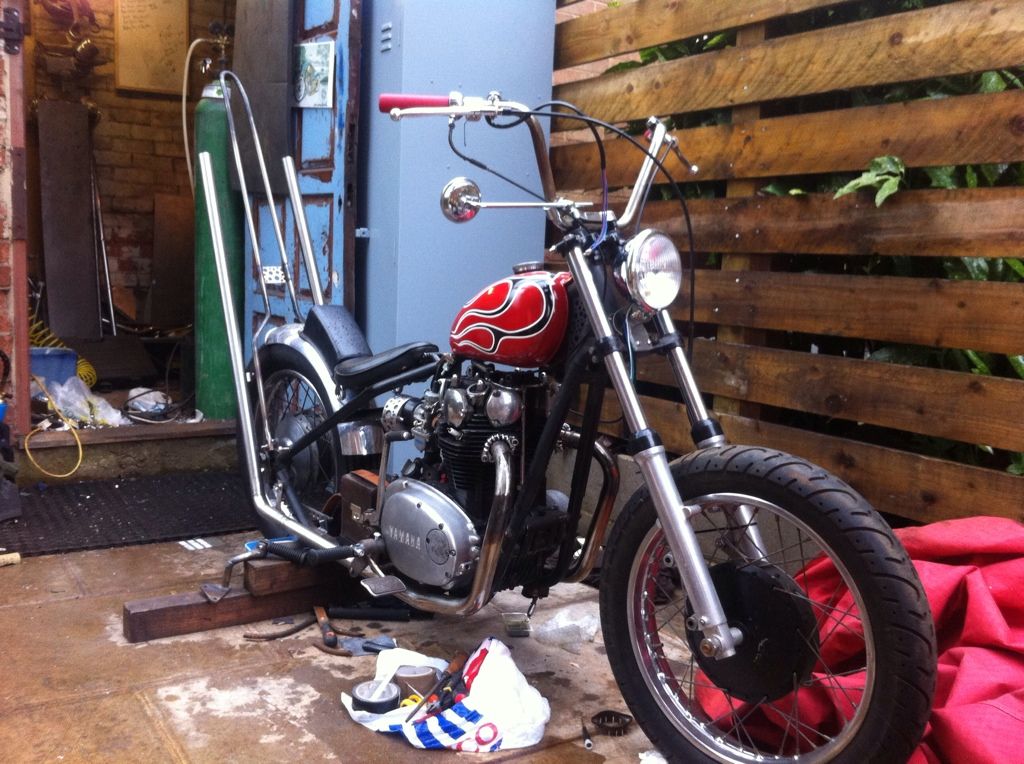
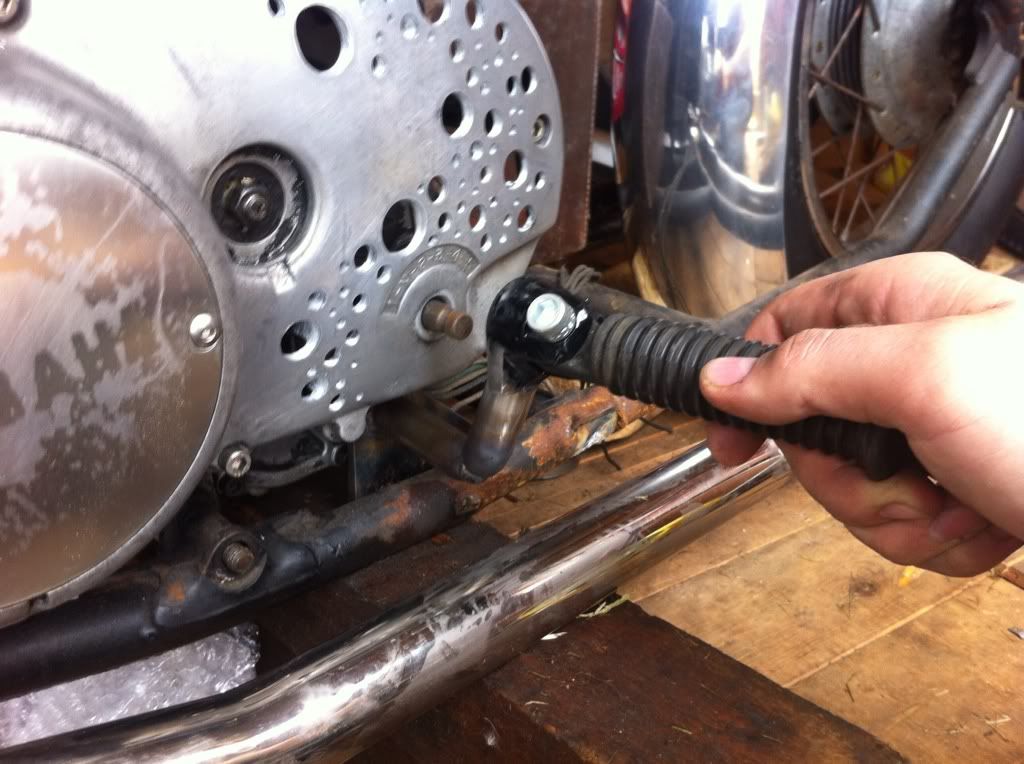
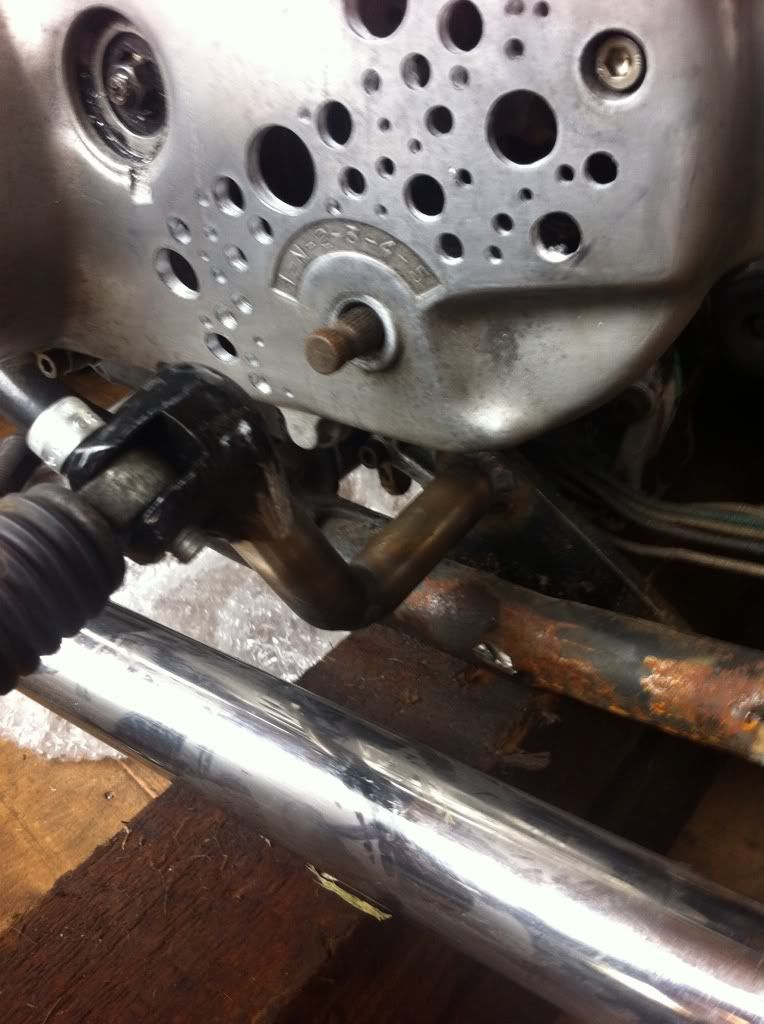
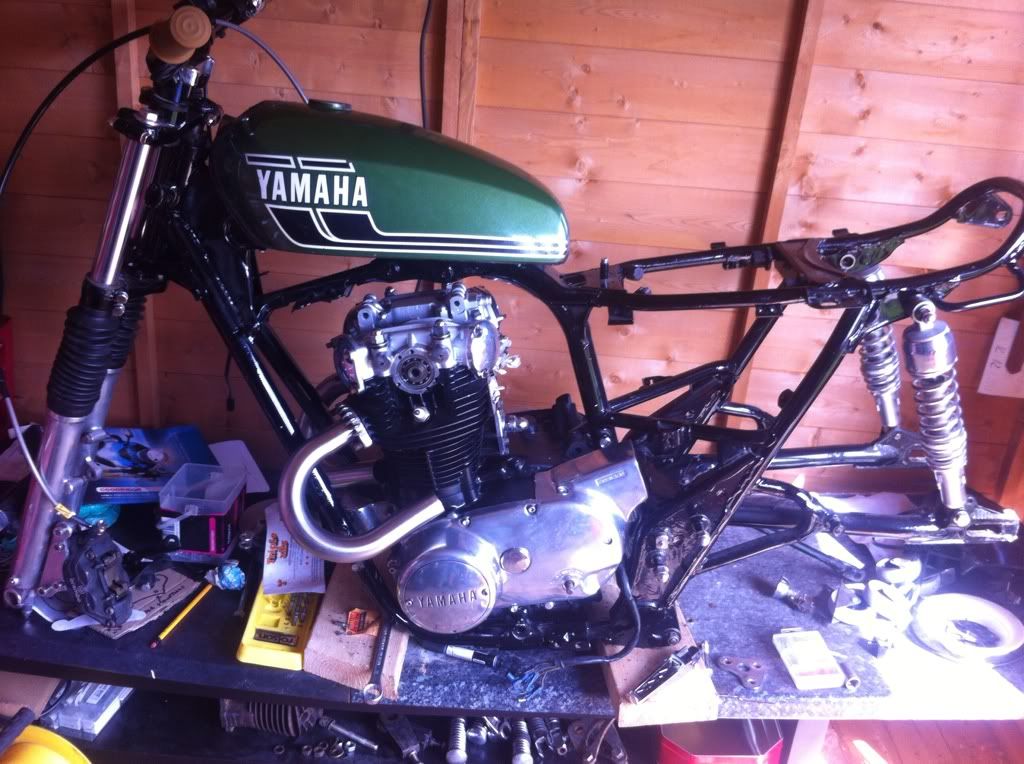
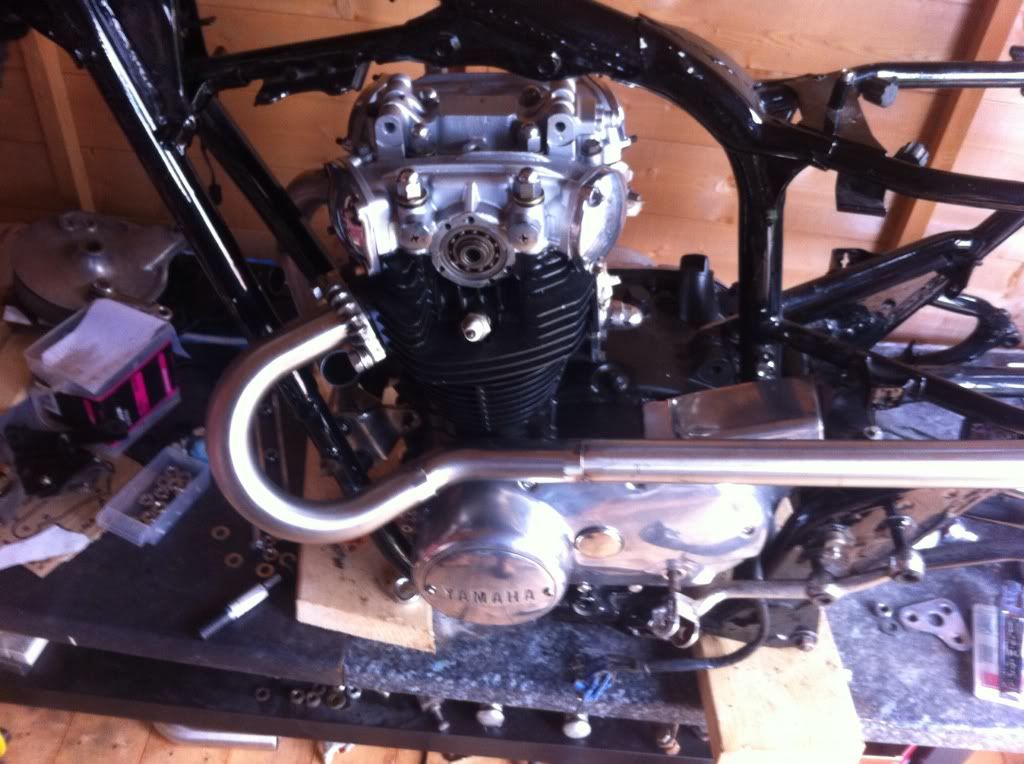
Once the ends were on we could mount the pipes into the engine and see where we were at...


We figured it best to sort the left hand pipe out first, so used a 35 degree bend as a mock up to try and work my lines out...


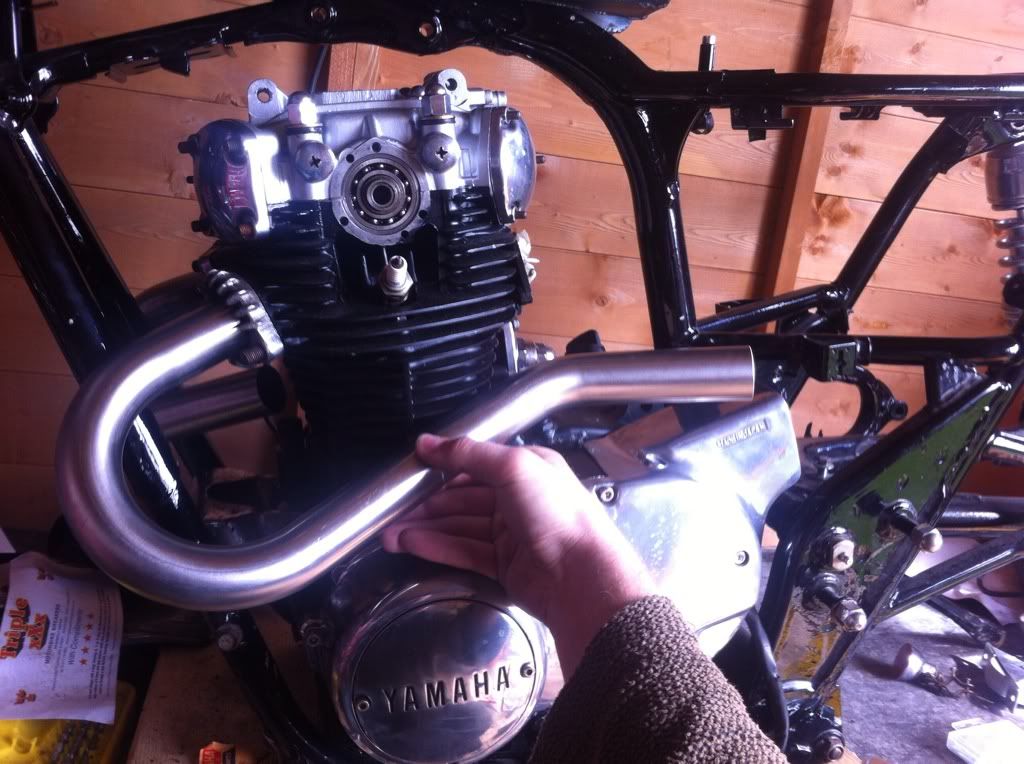
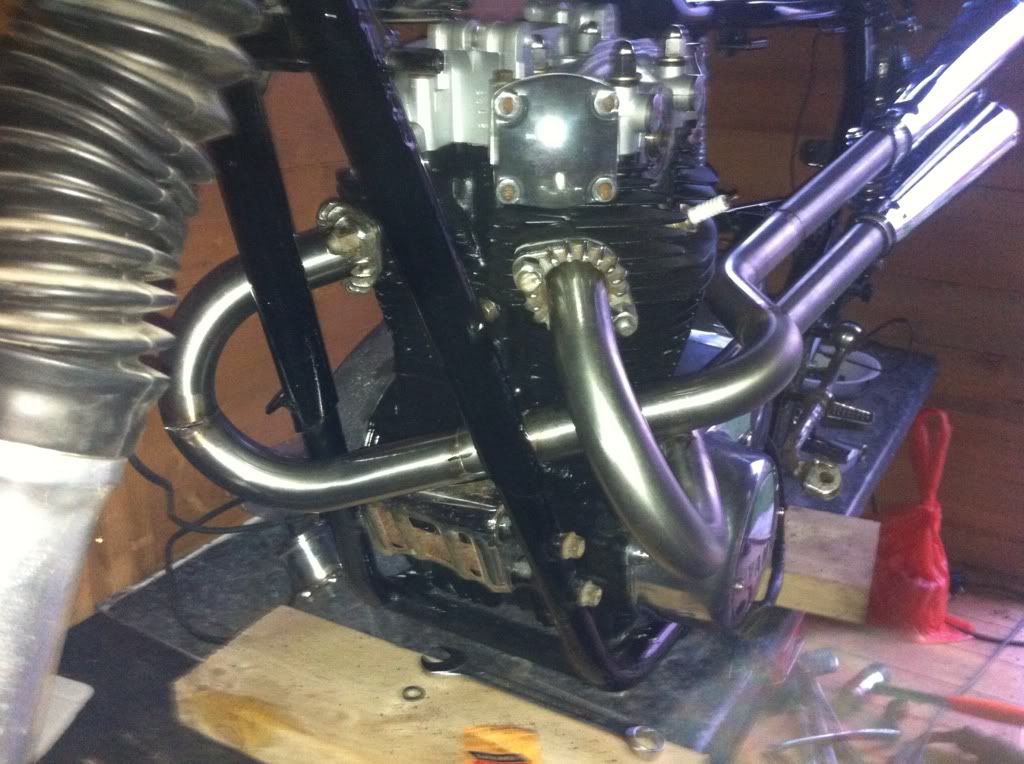
The bend was trimmed shorter to get it to fit right, I forgot my dad had bought me an old belt linisher a while back, worked a treat to sort out the ends of the pipes once cut with an anglegrinder. 

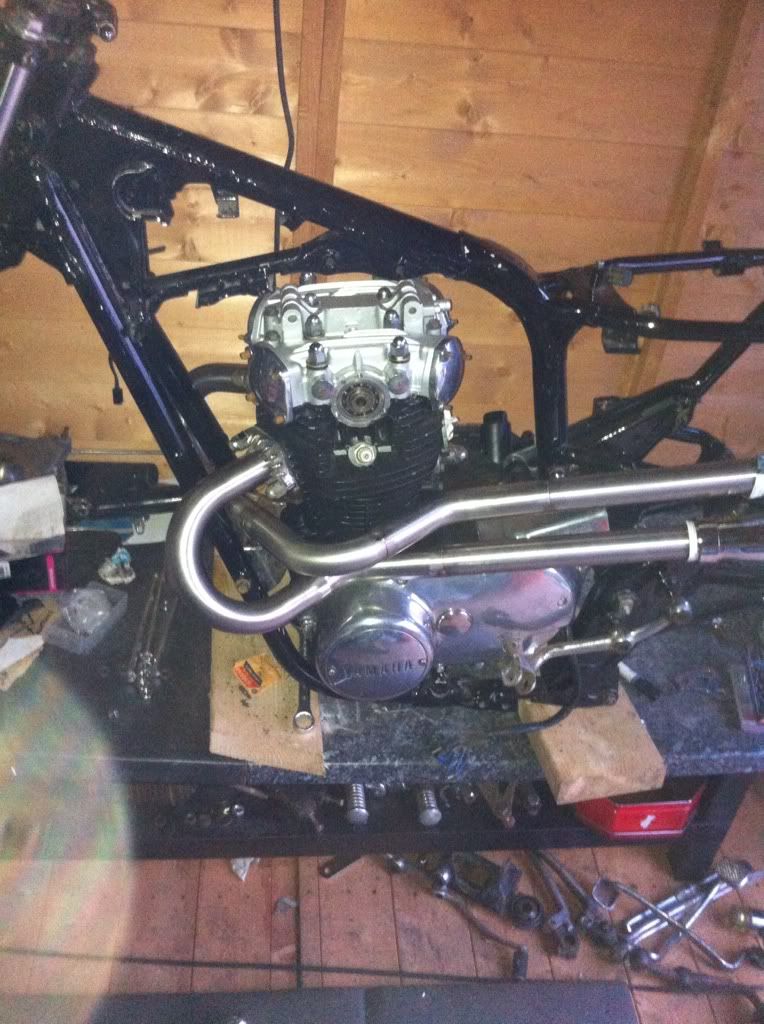
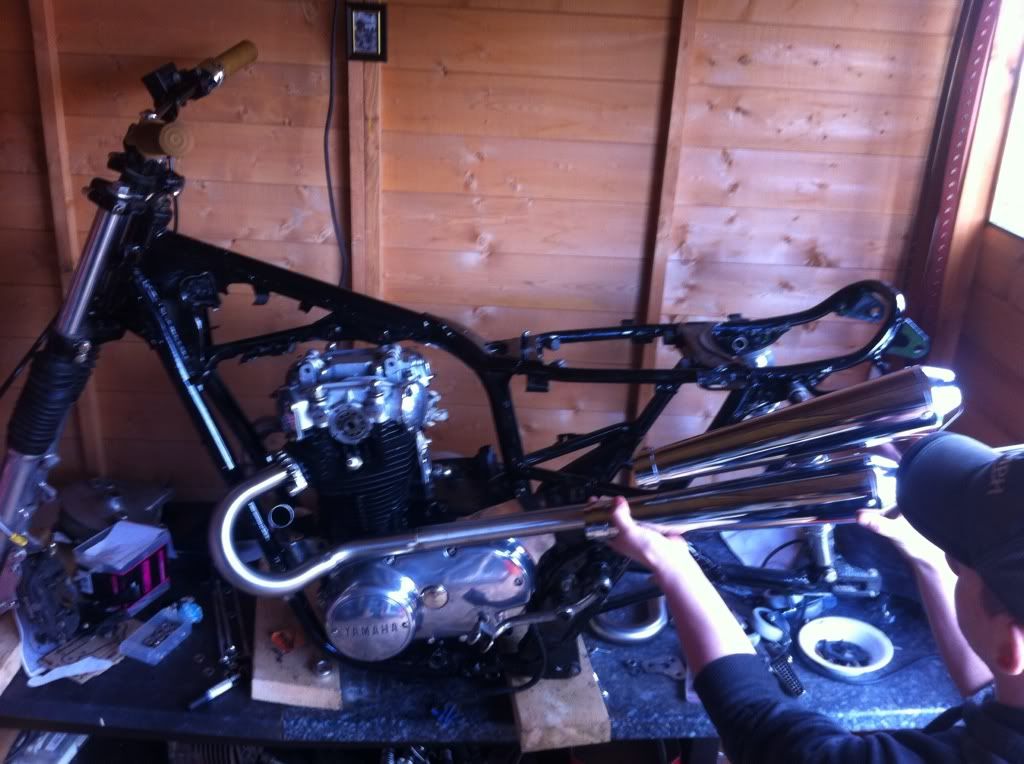
We then decided to weld the straight section on the back to see the line of the pipes back to the megas...


We spent a time sorting the megas out, and lining them up how I wanted them. I was playing for a staggered pipe look, the top further back and tighter to the bike than the back.


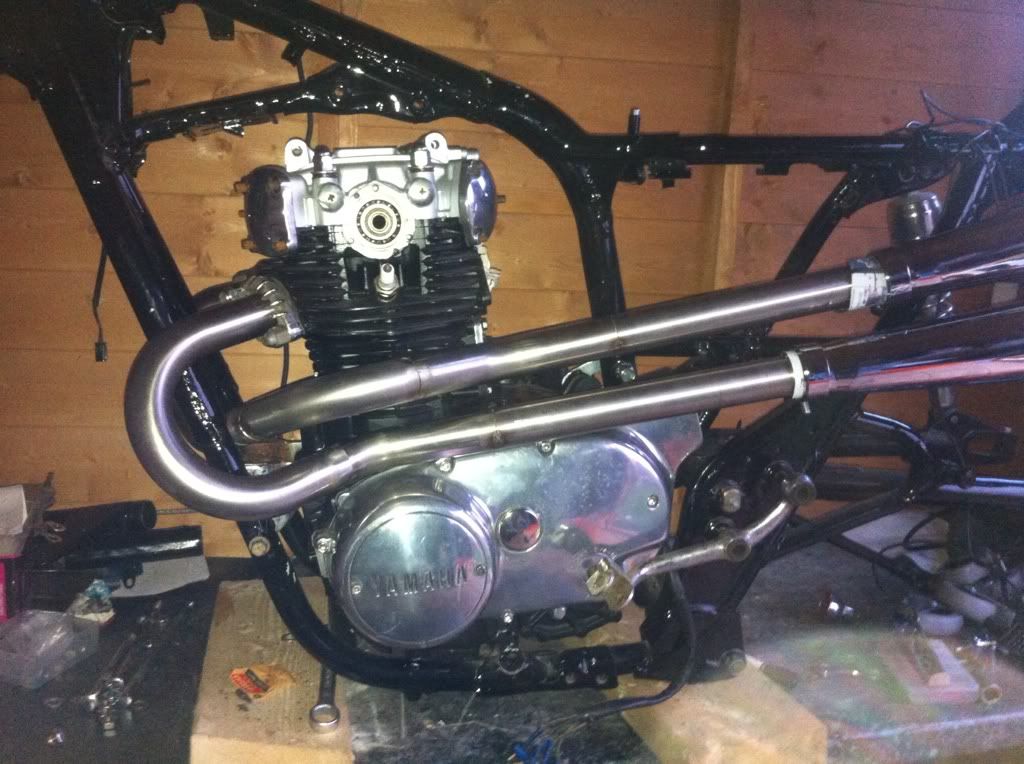
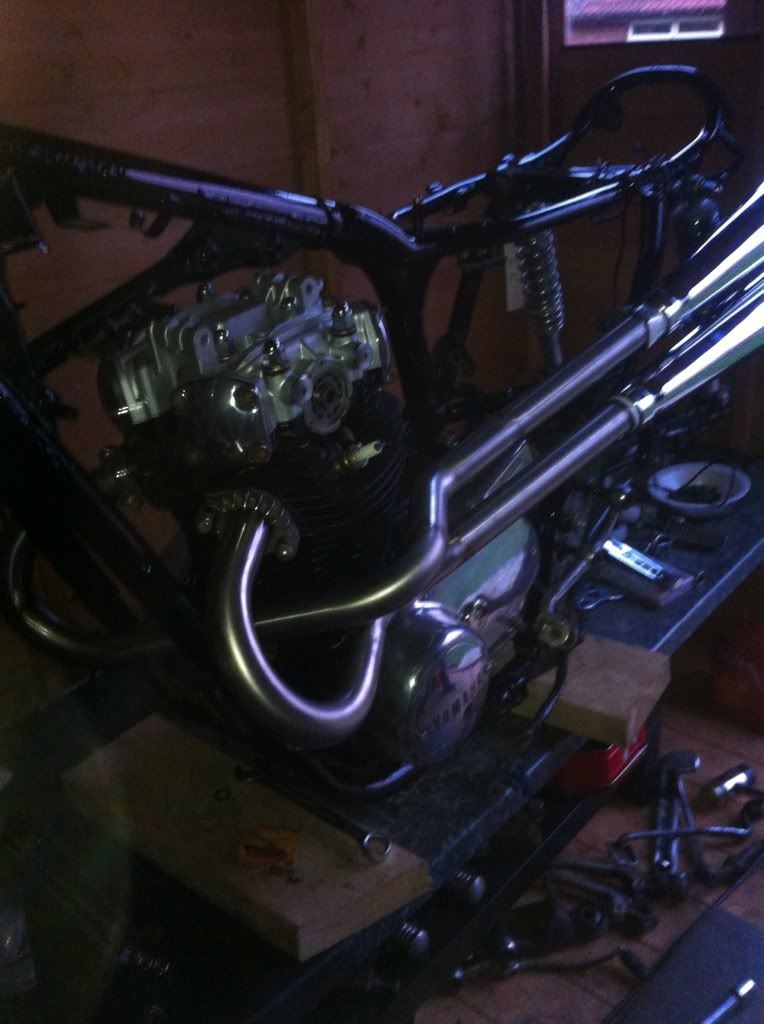
The back pipe wasn't as easy to make, not make photos of the stages, but basically we had to cut the u bend in half, then twist the joint and tack in place. As my welder was the other end of the garden, we were having to put lines on the pipe to align the pipes to when tacking then take the pipes down the garden to tack, then back up to try on the bike. I think it took 4 or 5 attempts to get it between the frame properly.

Once that was sorted we decided to work from the top mega back toward the front, so we could get them to join.


I think it's a 35 degree bend to kick back round the engine.

To connect the front and back of the pipes I then used one of the tight U bends cut down to fit. It was absolutely made to be. Plenty of marking, cutting and flattening with the linisher, and we tacked the pipes together just before the light failed!

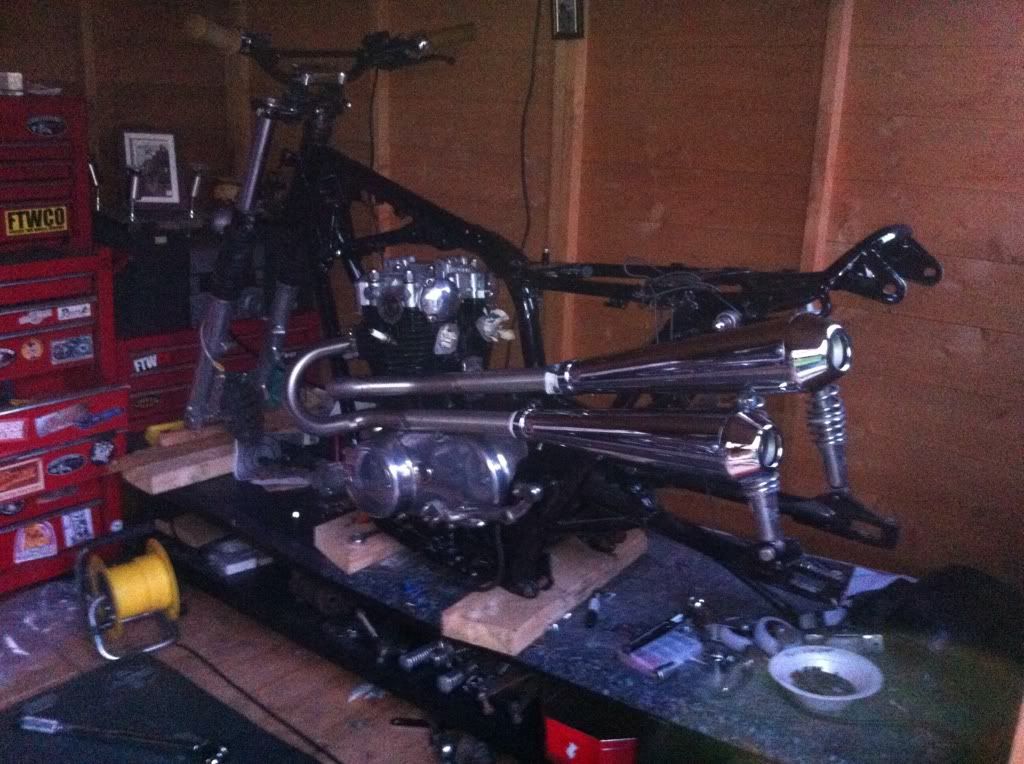
I think we were both more than pleased with our efforts for the day. I'm one happy boy, and just goes to show any old idiot can make some sweet looking pipes....