Wednesday, 6 October 2010

Todays playtime consisted of making (or starting the ball rolling) the forward controls. Ive been looking into ones people have made, and they tend to be turned and knurled efforts – nothing wrong with that – ive a little lathe in the shed, but not very fun / dirty bobberish. Instead of neatly turning away at a nice bit of aluminium i reached for the trusted angle grinder and got cracking!!!


So this old gas bottle will make the “pads” for the break and shifter.


Plates cut out, and sized to match


I put some extra supports on the back to add some strength, just some tube i had lying around.


This allowed for a bit of extra detailing on the back – there is always room for some form along with function. I like the spiral detail that this has allowed.


I welded them onto some basic arms – these won’t get finished until later on, and will need a bit more detailing.

Back from a couple of days on the road, and my haul of bike lights arrived – absolute bargain for a fiver!
Had a good look over them, and i think i will be going with this baby for the break light. The only problem being that the internal reflector is smashed.


Split it down – as it was a bike light the front lens is clear


So the huge light i got cheap the other day now becomes cannon fodder to get this one looking good.


I attempted to cut the lens with a piercing saw, but the blade kept jamming up due to the plastic melting.


So in true Dirty bobbers style the good old angle grinder came out to save the day!


Then the grinder used to trim up to the line, and one lens roughed out.


A bit of 600 and then 1200 grit, and the fit test, and I’m a happy boy!


Thinking about sorting the front half of the light out, and leaving the back in its unadulterated state. It’s gonna be the reverse colours of the front light, but it think it should look good.

As for internals, I’ve been toying with the idea of a cluster of superbright LED’s behind the lens – should allow less power draw on the battery, and be nice and bright for when I’m slamming on!

Wednesday, 15 September 2010

To use the foghanger lens I had to cut the bugger out of the lens (must admit that i smashed one as i tried to bend back the seam)


Lens out, and with Pete and Rowans suggestion a good clean with some vinegar, and she came up beautifully.


And finally with the body on (now in black)


Little more progress on the bike today, working on smoothing out the rear fender, and the front headlamp.

Picked an old Austin headlamp up a while back, and had decided to make it an old school / modern effort. That means old looks, but modern functionality – Xenon bulbs in the old housing.


So this is the original light, the shame of it is that on the other side to this someone had started to “clean it up” (read – sand off all the quality patina!!! Bummer!)

I also picked up some Foghanger headlamps to fit in


First hurdle was that the headlamp didn’t fit into the front cover, 4mm to take off, so in true shed build fashion I mounted the angle grinder in the vice and trimmed it back


I nicked the gubbins out of the XS650 headlamp, as the guts of the foghanger were rusted to buggery and back. Luckily enough the rear mount on that accommodated the xenon bulbs really easily (just had to remove the 3 locating pins with a small grinding bit.)Et voila! The xenon fits snug as a bug!

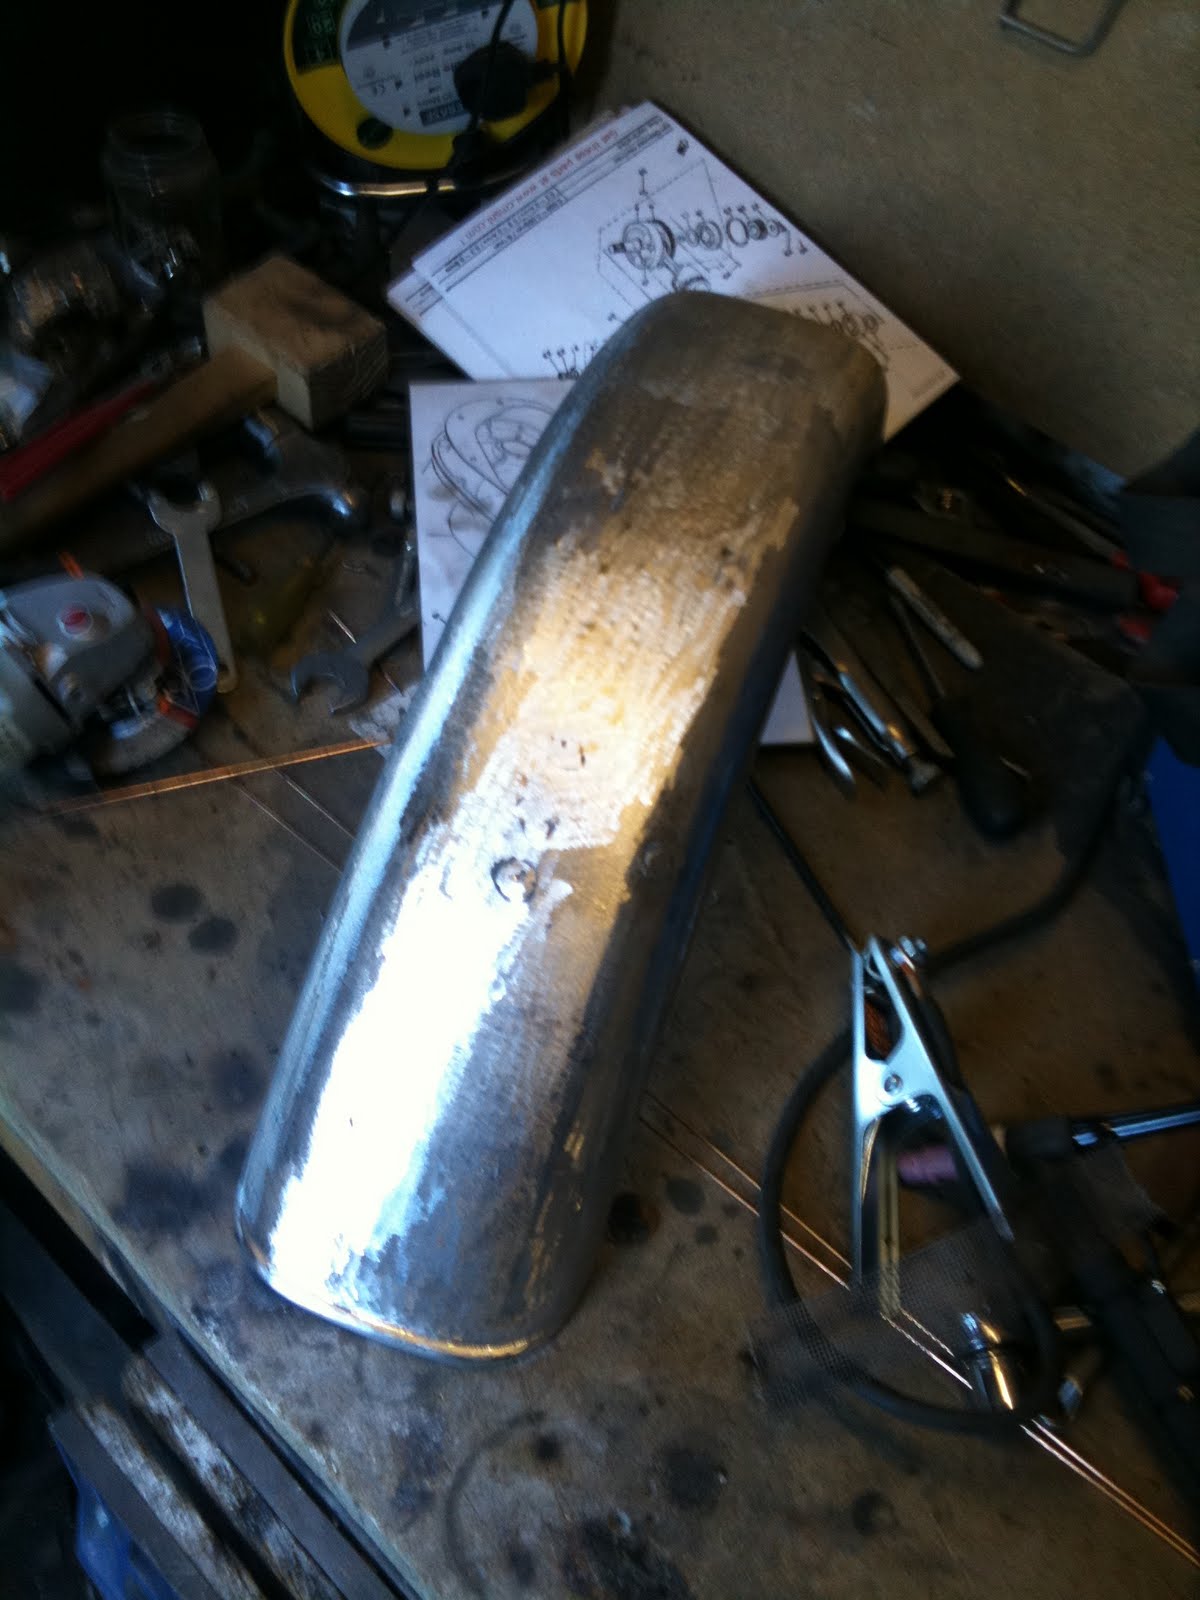
Had another hour tonight to work on the bike, decided to mark up and chop the rear fender. I had picked up an old triumph fender on the cheap, marked up and then the good old angle grinder out!


There was then a load of holes on the fender from the old lights etc, from asking on here i had been told to grind back the chrome, then weld the holes up.


I also used the copper coin trick that was recommended, worked a treat!


Half hour later and all the holes were suitably welded up! Much fun!


had to then grind back the welds, and decided that as the fender will be painted i would key the whole thing back with the good old grinder!

So a decent bit of progress on the engine, had a few head scratchy moments while working on it, and swore at quite a few circlips!
I had a new set of pitons and rings that came with the bike, so fitted them with the new gaskets.


Haven't yet gone down the route of properly cleaning the engine up, I want to get the bike running, them it can have a full strip down when it's all working to paint and clean it up a bit.
I was planning to have the bike built by my birthday, Thursday just gone! Whoops, ahh well youth, inexperience and all that to blame there. I’m happy with progress on the bike, and really loving the time I’m spending on the bike.

As my deadline has been and gone I thought I would have a bit of a mock-up to see how it’s starting to come together (plus if I’m lucky I may be able to sneak into Scarlett’s pictures of users bikes!!!)

I’ll start with the money shot!


Got a load of new bitties on order, so I’m hoping it’s gonna start coming together over the coming weeks. Inverted levers have been ordered, and a massive thanks to Indie scot for the cable operated master cylinder – that will be getting an overhaul shortly!